2026-11-05
传动装置 - 5 路阀(双电机)(拆卸和更换)
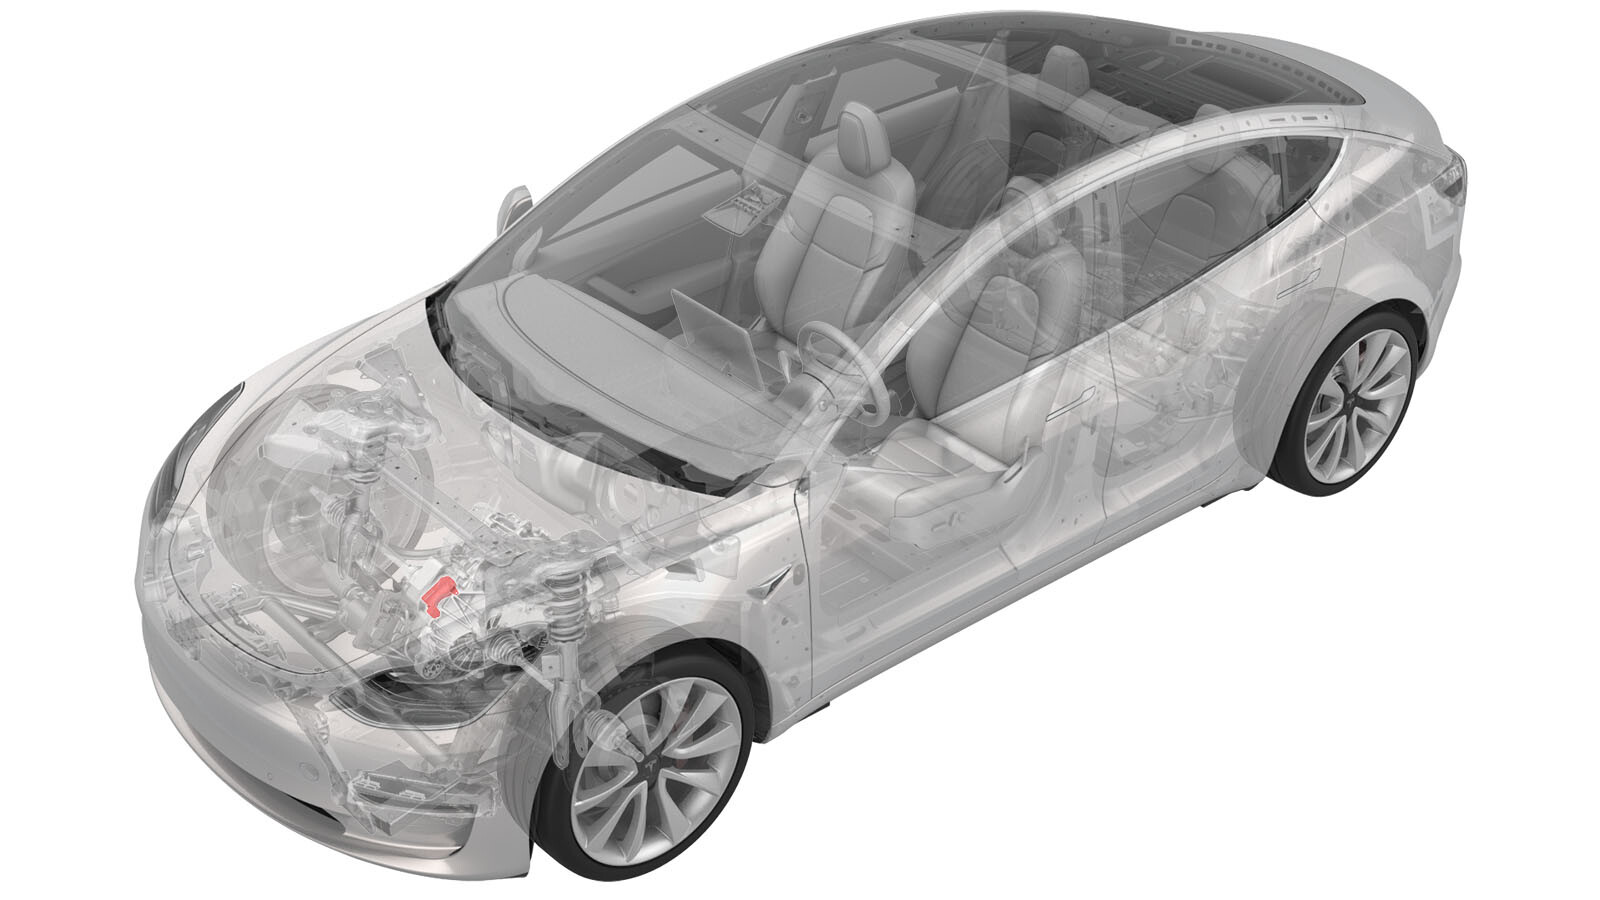 校正代码
18306312 0.54
NOTE: Unless otherwise explicitly
stated in the procedure, the correction code and its associated FRT reflect all of the
work required to perform this procedure, including the linked procedures. Do not stack correction codes unless
explicitly told to do so.
NOTE: See Flat Rate
Times to learn more about FRTs and how they are created.
NOTE: See 人员保护 to make sure wearing proper PPE when
performing the below procedure. NOTE: See 人体工程学注意事项 for safe and healthy working
practices.
- 2026-11-05: Added steps for the coolant valve test routine.
- 2025-04-29: Corrected torque figures for the bolts that attach the shock tower brace to the vehicle.
Equipment:
- 1447556-00-A 分流阀扳手,Model 3
- 1108272-00-B 变流器逻辑连接器盖,3DU
扭矩规格
| 描述 | 扭矩值 | 推荐工具 | 重复使用/更换 | 备注 |
|---|---|---|---|---|
| Nuts (x2) that attach the superbottle to the brace |
 8 Nm (5.9 lbs-ft) |
|
重复使用 | |
| Bolts (x2) that attach the battery bracket to the shock tower brace |
15 Nm (11.1 lbs-ft) |
|
重复使用 | |
| Inner bolts (x2) that attach the shock tower brace to the LH/RH shock tower |
55 Nm (40.6 lbs-ft) |
|
重复使用 | |
| Outer bolt that attaches the shock tower brace to the LH/RH shock tower |
62 Nm (45.7 lbs-ft) |
|
重复使用 | |
| Screws (x3) that attach the 5-way valve actuator to the 5-way valve cover |
2 Nm (1.5 lbs-ft) |
|
重复使用 |
拆卸
- Remove the 2nd row lower seat cushion. See 座椅座垫 - 下部 - 第二排(拆卸和更换).
- Remove the underhood storage unit. See 前备箱储物单元(拆卸和更换).
- Disconnect the 12V power. See 12V/低压电源(断开和连接).
-
Remove the nuts (x2) that
attach the superbottle to the brace.
TipUse of the following tool(s) is recommended:
- 10 mm socket
-
Remove the bolts (x2) that
attach the battery bracket to the shock tower brace.
TipUse of the following tool(s) is recommended:
- 13 mm socket
-
Remove the inner bolts (x2)
that attach the shock tower brace to the RH shock tower.
TipUse of the following tool(s) is recommended:
- 15 mm socket
-
Remove the outer bolt that
attaches the shock tower brace to the RH shock tower.
TipUse of the following tool(s) is recommended:
- 15 mm socket
-
Remove the inner bolts that
attach the shock tower brace to the LH shock tower.
TipUse of the following tool(s) is recommended:
- 15 mm socket
-
Remove the outer bolt that
attaches the shock tower brace to the LH shock tower.
TipUse of the following tool(s) is recommended:
- 15 mm socket
-
Release the shock tower brace using the inflatable air bag.
TipUse a flat head screwdrive to lift the the shock tower brace, and then place the inflatable air bag on both ends of the shock tower brace.
-
Release the clip that attaches the battery return hose to the superbottle.
-
Release the clip that attaches the electrical harness to the lower LH side of the superbottle.
TipLift the superbottle for better access.
-
Disconnect the electrical harness from the 5-way valve actuator connector.
TipLift the superbottle for better access.
-
Remove the screws (x3) that
attach the 5-way valve actuator to the 5-way valve cover.
TipUse of the following tool(s) is recommended:
- Torx T20 bit
-
Remove the 5-way valve actuator from the 5-way valve cover.
安装
-
Use the diverter valve wrench to align the larger stemshell shaft spline with the larger recess on the 5-way valve actuator, and then position the 5-way valve actuator on the 5-way valve cover.
CAUTIONVery little force is needed to mate the actuator to the cover. If the actuator does not mate to the cover easily, remove the actuator and check the stemshell shaft alignment.
Figure 1. One spline (highlighted red) is larger than the other splines Figure 2. Position the actuator on the valve cover -
Install the screws that
attach the 5-way valve actuator to the 5-way valve cover.2 Nm (1.5 lbs-ft)TipUse of the following tool(s) is recommended:
- Torx T20 bit
- Connect the electrical harness to the 5-way valve actuator connector.
- Install the clip that attaches the electrical harness to the lower LH side of the superbottle.
- Install the clip that attaches the battery return hose to the superbottle.
- Deflate and remove the air bag, and then replace the shock tower brace back to the original position.
-
Install the outer bolt that
attaches the shock tower brace to the LH shock tower.62 Nm (45.7 lbs-ft)TipUse of the following tool(s) is recommended:
- 15 mm socket
-
Install the inner bolts (x2)
that attach the shock tower brace to the LH shock tower.55 Nm (40.6 lbs-ft)TipUse of the following tool(s) is recommended:
- 15 mm socket
-
Tighten the outer bolt that
attaches the shock tower brace to the RH shock tower.62 Nm (45.7 lbs-ft)TipUse of the following tool(s) is recommended:
- 15 mm socket
-
Tighten the inner bolts (x2)
that attach the shock tower brace to the RH shock tower.55 Nm (40.6 lbs-ft)TipUse of the following tool(s) is recommended:
- 15 mm socket
-
Install the bolts (x2) that
attach the battery bracket to the shock tower brace.15 Nm (11.1 lbs-ft)TipUse of the following tool(s) is recommended:
- 13 mm socket
-
Install the nuts (x2) that
attach the superbottle to the shock tower brace.8 Nm (5.9 lbs-ft)TipUse of the following tool(s) is recommended:
- 10 mm socket
- Connect 12V power. See 12V/低压电源(断开和连接).
- Place the vehicle in Service Mode. See 维护模式.
- Unlock the vehicle gateway. See 网关(解锁).
- On the touchscreen, tap the Service Mode "wrench" (at the bottom of the touchscreen UI), and then tap , and allow the routine to complete.
- Exit Service Mode. See 维护模式.
- Install the underhood storage unit. See 前备箱储物单元(拆卸和更换).
- Install the 2nd row lower seat cushion. See 座椅座垫 - 下部 - 第二排(拆卸和更换).