2026-08-09
扰流板 - 后(使用夹具改装)
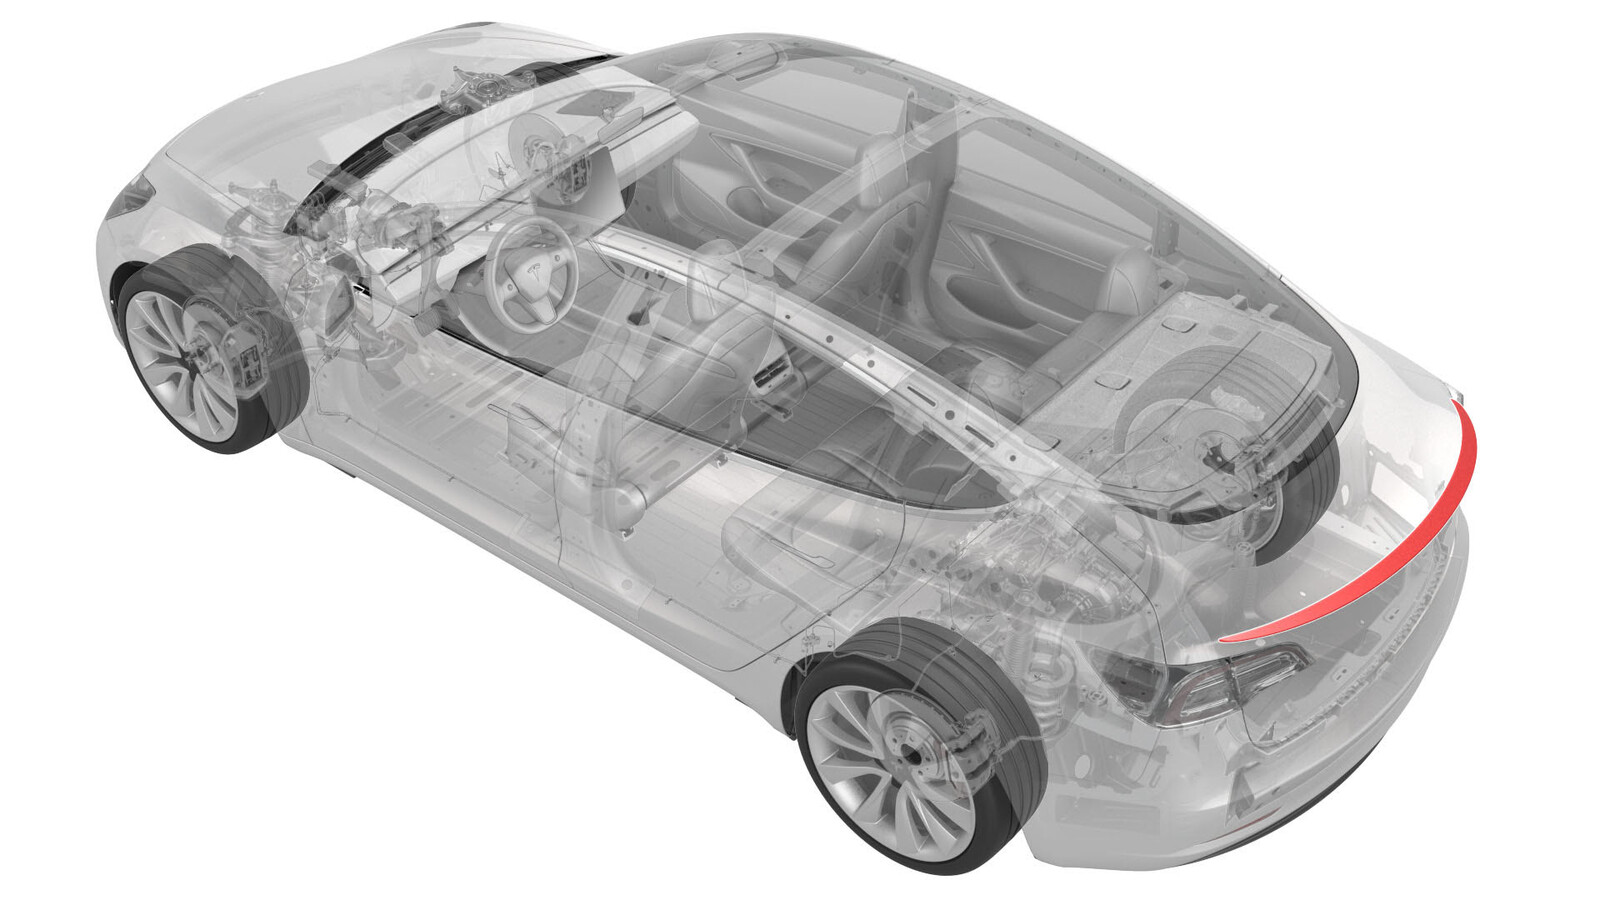 校正代码
12220416 0.30
NOTE: Unless otherwise explicitly
stated in the procedure, the correction code and its associated FRT reflect all of the
work required to perform this procedure, including the linked procedures. Do not stack correction codes unless
explicitly told to do so.
NOTE: See Flat Rate
Times to learn more about FRTs and how they are created.
NOTE: See 人员保护 to make sure wearing proper PPE when
performing the below procedure. NOTE: See 人体工程学注意事项 for safe and healthy working
practices.
- 2025-05-08: 更新了扰流板浸润视频。
- 2025-04-14: 更新了配置步骤。
- 2025-03-03: 添加了浸润操作说明以及浸润流程视频,并且给出了“请勿使用助粘剂”的说明。
设备:
- 1479070-00-A 扰流板定位套件,M3
程序
警告
Do not apply adhesion promoter to the trunklid, as it can impair adhesion of the spoiler tape and/or damage the
paint.
-
用异丙醇 (IPA) 湿巾清洁扰流板安装表面,待风干后再继续下一步骤。
注清理因雨水或洗车等积存的湿气或污染物,否则可能导致后扰流板粘合不佳。注如果后备箱表面需要补漆,应寻求钣喷中心或汽车美容师帮助,然后再安装后扰流板。注为确保正确粘合,安装时可接受的环境和零件温度为 15-43 摄氏度(60-110 华氏度)。
- 打开后备箱。
-
将扰流板夹具专用工具放在行李箱盖的 LH 和 RH 边缘上,然后用遮蔽胶带将其固定。
注扰流板夹具用来对扰流板定中和对齐,在安装之前从车上拆下来。
图 1. LH 如图所示,RH 类似 - 将抹布放在 LH 和 RH 缓冲止动块上以防行李箱锁上,然后部分关闭行李箱。
-
在扰流板夹具专用工具之间进行后扰流板快速适配。
图 2. LH 如图所示,RH 类似 注此时请勿揭下扰流板胶衬。 -
在后扰流板中部和后备箱盖上贴上遮蔽胶带,然后用油性记号笔在遮蔽胶带上标记出约 25 毫米间距(两根中心线之间)。
- 拆下扰流板夹具专用工具。
-
验证后备箱盖上后扰流板装配情况。
注不同后扰流板的轮廓可能稍有不同。确保后扰流板在后备箱盖上居中,边角平放。
-
剪断遮蔽胶带以便拆卸后扰流板。
警告谨慎使用塑料刀片,避免损坏后备箱盖或后扰流板的表面。
-
将后扰流板从后备箱盖上拆下。
警告Do not apply adhesion promoter to the trunklid, as it can impair adhesion of the spoiler tape and/or damage the paint.
- 揭下后扰流板上的胶衬。
- 将后扰流板遮蔽胶带上的两个标记与后备箱盖遮蔽胶带上的两个标记对齐。使后扰流板的边角远离后备箱盖,以便先安装后扰流板的中间部分。
- 将后扰流板的两端固定到后备箱盖上。
-
Wet out the adhesive: working on one
small section at a time, apply > 20 pounds of pressure for 10 seconds on the spoiler.
Wet out the entire length of the spoiler, with extra emphasis on the ends of the
spoiler.
-
揭下车上的遮蔽胶带,然后清洁作业区域。
注确保后扰流板各角均平放在后备箱盖表面且对称。
- 将“扰流板类型”配置变更为Passive。请参阅 网关配置(显示和变更)。