充电端口盖板 - 充电端口(欧洲、中东和非洲)(拆卸和更换)
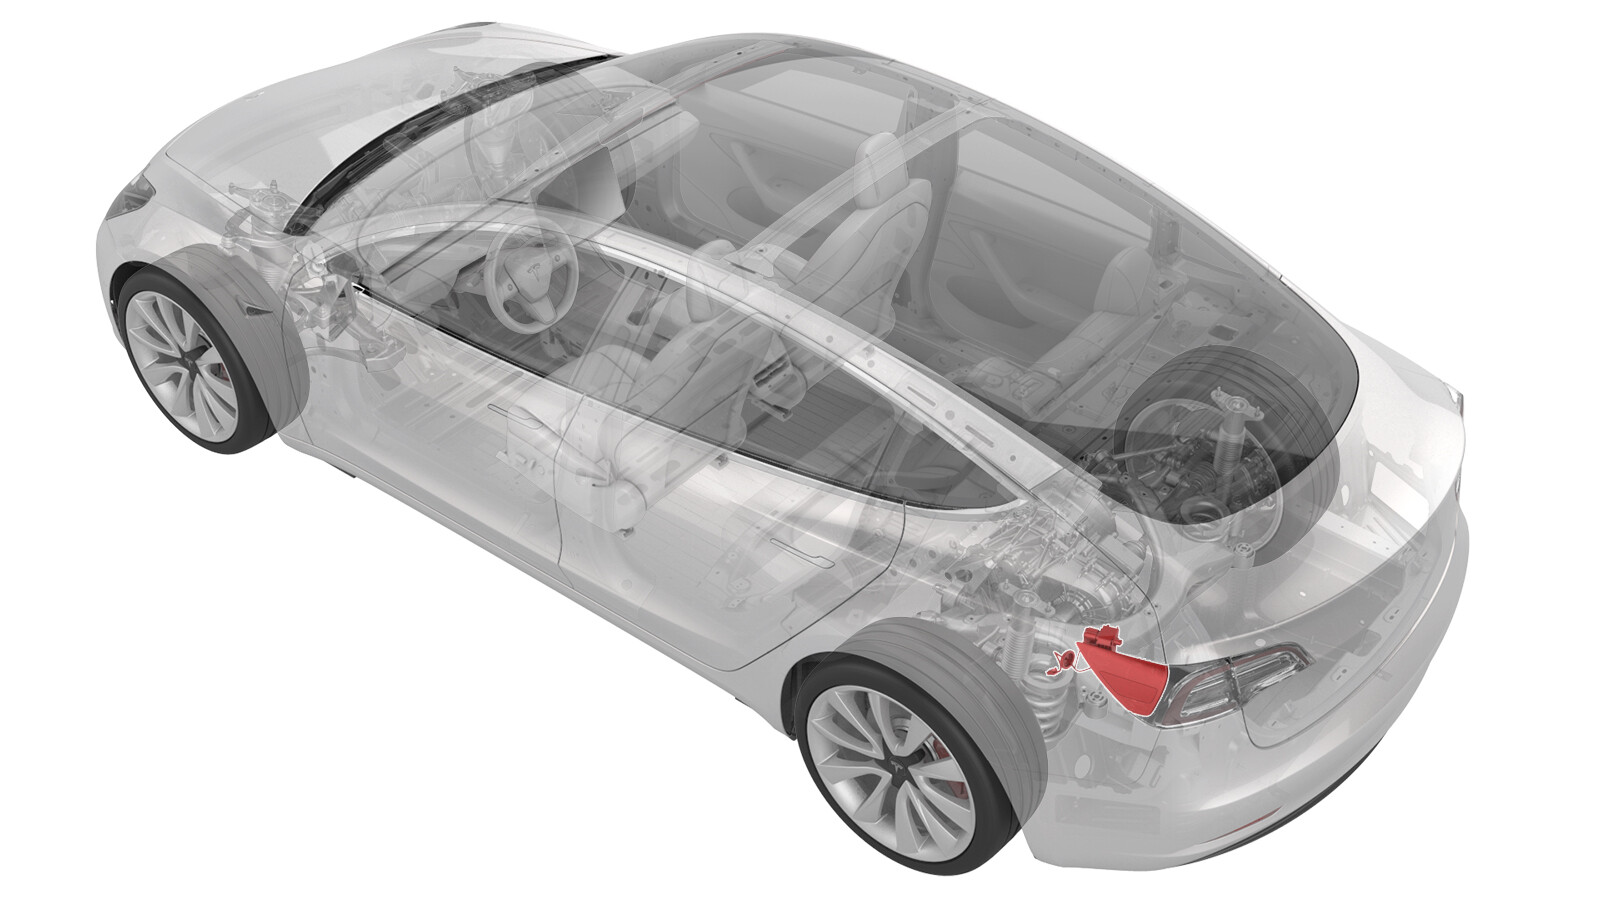 校正代码
44015302 0.66
NOTE: Unless otherwise explicitly
stated in the procedure, the correction code and its associated FRT reflect all of the
work required to perform this procedure, including the linked procedures. Do not stack correction codes unless
explicitly told to do so.
NOTE: See Flat Rate
Times to learn more about FRTs and how they are created.
NOTE: See 人员保护 to make sure wearing proper PPE when
performing the below procedure. NOTE: See 人体工程学注意事项 for safe and healthy working
practices.
- 2023 年 10 月 27 日:将充电接口至车身螺栓扭矩更新至 9 Nm。
- 2023 年 6 月 6 日:将充电标识符标签 TPN 从 1691926-00-A 更新为 1691926-00-B,并更新了相关插图。
- 2023 年 5 月 24 日:删除了车辆电气绝缘程序。
设备:
- 1076921-01-B Insulation Multimeter, Fluke 1508
- 1130480-00-A Test Probes, Slim, Fluke TP38
Only
technicians who have completed all required certification courses are permitted to
perform this procedure. Tesla recommends third party service provider technicians
undergo equivalent training before performing this procedure. For more information on
Tesla Technician requirements, or descriptions of the subject matter for third parties,
see HV Certification Requirements. Proper personal protective equipment (PPE) and insulating HV
gloves with a minimum rating of class 0 (1000V) must
be worn at all times a high voltage cable, busbar, or fitting is handled. Refer to Tech Note TN-15-92-003, High Voltage Awareness
Care Points
for additional safety
information.
Remove all jewelry (watches, bracelets, rings, necklaces, earrings, ID tags, piercings, etc.) from your person, and all objects (keys, coins, pens, pencils, tools, fasteners, etc.) from your pockets before performing any procedure that exposes you to high voltage.
Proper personal protective equipment (PPE) is required to perform this procedure:
- High voltage insulating gloves
- Leather glove protectors
- High voltage glove tester
- Safety glasses
- Electrical hazard rated safety shoes
A glove inflator is the only recommended way to test HV gloves. Both HV gloves must pass testing before beginning this procedure. If either glove does not pass the air check, discard the pair.
Make sure that the HV gloves are not expired. HV gloves can be used up to 12 months after the testing date printed on the glove, but only 6 months after first use even if the gloves are still within the 12-month period.
拆卸
- 打开全部车门和车窗。
- 拆卸前备箱后部挡板。请参阅前备箱挡板 - 后部(拆卸和更换)。
- 打开后备箱。
-
在充电接口区域周围粘贴遮蔽胶带。
- 将驾驶位和副驾位座椅移至最前端。
- 拆卸第二排座椅下部座垫。请参阅座椅座垫 - 下部 - 第二排(拆卸和更换)。
- 断开 12V 电源。请参阅12V/低压电源(断开和连接)。
- 执行充电接口电压检查程序。请参阅充电接口电压检查。
- 拆卸后备箱底板饰板。请参阅饰板 - 底板 - 后备箱(拆卸和更换)。
- 拆卸后备箱门槛饰板。请参阅饰板 - 门槛板 - 后备箱(拆卸和更换)。
- 拆卸后备箱饰板。请参阅饰板 - 后备箱(拆卸和更换)。
- 断开掀背尾门左侧作业灯连接器。
- 松开后备箱地毯的边缘,然后将后备箱左侧饰板移至一旁。
- 拆卸左侧尾灯。请参阅尾灯 - 左侧(拆卸和更换)。
-
松开将低压电气线束固定到充电接口封闭板的边缘夹。
-
轻微拉动封闭板。同时,向内插入一个塑料饰板工具,开始松开下部卡子,然后将封闭板朝车辆前部拉动,同时松开剩余卡子。
-
拆卸将充电接口线束支架和接地线固定到车身的螺栓。
-
将手动释放缆索向上拉离缆索固定夹,或者将缆索垂直向上拉离充电接口总成。
-
拆卸将充电接口固定到车身的螺栓。
-
断开低压 (LV) 电气连接器与充电接口电子控制单元 (ECU) 的连接。
-
将充电接口总成拉离车身,以便操作。
-
从车身上松开充电接口盖板线束索环
-
松开将充电接口盖板总成固定到车辆的下部卡子,然后将总成的底部推出,从车上拆下总成。
注为了便于拆卸充电接口盖板总成:
- 向车辆后部拉动总成。
- 当总成到达围板后部时,拉动总成使传动装置无阻碍,然后拉出总成并拉离车身。
注要从车身上完全拆下充电接口盖板总成,可能需要对总成进行操作。
安装
-
将充电接口盖板总成安装到车辆上:转动总成,使得传动装置在围板下方无阻碍,然后朝着后车门方向滑动总成。
注要将充电接口盖板总成与后围板完全对齐,可能需要对总成进行操作。
-
将充电接口盖板总成电气线束推入开口,然后用下部卡子(2 个) 固定充电接口盖板总成。
-
将充电接口盖板索环安装到车身上。
警告确保线束已布线,并正确安装带扎带的胶垫。
- 将充电接口总成移动到位,以便安装。
-
连接低压充电接口电子控制单元 (ECU) 电气连接器。
-
安装将充电接口固定到车身的螺栓。
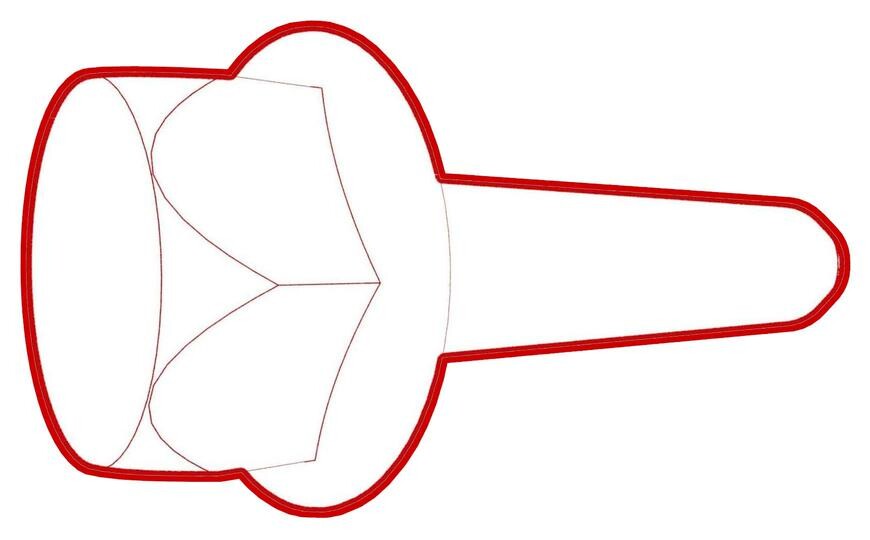 9 Nm (6.6 lbs-ft)
- 将手动释放缆索插回到锁片中;下压释放缆索背面,将其卡入锁片中。
-
安装将充电接口线束支架和接地线固定到车身的螺栓。
 6 Nm (4.4 lbs-ft)
-
安装用于固定充电接口封闭板的卡子。
-
安装将低压线束固定到充电接口封闭板的边缘夹。
- 安装左侧尾灯。请参阅尾灯 - 左侧(拆卸和更换)。
-
安装后备箱左侧止动件。
- 揭下充电接口盖板区域的遮蔽胶带。
- 将后备箱左侧饰板移回原位,然后安装将侧饰板固定到车辆的卡子(2 个)。
- 连接掀背尾门左侧作业灯连接器。
- 安装后备箱饰板。请参阅饰板 - 后备箱(拆卸和更换)。
- 安装后备箱门槛饰板。请参阅饰板 - 门槛板 - 后备箱(拆卸和更换)。
- 安装后备箱底板饰板。请参阅饰板 - 底板 - 后备箱(拆卸和更换)。
- 关闭后备箱。
- 重新连接 12V 电源。请参阅12V/低压电源(断开和连接)。
- 安装第二排座椅下部座垫。请参阅座椅座垫 - 下部 - 第二排(拆卸和更换)。
- 将驾驶位和副驾位座椅移回原位。
-
验证充电系统是否正常工作:
注使用客户的充电设备(若有)。
-
仅限欧洲:如图所示,在充电接口总成的面板上安装 CKL 充电标识符标签 (1691926-00-B)(如果原始部件上有标签)。
- 安装前备箱后部挡板。请参阅前备箱挡板 - 后部(拆卸和更换)。
- 关闭前备箱盖以及全部车门和车窗。