2026-02-09
框架 - 座椅座垫 - 副驾位座椅(拆卸和更换)
 校正代码
13011212 1.32
注意:除非本程序中另有明确规定,否则上述校正代码和 FRT 反映的是执行本程序(包括关联程序)所需的所有工作。除非明确要求,否则请勿堆叠校正代码。
注意:请参阅平均维修工时,深入了解 FRT 及其创建方式。
注意:请参阅人员保护,确保在执行以下程序时穿戴适当的个人防护装备 (PPE)。注意:请参阅人体工程学注意事项查看安全健康的作业规程。
校正代码
13011212 1.32
注意:除非本程序中另有明确规定,否则上述校正代码和 FRT 反映的是执行本程序(包括关联程序)所需的所有工作。除非明确要求,否则请勿堆叠校正代码。
注意:请参阅平均维修工时,深入了解 FRT 及其创建方式。
注意:请参阅人员保护,确保在执行以下程序时穿戴适当的个人防护装备 (PPE)。注意:请参阅人体工程学注意事项查看安全健康的作业规程。
- 2024-12-09: Added mini-tilt motor configuration information.
警告
本程序为“草案”。虽已通过验证,但可能仍有“警告”和“注意”事项缺失。请遵守安全要求,处理或靠近高压系统和部件时,请谨慎操作。
-
Check Firmware version
注Firmware package installed must be 2023.2.11 or above for configuration routine to populate, If below target package, proceed with OTA update
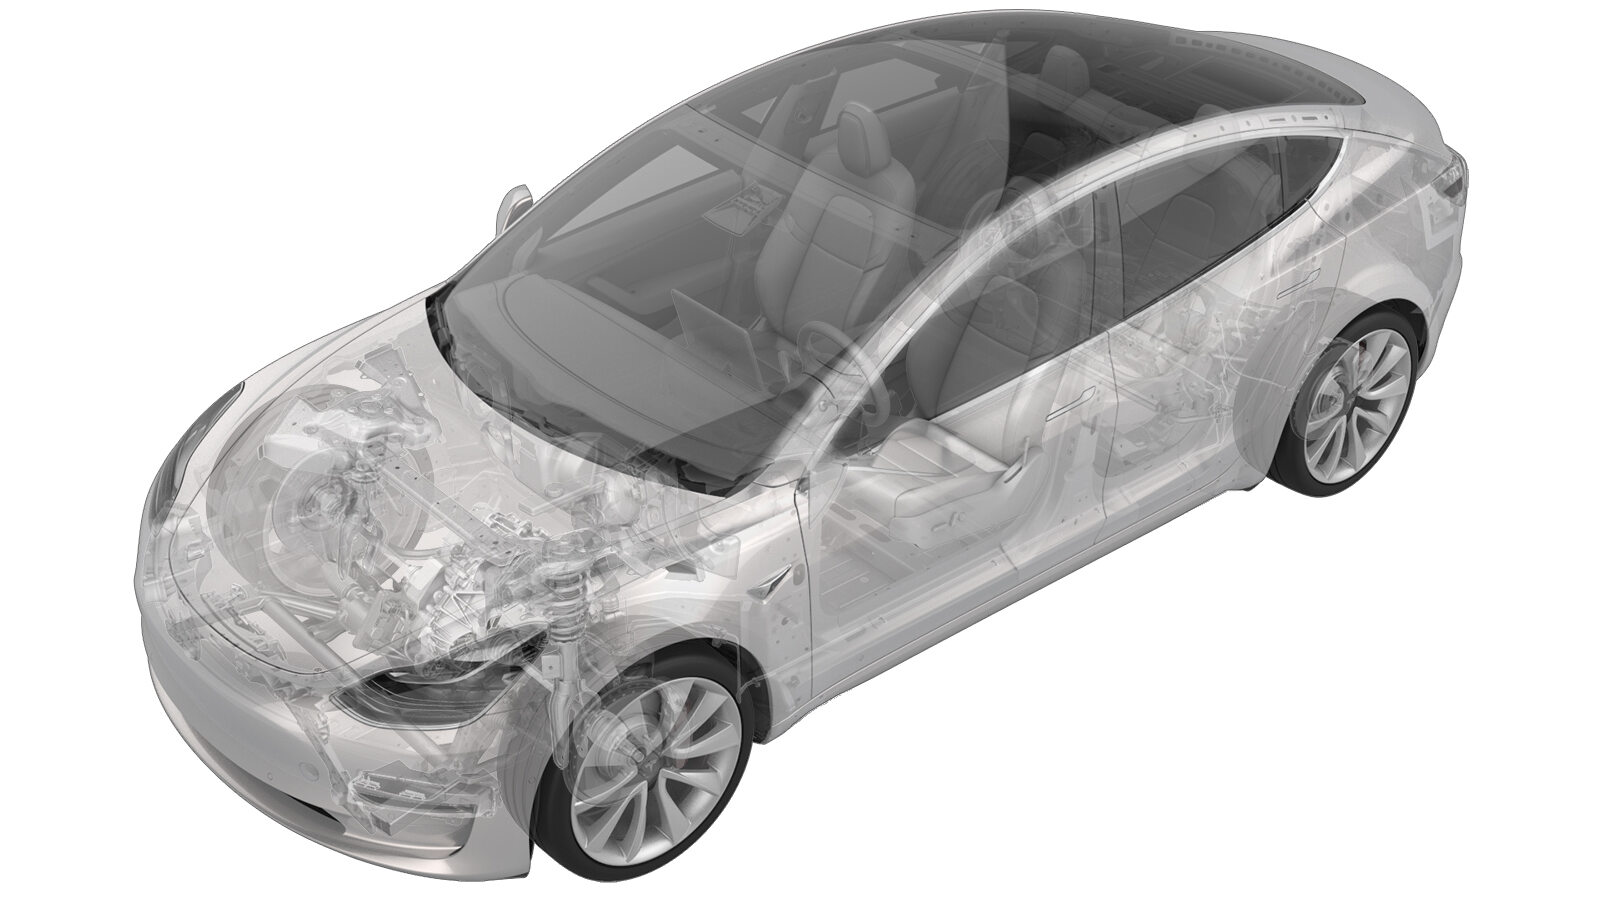
- Remove the front passenger seat assembly. See 座椅总成 - 第一排 - 左侧(拆卸和更换).
-
Remove screw securing outer side cover to seat.
注1x screw, T20, 4 Nm, Ensure the front of the seat is high enough to access the T20 screw.
-
Release outer side cover clip from seat, but do not remove
注1x clip, Do not fully remove, possible damage to the trim/switch pack/harness
-
Disconnect seat switch connector
注1x connector
-
Slide outer cover rearward to release clip from frame and lift up over pretensioner to remove
注1x clip
-
Disconnect the RH front seat belt pretensioner.
注1x connector
-
Remove RH lap pretensioner from seat track
注1x patch bolt, T50, 40 Nm, Bolt is patched and held in place with metal clip
-
Remove RH front seat RH sideshield carrier
注2x clips, 2x tabs, Release leading edge of trim and slide away from seat frame
-
Release seat belt pretensioner harness clips
注3x clips, Use 90 pick to release harness clips from seat track rail
-
Remove RH front seat LH sideshield carrier
注2x clips, 2x tabs, Release leading edge of trim and slide away from seat frame
-
Remove clips securing seat switch harness to seat cushion frame
注2x fir tree clips
-
Remove inner side shield from seat
注3x clips, Release side clip from seat bottom frame, then pull up on rear of trim to remove
-
Disconnect RH front seat belt buckle
注1x connector
-
Release RH front seat belt buckle harness clip
注1x fir tree clip
-
Remove the clips securing RH front seat belt buckle connector harness to the seat cushion frame
注2x fir tree clips
-
Release harness clip from RH front seat bottom frame
注1x clip
-
Remove RH front seat buckle from seat track
注1x patch bolt, T50, 40 Nm
-
Rotate the seat to gain access to the underside of the seat
注Protect seat cushion from damage
-
Unhook the straps for the lower section of the seat back and move the seat back flap away from the underside of the seat
注2x clips
-
Remove seat cushion retaining clips from the seat suspension
注2x clips
-
Remove the front retaining clip from the seat cushion frame securing the front of the seat trim to the frame
注1x clip strip, May need to start with a hook tool, Pull the clip away from the frame to release
-
Remove the inboard retaining clip from the seat cushion frame securing the side of the seat trim to the frame
注1x clip strip, May need to start with a hook tool, Pull the clip away from the frame to release
-
Remove the outboard retaining clip from the seat cushion frame securing the side of the seat trim to the frame
注1x clip strip, May need to start with a hook tool, Pull the clip away from the frame to release
-
Disconnect the tilt motor connector
注1x connector
-
Remove the harness retaining clip under the tilt motor
注1x retaining clip
-
Disconnect the seat occupied sensor
注1x connector
-
Disconnect seat cushion heat pad from module
注1x connector
-
Disconnect the CAN communication pass through connector from the OCS control module
注1x connector
-
Remove OCS control module from seat bottom frame
注2x tabs
-
Disconnect seat cushion heat pad from seat back heat pad connector
注1x connector
-
Remove seat cushion connector from seat cushion suspension
注Slide upward to release from trim
-
Disconnect the seat back heater connector
注1x connector
-
Disconnect the seat back heater harness connector from seat cushion suspension
注1x connector
-
Disconnect the seat cushion heat pad
注1x connector
-
Remove seat cushion heat pad from seat cushion suspension
注1x connector, 1x clip, Slide connector forward to release from seat bottom
-
Remove clip securing the harness to the under side of the seat, next to the seat heater connectors
注1x retaining clip
-
Disconnect the seat track position sensor connector
注1x connector
-
Disconnect the lift motor connector
注1x connector
-
Disconnect LH front seat track motor connector
注1x connector
-
Release RH front seat harness from track motor bridge
注2x edge clips, Count may vary depending on build date
-
Remove the clip securing the harness to the seat cushion frame under the lift motor
注1x retaining clip
-
Remove the retaining clip under the main seat harness junction
注1x retaining clip
-
Move harness away from seat frame
-
Return seat to upright position
-
Remove LH front seat back assembly from seat cushion frame
注4x bolts, T47P, 43 Nm, Recommend assistance, Discard bolts after removal
-
Remove RH front seat cushion assembly from seat frame
-
Remove LH front seat cushion suspension from power seat cushion frame
注4x tabs, Raise portion seated on rear cushion tube, Then pull assembly away from tabs to release
- Remove the front and rear seat track covers (x4). See 盖板 - 前 - 座椅滑轨 - 第一排座椅(拆卸和更换) and 盖板 - 后 - 座椅滑轨 - 第一排座椅(拆卸和更换).
- Install the front and rear seat track covers (x4). See 盖板 - 前 - 座椅滑轨 - 第一排座椅(拆卸和更换) and 盖板 - 后 - 座椅滑轨 - 第一排座椅(拆卸和更换).
-
Install LH front seat cushion suspension from power seat cushion frame
注4x tabs, Position suspension along metal tabs, Then seat rear portion on rear cushion tube
-
Position RH front seat cushion assembly onto cushion frame
-
Install LH front seat back assembly onto seat cushion frame
注4x bolts, T47P, 43 Nm, Recommend assistance, Install new patch bolts
-
Flip seat over to gain access to the bottom of the seat
注Protect the seat back to prevent damage
-
Install the retaining clip under the main seat harness junction
注1x retaining clip
-
Install the clip securing the harness to the seat cushion frame under the lift motor
注1x retaining clip
-
Route harness towards pretensioner
-
Install seat harness clips onto track bridge
注2x edge clips
-
Connect RH front seat track motor connector
注1x connector
-
Connect the lift motor connector
注1x connector
-
Connect the seat track position sensor connector
注1x connector
-
Install the clip securing the harness to the under side of the seat, next to the seat heater connectors
注1x retaining clip
-
Connect the heat pad connector
注1x connector
-
Connect the heat pad connector
注1x connector
-
Install the seat back heater harness connector to the seat bottom
注1x connector
-
Connect the seat back heater connector
注1x connector
-
Install seat cushion heating pad connector onto cushion suspension
注1x connector
-
Connect seat cushion heating pad to seat back heating pad
注1x connector
-
Install OCS control module onto seat bottom frame
注2x tabs
-
Connect the SRS harness connector to the OCS control module
注1x connector
-
Connect seat cushion heating pad to module
注1x connector
-
Install the seat occupied sensor onto the seat frame
注1x clip
-
Connect the seat occupied sensor and install the clip onto the seat bottom
注1x connector, 1x retaining clip, Ensure harness is not routed between cushion and frame to avoid friction
-
Install the harness retaining clip under the tilt motor
注1x retaining clip
-
Connect the tilt motor connector
注1x connector
-
Install the outboard seat trim retaining clip onto the seat frame
注1x clip strip, Fold the clip over towards the frame, The open end should engage the seat frame, if not the trim will need to be pulled until the correct amount of tension is achieved, Line up one end of the clip strip opening with the seat frame and press down until the clip is fully seated onto the frame
-
Install the inboard seat trim retaining clip onto the seat frame
注1x clip strip, Fold the clip over towards the frame, The open end should engage the seat frame, if not the trim will need to be pulled until the correct amount of tension is achieved, Line up one end of the clip strip opening with the seat frame and press down until the clip is fully seated onto the frame
-
Install the front seat trim retaining clip onto the seat frame
注1x clip strip, Fold the clip over towards the frame, The open end should engage the seat frame, if not the trim will need to be pulled until the correct amount of tension is achieved, Line up one end of the clip strip opening with the seat frame and press down until the clip is fully seated onto the frame
-
Install the seat cushion retaining clips onto the seat suspension
注2x clips, The seat cushion and trim may need to be pulled tight for the hooks to achieve correct placement on the seat suspension
-
Hook the strap clips for the seat back shell onto the seat suspension
注2x clips, Ensure the straps are tight for proper fit and installation
-
Rotate the seat to normal upright position
-
Install the clips securing RH front seat belt buckle connector harness to the seat cushion frame
注2x fir tree clips
-
Install clip securing RH front seat belt buckle harness connector to the seat cushion frame
注1x fir tree clip
-
Install LH sideshield carrier onto RH front seat
注2x clips, 2x tabs, Slide forward onto seat frame aligning clips and tabs
-
Install a new bolt securing the RH front seat buckle to seat track
注1x patch bolt, T50, 40 Nm, The captive washer originally included with the assembly is not required during reinstallation, the bolt can be installed directly without it
-
Adjust RH front seat buckle harness clip along inner seat rail and verify harness is extended as far forward as possible to eliminate slack on the back side of the clip
注1x clip, Avoid straining harness, If harness is routed as shown in 2nd photo rework is needed
-
Connect RH front seat belt buckle
注1x connector
-
Install inner side shield cover onto RH front seat
注3x clips, Slide the trim onto the seat from the opening for the buckle, then slide forward into position
-
Install clips securing seat switch harness to seat cushion frame
注2x fir tree clips
-
Install RH front seat LH sideshield carrier
注2x clips, 2x tabs, Release leading edge of trim and slide away from seat frame
-
Install seat belt pretensioner harness clips
注3x clips, Position seat belt pretensioner harness clips to seat track rail and press down on each clip to secure
-
Install RH front seat RH sideshield carrier
注2x clips, 2x tabs, Slide forward onto seat frame aligning clips and tabs
-
Install RH lap pretensioner from seat track
注1x patch bolt, T50, 40 Nm, Bolt is patched and held in place with metal clip
-
Disconnect RH front seat belt pretensioner
注1x connector, Pull both of the orange tabs down to release the connector
-
Slide outer cover forward to engage clip into the frame and lift up over pretensioner to install
注1x clip
-
Connect seat switch connector
注1x connector
-
Install outer side cover clip to seat frame
注1x clip
-
Install screw securing outer side cover to seat
注1x screw, T20, 4 Nm
- Install the front passenger seat assembly. See 座椅总成 - 第一排 - 左侧(拆卸和更换).
-
前排座椅总成和座椅座垫框架总成替换件带有一个新设计的“小型倾斜”电机,更换这些总成零件(或倾斜电机)时,可能需要进行配置变更。如需更新配置,请浏览表中给出的配置信息,然后执行以下子步骤。
图 1. 旧的倾斜电机 图 2. 新的小型倾斜电机(零件号:1868276-00-B 或更高版本) - 进入Infotainment Dashboard中的Vehicle Configuration部分。请参阅网关配置(显示和变更)。
- 根据表中给出的倾斜电机总览信息更新cfg_frontSeattype。
-
Connect to vehicle using Toolbox 3.0
注Vehicle connection is integrated into drivers footwell cover, Open Toolbox 3 website and establish connection to the vehicle, https://toolbox.teslamotors.com, Select connection status icon at top right corner, and select connect locally (icon will turn green when vehicle is connected)If RJ45 ethernet diagnostic connector present connect directly from laptop using an RJ45 Ethernet cable
-
Unlock Gateway
注After vehicle has been put into "Service Mode", place keycard on center console to turn on drive rails, hold down the brake pedal, while holding down break pedal simultaneously hold the turn signal stalk fully up for at least 10 seconds, "GTW UNLOCKING" should pop up on the UI next to the VIN during these 10 seconds, once gateway is unlocked "GTW UNLOCKED 5400" will be displayed on the UI next to the VIN, the gateway will remain unlocked for 90 minutes, follow steps on Toolbox article #5582900 for any additional information
- Select ‘Actions’ and search for ‘OCS’
-
Select ‘PROC_OCS1P_SELF-CALIBRATIONvia Service Mode Plus:Safety & Restraints ➜ Seats ➜ OCS1P Self Capacitance Calibrationvia Toolbox:(link)’, click ‘Run’, and allow routine to complete
注Select ‘X’ at top right of window to close once complete, Routine is specific to NA region vehicles
- Select ‘Actions’ and search for ‘Seat calibration’
-
Select ‘PROC_VCRIGHT_SEAT-CALIBRATEvia Service Mode:Low Voltage ➜ Seats ➜ Calibrate Seatvia Toolbox:(link)’, click ‘Run’, and allow routine to complete
注Select ‘X’ at top right of window to close once complete
- Remove HSD or RJ45 cable from Ethernet port to disconnect Toolbox 3.0 from vehicle
- Raise all windows
-
Close all four doors
注Unlatch rear doors before closing