清洁散热器(不带加热泵款)
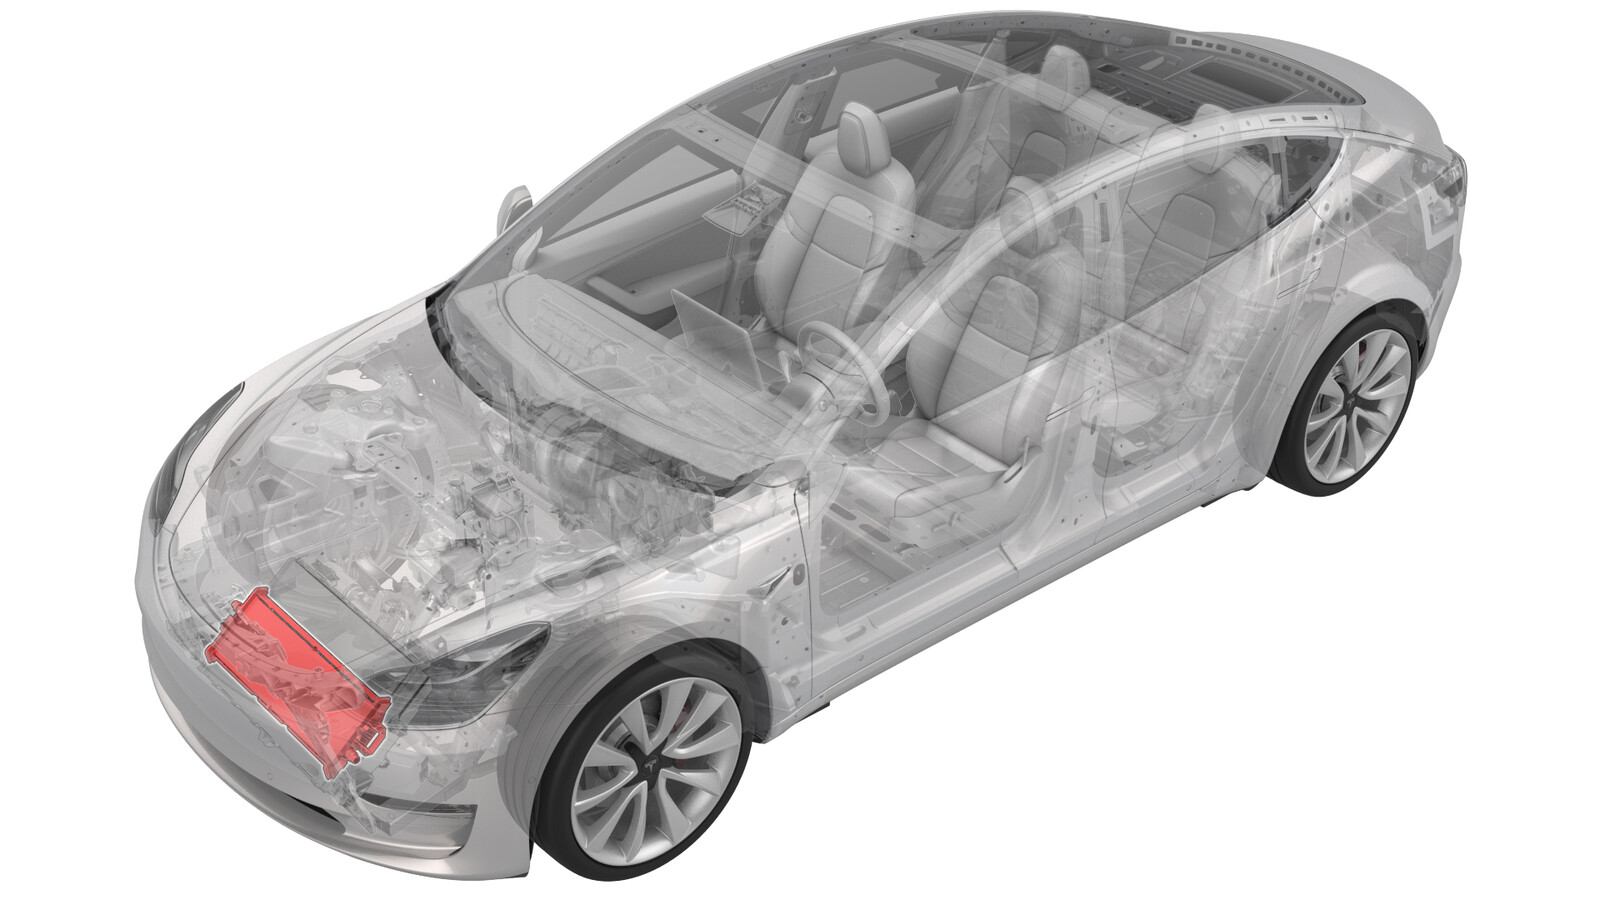 校正代码
18301100 1.14
NOTE: Unless otherwise explicitly
stated in the procedure, the correction code and its associated FRT reflect all of the
work required to perform this procedure, including the linked procedures. Do not stack correction codes unless
explicitly told to do so.
NOTE: See Flat Rate
Times to learn more about FRTs and how they are created.
NOTE: See 人员保护 to make sure wearing proper PPE when
performing the below procedure. NOTE: See 人体工程学注意事项 for safe and healthy working
practices.
- 2026-06-15: 添加了“如何部分拆卸散热器”的具体步骤。
- 2026-04-16: 添加了将冷凝器从冷却风扇上分离并清洁冷却风扇底部的步骤。
- 2025-07-09: 删除了将散热器从车辆上拆下的步骤。
- 2023 年 11 月 2 日:更新了 AGS 相关步骤。
设备:
- 1135762-00-A 冷却软管维修堵头套件,Model 3
- 1108272-00-B 变流器逻辑连接器盖,3DU
- 1133681-01-A 超细纤维布(毛巾)
- 1080568-00-A 液体收集器
Only
technicians who have completed all required certification courses are permitted to
perform this procedure. Tesla recommends third party service provider technicians
undergo equivalent training before performing this procedure. For more information on
Tesla Technician requirements, or descriptions of the subject matter for third parties,
see HV Certification Requirements. Proper personal protective equipment (PPE) and insulating HV
gloves with a minimum rating of class 0 (1000V) must
be worn at all times a high voltage cable, busbar, or fitting is handled. Refer to Tech Note TN-15-92-003, High Voltage Awareness
Care Points
for additional safety
information.
程序
- 将车辆停放在双柱举升机上。
- 打开左侧前车门,降下左侧前车窗。
- 拆卸前备箱储物单元。请参阅 前备箱储物单元(拆卸和更换)。
- 拆卸主动进气格栅。请参阅 主动进气格栅(拆卸和更换)。
-
松开散热器出口软管夹(2 个)。
-
松开散热器入口软管夹。
-
拆下将散热器固定到冷凝器总成的螺栓(2 个)。
注并非所有车辆上都有这些螺栓。如果未安装螺栓,请跳过本步骤。提示Use of the following tool(s) is recommended:
- 5.5 毫米套筒
- 4 in extension
 10 Nm (7.4 lbs-ft)
-
将散热器从冷凝器上分离。断开导片(2 个)和卡子。
警告散热器出口管可能会稍稍碰到冷凝器。处理时请谨慎操作,以免损坏任一部件。
图 1. 装配散热器管时会碰撞到冷凝器。请谨慎操作。 -
在车辆前部上方放置一块保护垫,然后向上移动散热器将其安装到车辆前部。
警告使散热器软管保持连接状态,确保处理时未拉拽或损坏软管。注留出足够空间,以便接触到冷凝器并进行清洁。
-
使用吸尘器清洁散热器上的灰尘。
注如有必要,清除较大的碎屑。
-
使用吹风枪清除散热器上的污垢。
警告请勿过于靠近散热器片。注意与散热器表面保持 90 度。注Dust and debris may fly out during the process; make sure to protect the vehicle and wear proper PPE , such as a mask, safety glasses, etc.
-
使用吸尘器再次清洁冷凝器上的污垢。
注如有必要,清除较大的碎屑。
-
使用吹风枪再次清洁冷凝器上的污垢。
注请勿过于靠近冷凝器叶片。警告请勿过于靠近散热器片。注意与散热器表面保持 90 度。注Dust and debris may fly out during the process; make sure to protect the vehicle and wear proper PPE , such as a mask, safety glasses, etc.
-
松开将冷凝器固定到冷却风扇的侧面锁片(4 个)。
-
分离冷凝器和冷却风扇。
注将冷凝器放置在固定位置,以防损坏。
-
使用吹风枪清洁冷却风扇底部。
注注意请勿使碎屑进入风扇。
-
检查冷却风扇底部是否存在碎屑。
提示Use of the following tool(s) is recommended:
- 可伸缩镜
- 将冷凝器放置在冷却风扇上。
-
安装将冷凝器固定到冷却风扇的侧面锁片(4 个)。
-
将散热器移回原位。
注操作过程中注意小心移动散热器软管。
- 安装散热器。请参阅 散热器(不带加热泵款)(拆卸和更换)。
- 安装主动进气格栅。请参阅 主动进气格栅(拆卸和更换)。
- 安装前备箱储物单元请参阅 前备箱储物单元(拆卸和更换)。
- 升起左侧前车窗并关闭左侧前车门。
- 将车辆从举升机上移走。