交流线缆 - 充电接口至高压电池(三相)(拆卸和更换)
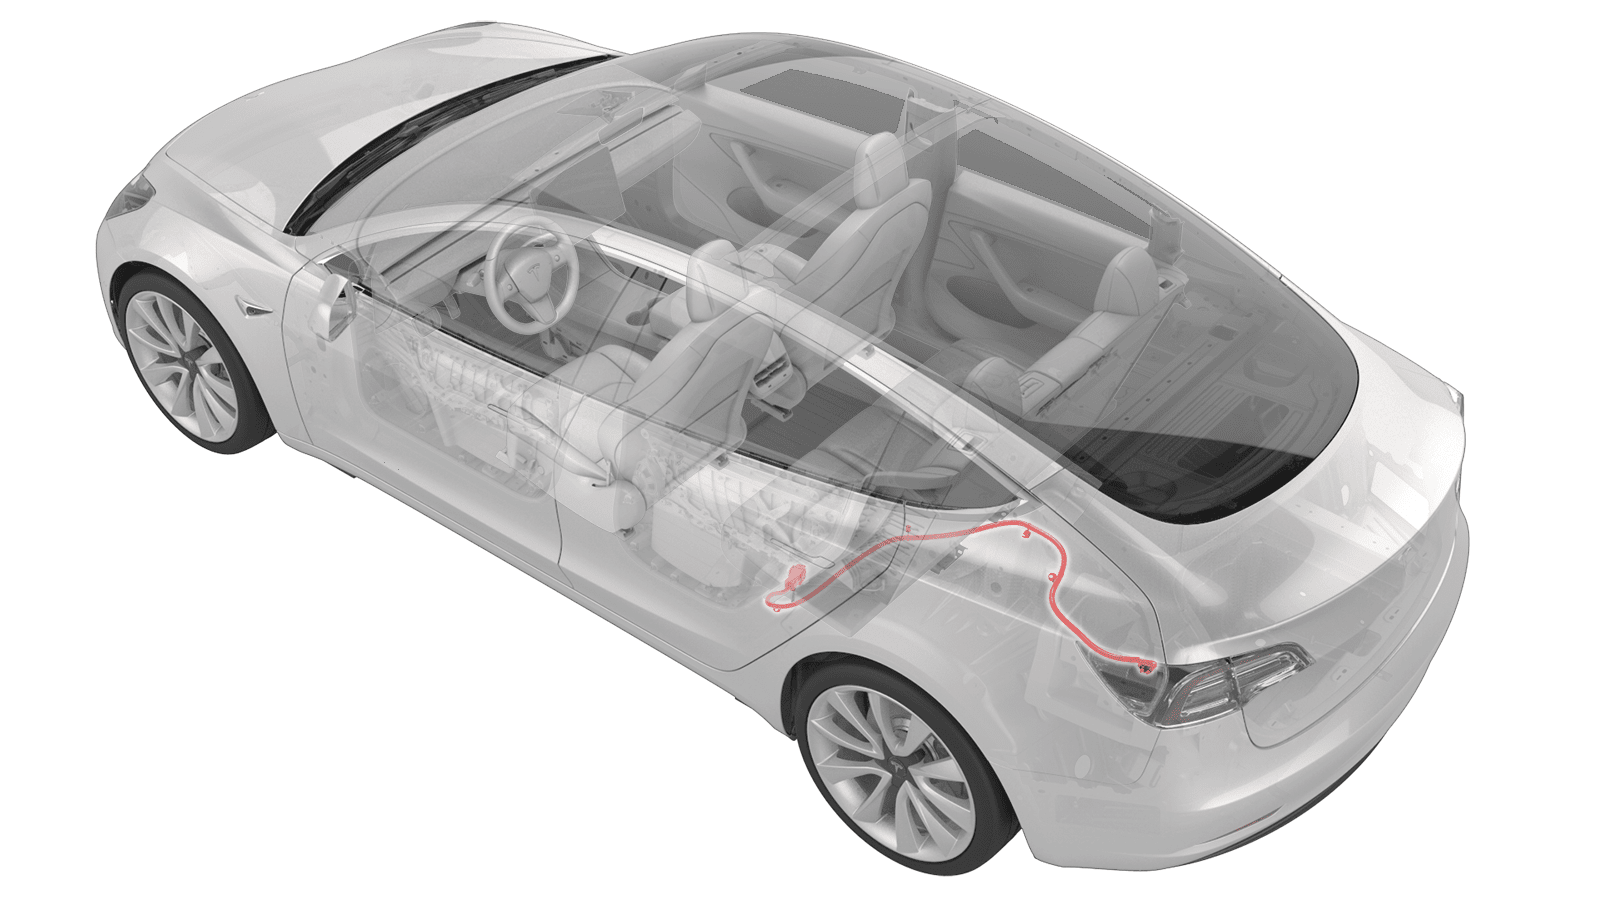 校正代码
445014020.48
NOTE: Unless otherwise explicitly
stated in the procedure, the correction code and its associated FRT reflect all of the
work required to perform this procedure, including the linked procedures. Do not stack correction codes unless
explicitly told to do so.
NOTE: See Flat Rate
Times to learn more about FRTs and how they are created.
NOTE: See 人员保护 to make sure wearing proper PPE when
performing the below procedure. NOTE: See 人体工程学注意事项 for safe and healthy working
practices.
设备:
- 1076921-00-B 绝缘电阻万用表,Fluke 1507(北美)
- 1108272-00-B 变流器逻辑连接器盖,3DU
- 1130480-00-A 超薄测试探针,Fluke TP38
- 2023 年 8 月 22 日:更新了程序。
Only
technicians who have completed all required certification courses are permitted to
perform this procedure. Tesla recommends third party service provider technicians
undergo equivalent training before performing this procedure. For more information on
Tesla Technician requirements, or descriptions of the subject matter for third parties,
see HV Certification Requirements. Proper personal protective equipment (PPE) and insulating HV
gloves with a minimum rating of class 0 (1000V) must
be worn at all times a high voltage cable, busbar, or fitting is handled. Refer to Tech Note TN-15-92-003, High Voltage Awareness
Care Points
for additional safety
information.
Remove all jewelry (watches, bracelets, rings, necklaces, earrings, ID tags, piercings, etc.) from your person, and all objects (keys, coins, pens, pencils, tools, fasteners, etc.) from your pockets before performing any procedure that exposes you to high voltage.
执行此程序时需要穿戴适当的个人防护装备 (PPE):
- 高压 (HV) 绝缘手套
- 皮革手套保护罩
- 高压绝缘手套测试器
- 护目镜
- 电气绝缘保护安全鞋
手套充气机是测试高压绝缘手套的唯一推荐方式。开始此程序前,需确认两只高压绝缘手套均通过测试。如果任何一只手套未通过充气检测,则需弃置这副手套。
确保高压绝缘手套未过期。高压绝缘手套有效期为印在手套上的测试日期后 12 个月内,但首次使用后,即使手套仍处于上述 12 个月有效期内,也只能使用 6 个月。
拆卸
- 打开后备箱。
- 打开前备箱盖。
- 打开充电接口盖板。
- 打开所有四个车门,降下车窗。
-
断开 12V 电源。请参阅12V/低压电源(断开和连接)。
注请勿在子程序结束时执行车辆隔离程序。
- 执行充电接口电压检查程序。请参阅充电接口电压检查。
- 拆卸左后门槛板饰板。请参阅饰板 - 门槛板 - 后 - 左侧(拆卸和更换)。
- 拆卸后备箱饰板。请参阅饰板 - 后备箱(拆卸和更换)。
- 拆卸后备箱底板饰板。请参阅饰板 - 底板 - 后备箱(拆卸和更换)。
- 拆卸后备箱门槛饰板。请参阅饰板 - 门槛板 - 后备箱(拆卸和更换)。
- 拆卸后备箱左侧饰板。请参阅饰板 - 侧边 - 后备箱 - 左侧(拆卸和更换)。
-
拆卸白色锁片,然后断开逻辑连接器与充电接口的连接。
-
将锁片向上推动,然后断开交流电缆与充电接口的连接。
-
松开红色锁片,向上旋转黑色连杆,然后将交流电缆从高压电池仓高压接头上断开。
- 记下交流电缆与充电接口母排和左侧车身线束的连接排布方式。
-
拆卸将交流电缆固定到充电接口母排的夹子(6 个)。
- 从车上拆下交流电缆,根据需要将电缆滑入车身线束下方。
安装
- 将交流电缆放入车内,根据需要将电缆滑入车身线束下方。
-
安装将交流电缆固定到充电接口母排的夹子(6 个)。
-
将交流线缆连接到高压电池仓高压接头,向下旋转黑色连杆,然后将红色锁片接合。
图 1. 预结构化电池组 电池。 图 2. 结构化电池组 电池。 -
连接充电接口上的交流电缆,然后向下滑动锁片。
-
连接充电接口上的逻辑连接器,然后安装白色锁片。
- 放倒左侧第二排座椅靠背。
- 安装后备箱左侧饰板。请参阅饰板 - 侧边 - 后备箱 - 左侧(拆卸和更换)。
- 安装后备箱门槛饰板。请参阅饰板 - 门槛板 - 后备箱(拆卸和更换)。
- 安装后备箱底板饰板。请参阅饰板 - 底板 - 后备箱(拆卸和更换)。
- 安装后备箱饰板。请参阅饰板 - 后备箱(拆卸和更换)。
- 安装左后门槛饰板。请参阅饰板 - 门槛板 - 后 - 左侧(拆卸和更换)。
- 重新连接 12V 电源。请参阅12V/低压电源(断开和连接)。