2023-08-03
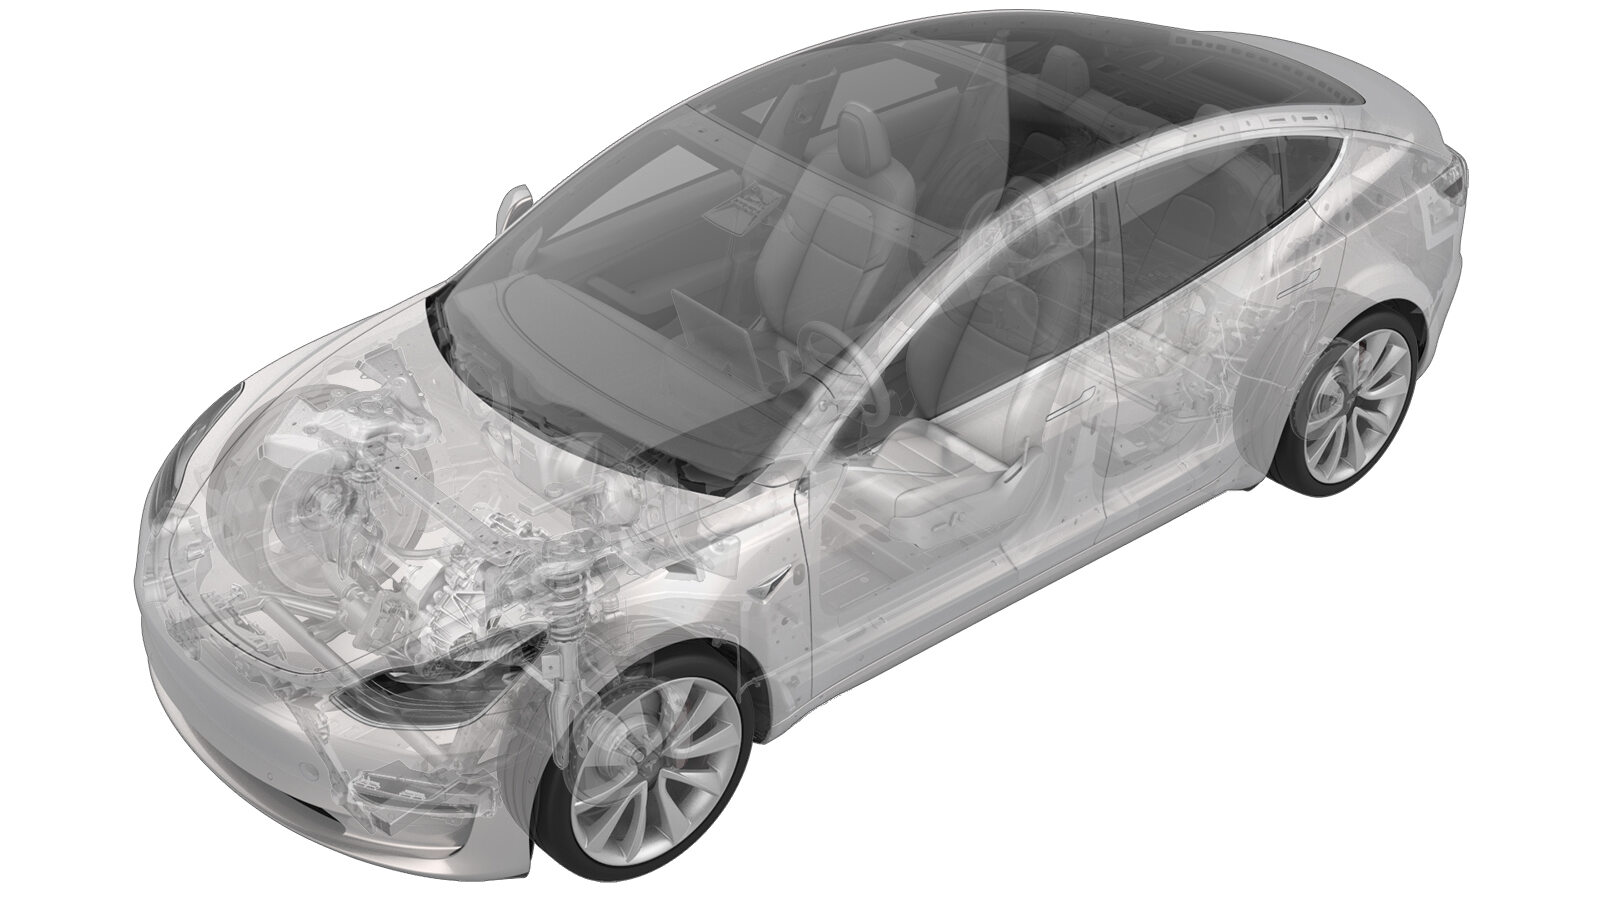
传感器 - 电阻式占用 - 前排座椅 - RH(拆卸和更换)
 校正代码
20202202 0.78
注意:除非本程序中另有明确规定,否则上述校正代码和 FRT 反映的是执行本程序(包括关联程序)所需的所有工作。除非明确要求,否则请勿堆叠校正代码。
注意:请参阅平均维修工时,深入了解 FRT 及其创建方式。要提供有关 FRT 值的反馈,请发送电子邮件至 ServiceManualFeedback@tesla.com。。
注意:请参阅人员保护,确保在执行以下程序时穿戴适当的个人防护装备 (PPE)。请参阅人体工程学注意事项查看安全健康的作业规程。
拆卸
- Remove the passenger seat cushion trim. See 饰板 - 座垫 - 驾驶位座椅(拆卸和更换).
-
While wearing cut-resistant gloves, carefully use a razor blade to separate the resistive occupancy sensor from the passenger seat cushion foam.
警告Always wear cut-resistant gloves when using cutting tools.警告Take care not to damage the sensor harness, seat trim, or other surrounding components with the razor blade.警告Take care to remove as little foam as possible.
-
From the underside of the cushion, carefully route the resistive occupancy sensor harness up through the top of the cushion, and then remove the sensor from the cushion.
警告While removing the harness, take care not to damage the foam.
安装
-
Position the resistive occupancy sensor on top of the passenger seat cushion foam, and then route the sensor harness through the harness opening in the foam.
警告While installing the harness, take care not to damage the foam.
图 1. Resistive occupancy sensor positioned on top of the front seat cushion foam 图 2. Resistive occupancy sensor harness routed through the bottom of the front seat cushion foam -
Peel the protective backing off of the resistive occupancy sensor, exposing the adhesive, and then install the sensor on top of the foam.
注Align the sensor with the indentations on the foam.
- Install the passenger seat cushion trim. See 饰板 - 座垫 - 驾驶位座椅(拆卸和更换).
-
如果维修北美车辆的副驾位座椅:
- 开始校准前,移走副驾位座椅上的所有物品。
- 在车辆触摸屏上,点击,然后检查车辆固件版本。如果车辆固件是 2023.2.11 或更高版本,请执行软件重新安装。请参阅 软件重新安装 - 触摸屏。如果车辆固件不是 2023.2.11 或更高版本,请更新车辆固件。请参阅 软件更新。
- 将本地装有 Toolbox 3 的笔记本电脑与车辆相连。请参阅 Toolbox(连接和断开)。
- 解锁车辆网关。请参阅 网关(解锁)。
- 在 Toolbox 中,点击Actions选项卡,然后搜索 "OCS"。
- 点击Run,以运行PROC_OCS1P_SELF-CALIBRATIONvia Toolbox: (link)via Service Mode Plus: Safety & Restraints ➜ Seats ➜ OCS1P Self Capacitance Calibration例行程序。
- 点击Actions选项卡,然后搜索 "Seat calibration"。
- 点击Run,以运行PROC_VCRIGHT_SEAT-CALIBRATEvia Toolbox: (link)via Service Mode Plus: Low Voltage ➜ Seats ➜ Calibrate例行程序。
- 断开 Toolbox,将笔记本电脑从车辆中取出。