2026-11-02
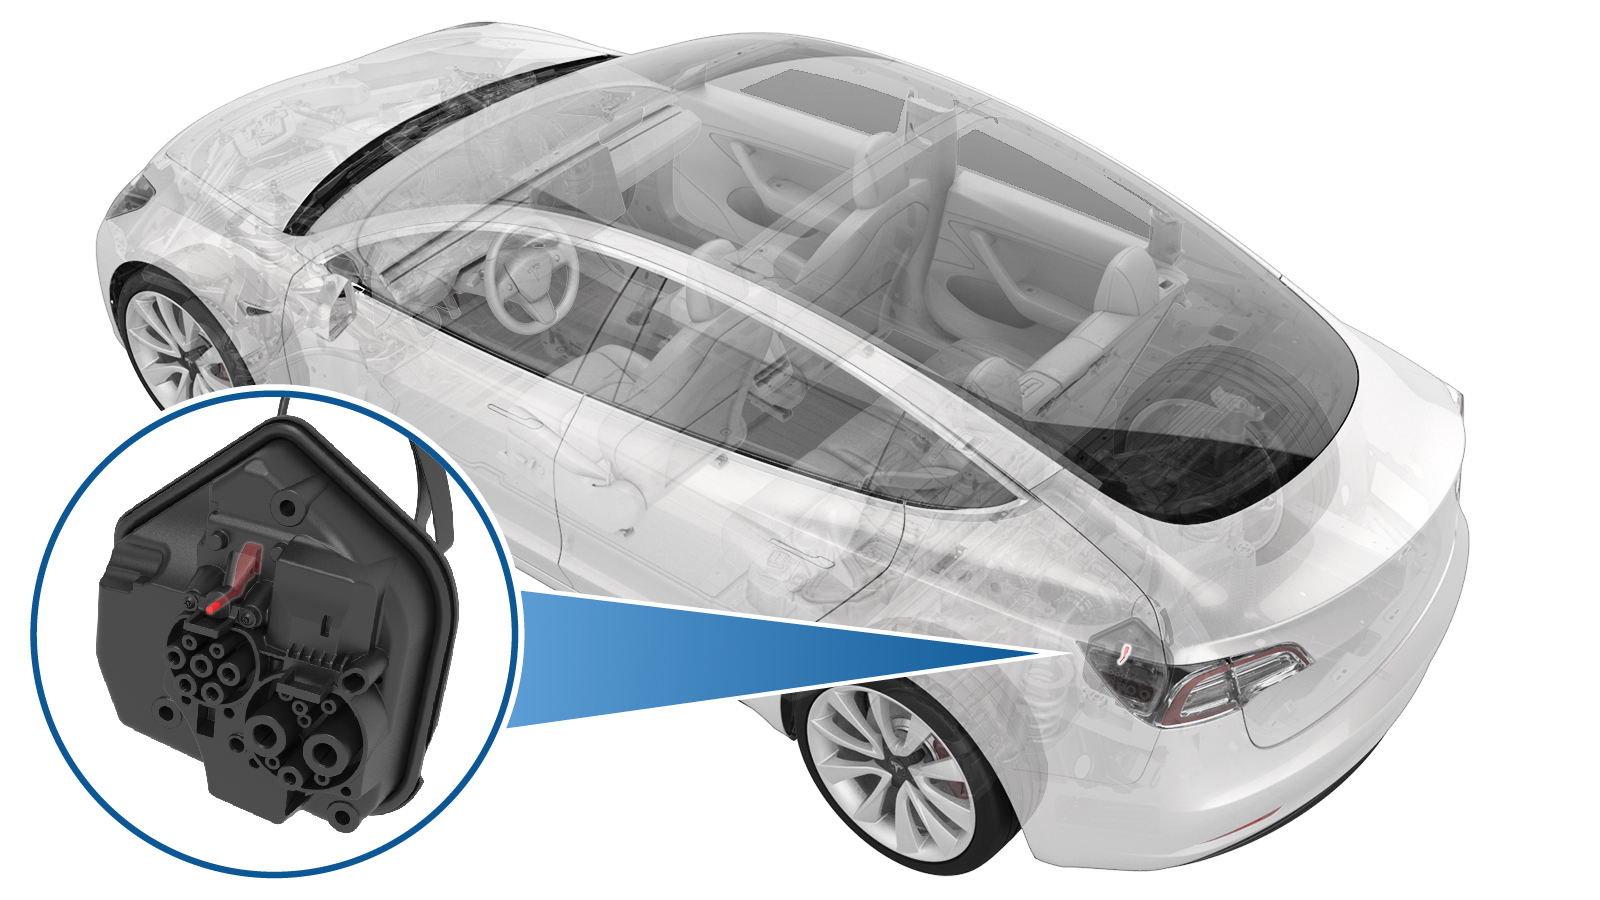
闩锁销 - 交流 - 充电接口(中国)(拆卸和更换)
 校正代码
44011132 0.60
NOTE: Unless otherwise explicitly
stated in the procedure, the correction code and its associated FRT reflect all of the
work required to perform this procedure, including the linked procedures. Do not stack correction codes unless
explicitly told to do so.
NOTE: See Flat Rate
Times to learn more about FRTs and how they are created.
NOTE: See 人员保护 to make sure wearing proper PPE when
performing the below procedure. NOTE: See 人体工程学注意事项 for safe and healthy working
practices.
- 2024-01-12: Re-structured the procedure.
Equipment:
- 1450424-00-A Mini Ratchet Bit Set
| 描述 | 扭矩值 | 推荐工具 | 重复使用/更换 | 备注 |
|---|---|---|---|---|
| 将传动装置固定到充电接口总成的螺钉(2 个) |
 3.3 Nm (2.4 lbs-ft) |
|
重复使用 |
拆卸
-
Remove the charge port. See 充电端口(拆卸和更换)(国标) ((拆卸和更换)).
Note拆卸过程中,执行部分步骤时需要格外小心。请观看动画以获取详细指导。
-
Pull and hold the manual release cable
to release the actuator.
-
Remove the screws (x2) that attach the
actuator to the charge port assembly.
NoteNewer vehicle is equipped with T20 tamper proo.Tip推荐使用以下工具
- 迷你型棘轮摇钻套件 - 1450424-00-A
-
Remove the actuator from the charge
port assembly.
NoteTurn over 30 degrees and then take out the actuator.
-
Remove and discard the DC charge port
latch stick o-ring from the charge port assembly.
-
Rotate to remove the AC charge port
latch stick from the actuator.
安装
-
Apply efficient amount of lubricant to
lubricate the AC latch stick and the o-ring.
-
Rotate to install the AC latch stick
to the actuator.
-
Install the DC latch stick o-ring to
the charge port assembly.
NoteDo not damage the o-ring.
-
Position the actuator to the charge
port assembly.
NoteGently push the actuator. Make sure there is no gap between the actuator and the charge port.
-
Install the screws (x2) that attach the actuator to the charge port assembly.3.3 Nm (2.4 lbs-ft)NoteNewer vehicle is equipped with T20 tamper proo.Tip推荐使用以下工具
- 迷你型棘轮摇钻套件 - 1450424-00-A
- Install the charge port. See 充电端口(拆卸和更换)(国标) ((拆卸和更换)).