2026-10-15
座椅总成 - 第一排 - 左侧(拆卸和更换)
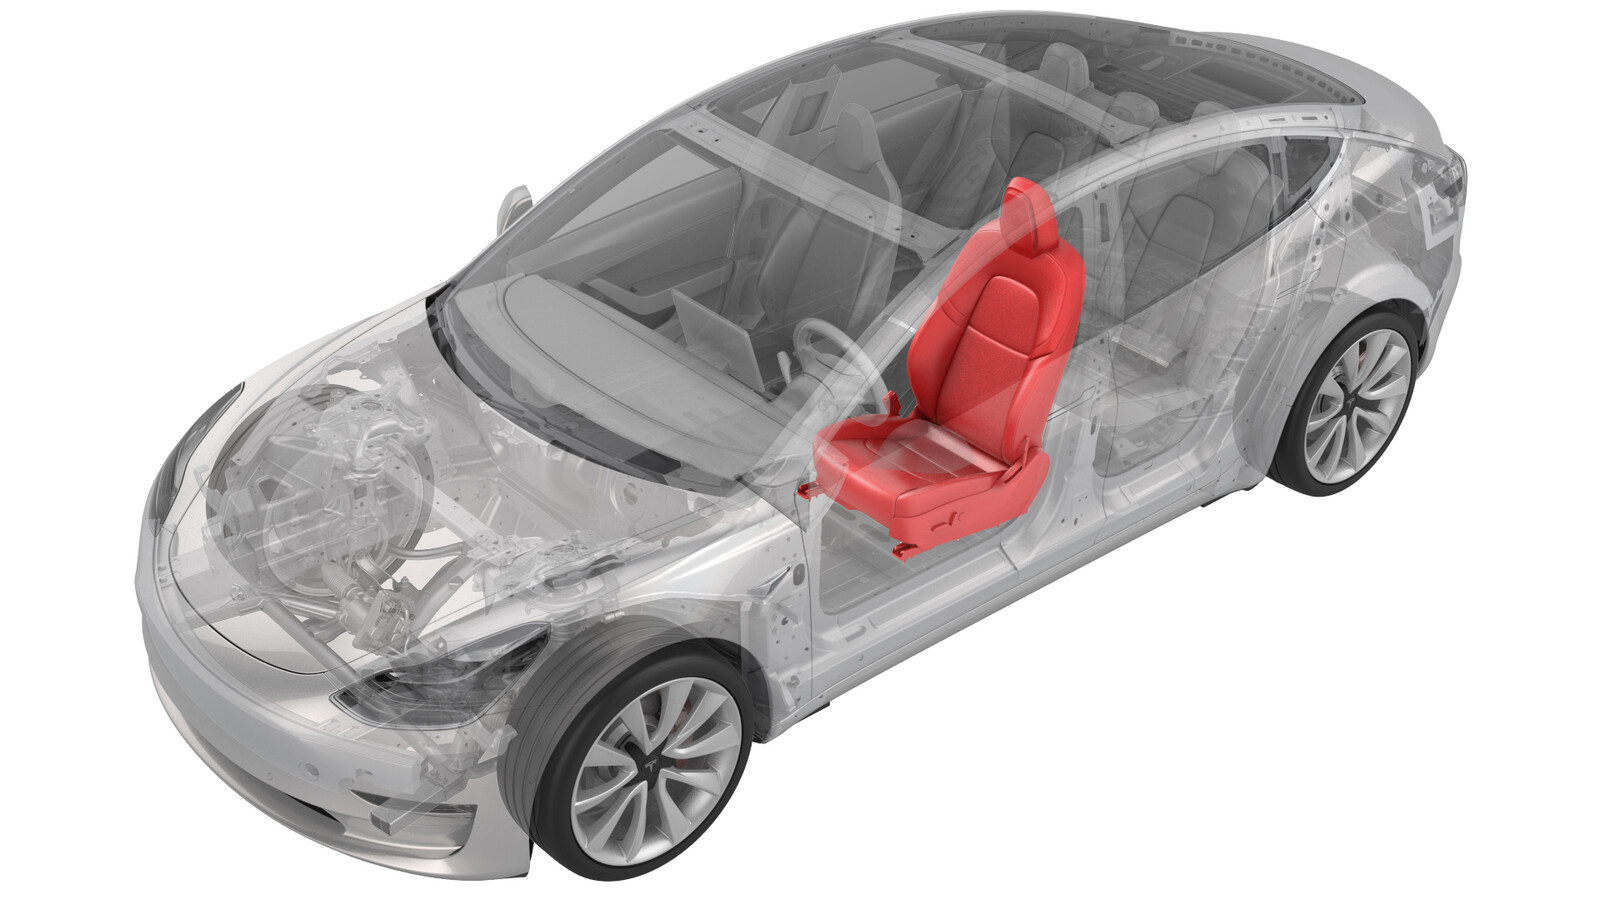 校正代码
13040102 0.42
NOTE: Unless otherwise explicitly
stated in the procedure, the correction code and its associated FRT reflect all of the
work required to perform this procedure, including the linked procedures. Do not stack correction codes unless
explicitly told to do so.
NOTE: See Flat Rate
Times to learn more about FRTs and how they are created.
NOTE: See 人员保护 to make sure wearing proper PPE when
performing the below procedure. NOTE: See 人体工程学注意事项 for safe and healthy working
practices.
警告
Seat base edges are
sharp and can cause personal injury. Wear cut resistant gloves when removing the seat
from the vehicle, and while performing procedures that involve work on or near the seat
base.
注
前排座椅包含安全气囊和预紧器,因此必须妥善处理。请参阅拆卸并弃置前排座椅气囊了解更多信息添加校正代码 20010707 以记录工时,破坏性拆卸和弃置前排座椅气囊和预紧器不计入前排座椅拆卸和更换工时。
注
虽然此处介绍的是第一排左侧座椅,但第一排右侧座椅的操作程序与此相同。本程序适用于左驾驶和右驾驶车辆的驾驶位和副驾位座椅。
警告
Supplemental
Restraint System (SRS) components can be hazardous if not serviced and handled
correctly. See
警告
In the event of an
airbag or seatbelt pretensioner deployment, certain components must be replaced, and
other components must be inspected for damage. Refer to the Collision Repair
Manual for a specific list of items that must be inspected and
replaced.
设备:
- 1133787-00-A 安全带释放按键,Model 3
- 1082447-07-A T45 梅花套筒加强版
- 2024-12-04: 添加了前座椅总成(带 Tesla 小型倾斜电机)配置信息。
- 2023 年 8 月 1 日:重新组织了步骤。
- 2023 年 7 月 3 日:添加了拆卸和安装前后排座椅滑轨盖板的步骤。
扭矩规格
| 描述 | 扭矩值 | 推荐工具 | 重复使用/更换 | 备注 |
|---|---|---|---|---|
| 将前排座椅固定到车身的螺栓 |
 33.5 Nm (24.7 lbs-ft) |
|
更换 | 螺栓涂有螺纹胶 零件号:1458818-00-B |
拆卸
- 打开所有车门,降下所有车窗。
-
维修副驾位座椅时:
- 将车辆置于“维护模式”。请参阅 维护模式。
- 解锁车辆网关。请参阅 网关(解锁)。
- 重新安装车辆软件。请参阅 软件重新安装 - 触摸屏。
- 拆下 A 柱左侧中部饰板。请参阅 饰板 - A 柱 - 中部 - 左侧(拆卸和更换)。
- 拆下 A 柱左侧下部饰板。请参阅 饰板 - A 柱 - 下 - 左侧(拆卸和更换)。
- 将左侧前排座椅向后移。
-
拆下并弃用将第一排左侧座椅前部固定到车身的螺栓 (x2)。
警告仅允许使用 Torx Plus T45 批头拆下座椅螺栓。注Use the torchless heat induction tool to ease the removal of patch bolts, if necessary.
- 将左侧前座椅向前移动。
-
将安全带释放钥匙 (1133787-00-A) 插入到安全带预紧装置耦合的底部,以从预紧装置中松开安全带。
-
拆下并弃用将第一排左侧座椅后部固定到车身的螺栓 (x2)。
警告仅允许使用 Torx Plus T45 批头拆下座椅螺栓。注Use the torchless heat induction tool to ease the removal of patch bolts, if necessary.
- 拆下第二排座椅下部座垫。请参阅 座椅座垫 - 下部 - 第二排(拆卸和更换)。
- 将左侧前排座椅放到滑轨中间,并将座椅靠背置于垂直位置。
- 拆卸前备箱后部挡板。请参阅 前备箱挡板 - 后部(拆卸和更换)。
- 断开 12V 电源。请参阅 12V/低压电源(断开和连接)。
-
断开座椅电气线束连接器与左侧车身控制器的连接。
-
松开将座椅电气线束固定到车身的夹子。
-
在协助下,将座椅从车辆上拆下。
注抬高座椅,将座椅朝后倾斜,将座垫朝车门方向转动,然后先拆下座垫,接着将座椅从车辆上拆下。警告If discarding the entire seat, Service Centers must remove the seat-mounted airbag and pre-tensioner (if present) before discarding the seat. Follow local Environmental Health and Safety (EH&S) best practices to dispose of the airbag and pre-tensioner (for example, place the airbag and pre-tensioner into the appropriate hazardous waste receptacles located in the Service Center). Refer to 拆卸并弃置前排座椅气囊 for instructions, and use Correction Code 20010707 to document the labor; the labor time for destructively removing and disposing of the front seat airbag (and pre-tensioner, if equipped) is not reflected in the front seat removal and replacement labor time.
安装
-
在协助下,将座椅安装到车辆上。
注从侧方抬起座椅,并使扶手朝向车门开口,座垫朝向车尾方向。先将扶手穿过车门移入车内,然后移入座垫。转动座椅,使座垫朝上,然后将座椅放置在地毯上,并旋转座椅靠背,将其立起。
-
紧固将座椅电气线束固定到车身的夹子。
-
将座椅电气线束连接器连接到左侧车身控制器。
警告清除座椅电气线束连接器的所有碎屑,使连接器稳妥压入车身控制器中,然后接合连接器锁。
-
将多余长度的线束塞进 12V 线束支架和车身之间。
- 连接 12V 电源。请参阅 12V/低压电源(断开和连接)。
- 安装前备箱后挡板。请参阅 前备箱挡板 - 后部(拆卸和更换)。
- 安装第二排座椅下部座垫。请参阅 座椅座垫 - 下部 - 第二排(拆卸和更换)
- 将座椅移至最后端。
-
安装新螺栓 (x2) 以便将第一排左侧座椅的前部固定到车身。
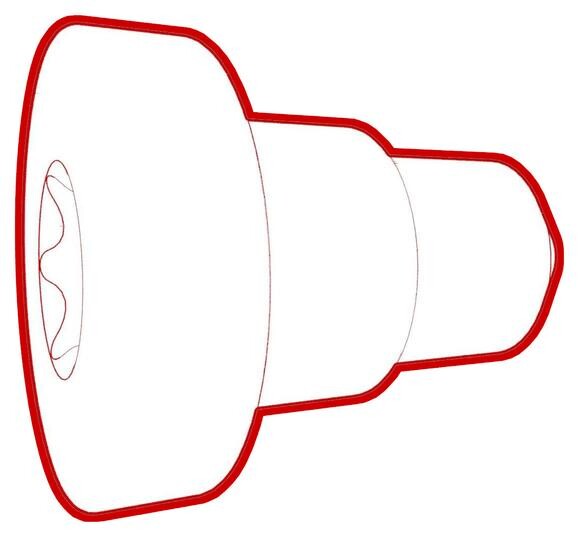 33.5 Nm (24.7 lbs-ft)警告仅允许使用 Torx Plus T45 批头紧固座椅螺栓。
- 将座椅移至最前端。
-
安装新螺栓 (x2) 以便将第一排左侧座椅的后部固定到车身。33.5 Nm (24.7 lbs-ft)警告仅允许使用 Torx Plus T45 批头紧固座椅螺栓。
-
将座椅安全带安装到座椅安全带预紧器连接件中。
注在将安全带预紧装置重新安装到安全带预紧装置耦合中后,执行拉力测试以确保安全带和预紧装置已牢牢接合
- 安装 A 柱左侧下部饰板。请参阅 饰板 - A 柱 - 下 - 左侧(拆卸和更换)。
-
Replacement front seat assemblies and seat cushion frame assemblies are equipped with a newly-designed "mini-tilt" motor, and replacing these parts (or the tilt motor itself) might require a configuration change. Review the configuration information in the table and perform the following substeps if a configuration update is needed.
图 1. Old Tilt Motor 图 2. New Mini Tilt Motor (P/N: 1868276-00-B or newer) - Access the Vehicle Configuration section of the Infotainment Dashboard. See 网关配置(显示和变更).
- Update cfg_frontSeattype according to the combination of tilt motors described in the table.
-
维修驾驶位座椅时:
- 通过车辆触摸屏将车辆置于“维护模式”。请参阅 维护模式。
- 重新安装车辆软件。请参阅 软件重新安装 - 触摸屏。
- 在车辆触摸屏上,点击Controls > Service > Driver Seat, Steering & Mirrors Calibration > Start。
- 退出“维护模式”。请参阅 维护模式。
-
维修北美或韩国车辆的副驾位座椅时:
- 请查阅零件目录,了解是否需要更改配置。
- 开始校准前,移走副驾位座椅上的所有物品。
- 重新安装车辆软件。请参阅 软件重新安装 - 触摸屏。
- 开始校准前,移走副驾位座椅上的所有物品。
- 将本地装有 Toolbox 3 的笔记本电脑与车辆相连。请参阅 Toolbox(连接和断开)。
- 解锁车辆网关。请参阅 网关(解锁)。
- 在 Toolbox 中,点击Actions选项卡,然后搜索 "OCS"。
- 点击Run,以运行PROC_OCS1P_SELF-CALIBRATIONvia Service Mode Plus:Safety & Restraints ➜ Seats ➜ OCS1P Self Capacitance Calibrationvia Toolbox:(link)例行程序。
- 点击Actions选项卡,然后搜索 "Seat calibration"。
- 点击Run,以运行PROC_VCRIGHT_SEAT-CALIBRATEvia Service Mode:Low Voltage ➜ Seats ➜ Calibrate Seatvia Toolbox:(link)例行程序。
- 断开 Toolbox,将笔记本电脑从车辆中取出。
-
维修 2019 年 5 月之前生产的欧洲车辆的副驾位座椅时:
- 将座椅移回原位。
- 升起所有车窗,关闭所有车门。