2026-09-10
电机 - 座椅高度 - 驾驶位座椅(拆卸和更换)
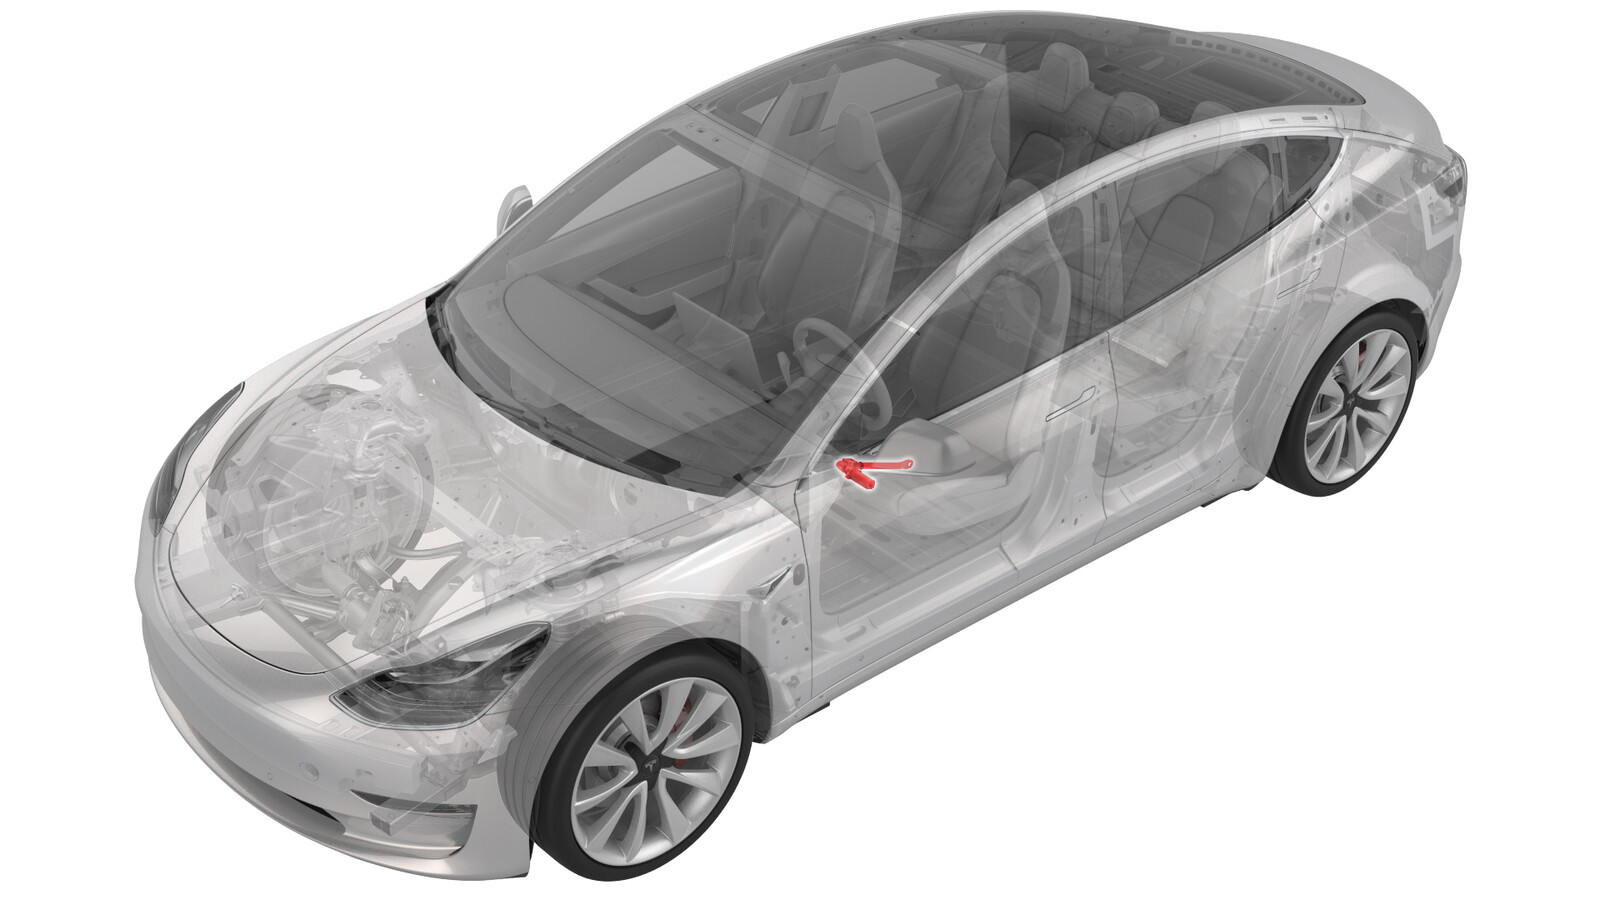 校正代码
13011602 0.48
NOTE: Unless otherwise explicitly
stated in the procedure, the correction code and its associated FRT reflect all of the
work required to perform this procedure, including the linked procedures. Do not stack correction codes unless
explicitly told to do so.
NOTE: See Flat Rate
Times to learn more about FRTs and how they are created.
NOTE: See 人员保护 to make sure wearing proper PPE when
performing the below procedure. NOTE: See 人体工程学注意事项 for safe and healthy working
practices.
警告
Seat base edges are
sharp and can cause personal injury. Wear cut resistant gloves when removing the seat
from the vehicle, and while performing procedures that involve work on or near the seat
base.
- 2026-08-31: 改变了副驾位座椅相关步骤,以在不拆卸座椅总成的情况下完成操作。
- 2026-02-02: 将座椅高度调节电机螺栓的扭矩从 T40 更新为 T45/T50。
- 2023 年 5 月 3 日:添加了副驾位座椅校准和乘员分类系统 (OCS) 校准的步骤。
副驾位座椅校正代码:
- 电机 - 座椅高度 - 副驾位座椅(拆卸和更换),校正代码13013602, FRT0.66
扭矩规格
| 描述 | 扭矩值 | 推荐工具 | 重复使用/更换 | 备注 |
|---|---|---|---|---|
| 用于固定左侧座椅高度调节电机的后部螺栓 |
 18 Nm (13.3 lbs-ft) |
|
更换 | 1106615-00-C |
| 用于固定左侧座椅高度调节电机的前部螺栓 |
23 Nm (17.0 lbs-ft) |
|
更换 | 1109796-00-C |
拆卸
- 如需对副驾位座椅执行此程序,请先检查固件版本:仅在所安装固件包版本为 2023.2.11 或更高的情况下,才能填充配置例行程序数据。如果版本低于目标固件包版本,请继续执行 OTA 更新。
- 打开所有四个车门,降下所有四个车窗。
-
拆下第二排座椅下部座垫。请参阅 座椅座垫 - 下部 - 第二排(拆卸和更换)。
注如需对副驾位座椅执行此程序,请跳过本步骤。
-
拆卸驾驶位座椅。请参阅 座椅总成 - 第一排 - 左侧(拆卸和更换)。
注如需对副驾位座椅执行此程序,请跳过本步骤。
-
在协助下,将驾驶位座椅面朝上放在受保护表面上。
注如需对副驾位座椅执行此程序,请跳过本步骤。
-
如果对副驾位座椅执行此程序,请拆下副驾位座椅外侧护板。请参阅 侧护板 - 外侧 - 驾驶位座椅(拆卸和更换)。
注拆卸过程中,执行部分步骤时需要格外小心。请观看动画以获取详细指导。注左侧如图所示,右侧类似
-
断开高度调节电机电气连接器。
-
拆下并弃置用于固定左侧座椅高度调节电机的后部螺栓。
提示推荐使用以下工具
- 梅花 T45 套筒
-
拆下并弃置用于固定左侧座椅高度调节电机的前部螺栓,然后将电机从总成上拆下。
提示推荐使用以下工具
- 梅花 T50 套筒
安装
-
将驾驶位座椅高度调节电机安装到座椅框架上,然后安装新的前部螺栓,将左侧座椅高度调节电机紧固到位。23 Nm (17.0 lbs-ft)注确保座椅下方各线束互不干扰。提示推荐使用以下工具
- 梅花 T50 套筒
-
安装新的后部螺栓,将左侧座椅高度调节电机紧固到位。18 Nm (13.3 lbs-ft)提示推荐使用以下工具
- 梅花 T45 套筒
-
连接座椅高度调节电机电气连接器。
- 如需对副驾位座椅执行此程序,请安装副驾位座椅外侧护板。请参阅 侧护板 - 外侧 - 驾驶位座椅(拆卸和更换)。
-
安装驾驶位座椅请参阅 座椅总成 - 第一排 - 左侧(拆卸和更换)。
注如需对副驾位座椅执行此程序,请跳过本步骤。
-
安装第二排座椅下部座垫。请参阅 座椅座垫 - 下部 - 第二排(拆卸和更换)。
注如需对副驾位座椅执行此程序,请跳过本步骤。
-
If servicing the front passenger seat in
a North American vehicle:
- Remove all objects from the front passenger seat before beginning calibration.
- On the vehicle touchscreen, touch and check the vehicle firmware version. If the vehicle firmware is 2023.2.11 or newer, perform a software reinstall. See 软件重新安装 - 触摸屏. If the vehicle firmware is not 2023.2.11 or newer, update the vehicle firmware. See 软件更新.
- Locally connect a laptop with Toolbox 3 to the vehicle. See Toolbox(连接和断开).
- Unlock the vehicle gateway. See 网关(解锁).
- In Toolbox, click on the Actions tab, and then search for "OCS".
- Run the PROC_OCS1P_SELF-CALIBRATIONvia Service Mode Plus:Safety & Restraints ➜ Seats ➜ OCS1P Self Capacitance Calibrationvia Toolbox:(link) routine.
- Click on the Actions tab, and then search for "Seat calibration".
- Run the PROC_VCRIGHT_SEAT-CALIBRATEvia Service Mode:Low Voltage ➜ Seats ➜ Calibrate Seatvia Toolbox:(link) routine.
- Disconnect Toolbox and remove the laptop from the vehicle.
- 在触摸屏上,点击,以校准座椅。
- 将座椅移回原位,升起所有车窗并关闭四个车门。