2026-10-15
气囊 - 帘式 - 左侧(拆卸和更换)
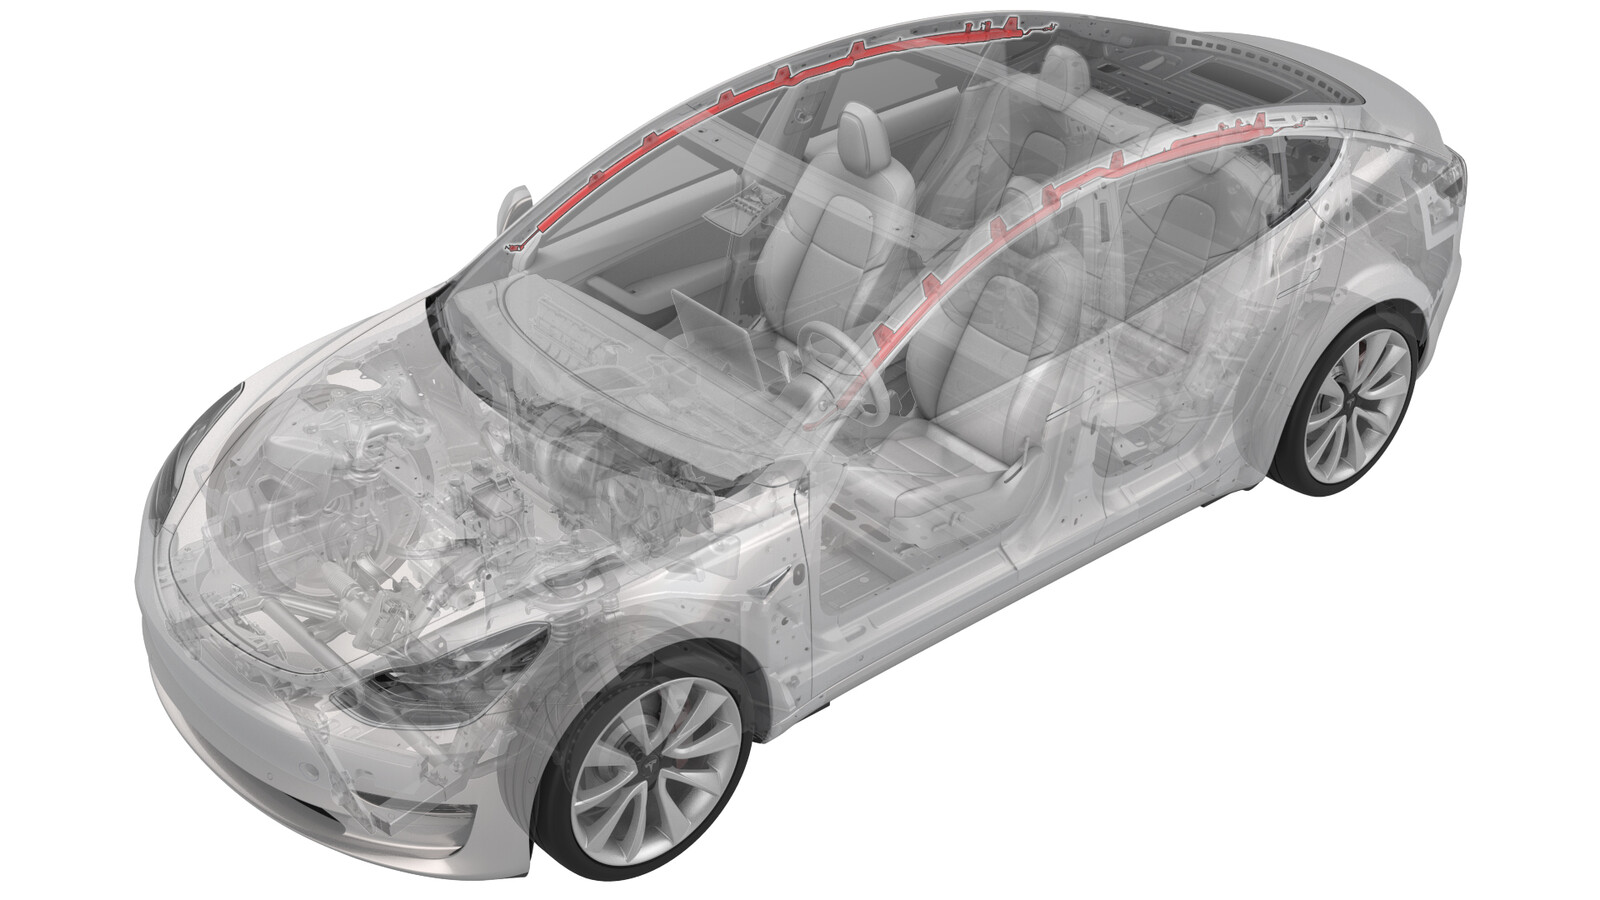 校正代码
20012002 1.20
NOTE: Unless otherwise explicitly
stated in the procedure, the correction code and its associated FRT reflect all of the
work required to perform this procedure, including the linked procedures. Do not stack correction codes unless
explicitly told to do so.
NOTE: See Flat Rate
Times to learn more about FRTs and how they are created.
NOTE: See 人员保护 to make sure wearing proper PPE when
performing the below procedure. NOTE: See 人体工程学注意事项 for safe and healthy working
practices.
- 2026-02-20: 添加了“如需通过本程序诊断辅助约束系统 (SRS) ,请使用 PROC_RCM_DISARM”的说明。
- 2024 年 2 月 5 日:添加了“气帘紧固件数量不同”的说明。
警告
Supplemental
Restraint System (SRS) components can be hazardous if not serviced and handled
correctly. See
警告
In the event of an
airbag or seatbelt pretensioner deployment, certain components must be replaced, and
other components must be inspected for damage. Refer to the Collision Repair
Manual for a specific list of items that must be inspected and
replaced.
警告
If using this
procedure to diagnosis the vehicle's Supplemental Restraint Systems (SRS),
disarm the RCM, which will prevent all airbags and pretensioners from deploying.
Re-arm the RCM after all of the vehicle's SRS components are re-installed.
警告
Make sure 12V/LV power has
been disconnected for at least 1 minute before disconnecting the electrical harness from
Supplementary Restraint System (SRS) components, such as Restraint Control Module, sensors,
airbags, etc. Disconnect the 12V/LV battery and the First Responder Loop. Failure to do so
can result in unintended safety system behaviors. For more information on SRS precautions,
see 气囊和辅助约束系统 (SRS) 预防措施.
扭矩规格
| 描述 | 扭矩值 | 推荐工具 | 重复使用/更换 | 备注 |
|---|---|---|---|---|
| 将左侧帘式气囊固定到车身的螺栓 |
 9 Nm (6.6 lbs-ft) |
|
重复使用 |
拆卸
- 断开 12V 电源。请参阅 12V/低压电源(断开和连接)。
- 拆卸顶篷。请参阅 顶篷(不带加热泵款)(拆卸和安装)。
-
断开左侧帘式气囊连接器上的电气线束。
-
拆下将左侧帘式气囊的前部和中部固定到车身的螺栓。
注The number of fasteners varies depending on vehicle build date/airbag revision.提示推荐使用以下工具
- 10 毫米套筒扳手
-
拆下将左侧帘式气囊的后部固定到车身的螺栓。
注The number of fasteners varies depending on vehicle build date/airbag revision.提示推荐使用以下工具
- 10 毫米套筒扳手
-
小心地松开将左侧帘式气囊固定到纵梁的夹子 (x8),然后从车上拆下气囊。
警告如有任何卡子发生损坏,请更换气囊。警告气囊始终应由点火器操控;切勿让点火器处于悬垂状态。注The number of fasteners varies depending on vehicle build date/airbag revision.
安装
-
将左侧帘式气囊安装到纵梁上,然后小心地紧固将气囊固定到纵梁的夹子 (x8)。
警告如有任何卡子发生损坏,请更换气囊。注The number of fasteners varies depending on vehicle build date/airbag revision.
-
安装并用手拧紧将左侧帘式气囊的后部固定到车身的螺栓。
注The number of fasteners varies depending on vehicle build date/airbag revision.
-
安装并用手拧紧将左侧帘式气囊的前部和中部固定到车身的螺栓。
注The number of fasteners varies depending on vehicle build date/airbag revision.
-
紧固将左侧帘式气囊固定到车身的螺栓。9 Nm (6.6 lbs-ft)提示推荐使用以下工具
- 10 毫米套筒扳手
-
将电气线束与左侧帘式气囊连接器相连。
- 安装顶篷。请参阅 顶篷(不带加热泵款)(拆卸和安装)。
- 连接 12V 电源。请参阅 12V/低压电源(断开和连接)。