传感器 - 驻车距离 - 外部 - 后部(拆卸和更换)
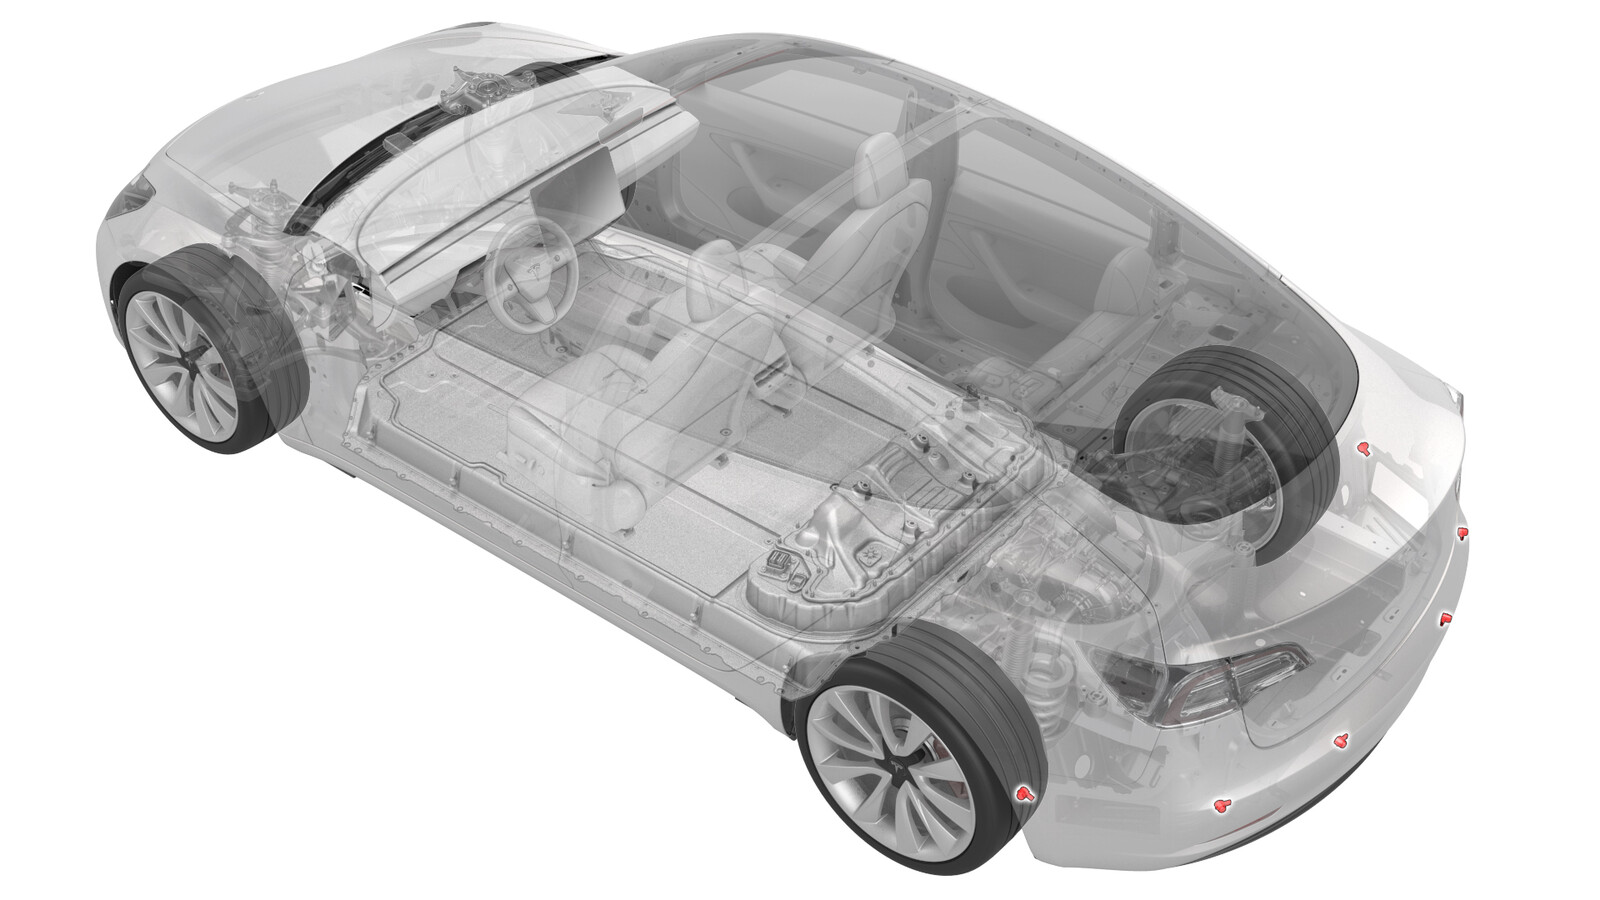 校正代码
17271122 0.06
NOTE: Unless otherwise explicitly
stated in the procedure, the correction code and its associated FRT reflect all of the
work required to perform this procedure, including the linked procedures. Do not stack correction codes unless
explicitly told to do so.
NOTE: See Flat Rate
Times to learn more about FRTs and how they are created.
NOTE: See 人员保护 to make sure wearing proper PPE when
performing the below procedure. NOTE: See 人体工程学注意事项 for safe and healthy working
practices.
- 2026-07-08: 添加了有关 Valeo 传感器的步骤。
拆卸
-
拆下将后饰板左侧固定到车身的螺栓。
 2 Nm (1.5 lbs-ft)提示推荐使用以下工具
- T25 梅花套筒
- 向外拉后饰板,为后部驻车传感器留出空间。
-
断开电气线束与后驻车距离传感器连接器的连接。
注DO NOT push down on the red locking tab. Pull the tab away from the connector until the connector is unlocked, and then continue pulling the main body of the connector to fully disconnect it.
-
松开将后驻车距离传感器固定到后饰板的锁片,然后将传感器从后饰板上拆下。
安装
安装程序与拆卸程序相反,以下各项除外:
Push the red locking tab towards the connector to engage the locking mechanism. DO NOT push down or pull up on the red locking tab.
请参阅零件目录以确定安装在车辆上的驻车传感器的类型。
- 如果车辆配备 Tesla USS,请按所列顺序运行以下 Toolbox 3.0 例程:
- 如果车辆配备 Valeo 传感器,请运行以下 Toolbox 3.0 例行程序:
- TEST-RESET_PARKvia Toolbox:(link)