2026-08-09
支座和套管组件 - 后驱动电机 (3DU)(拆卸和更换)


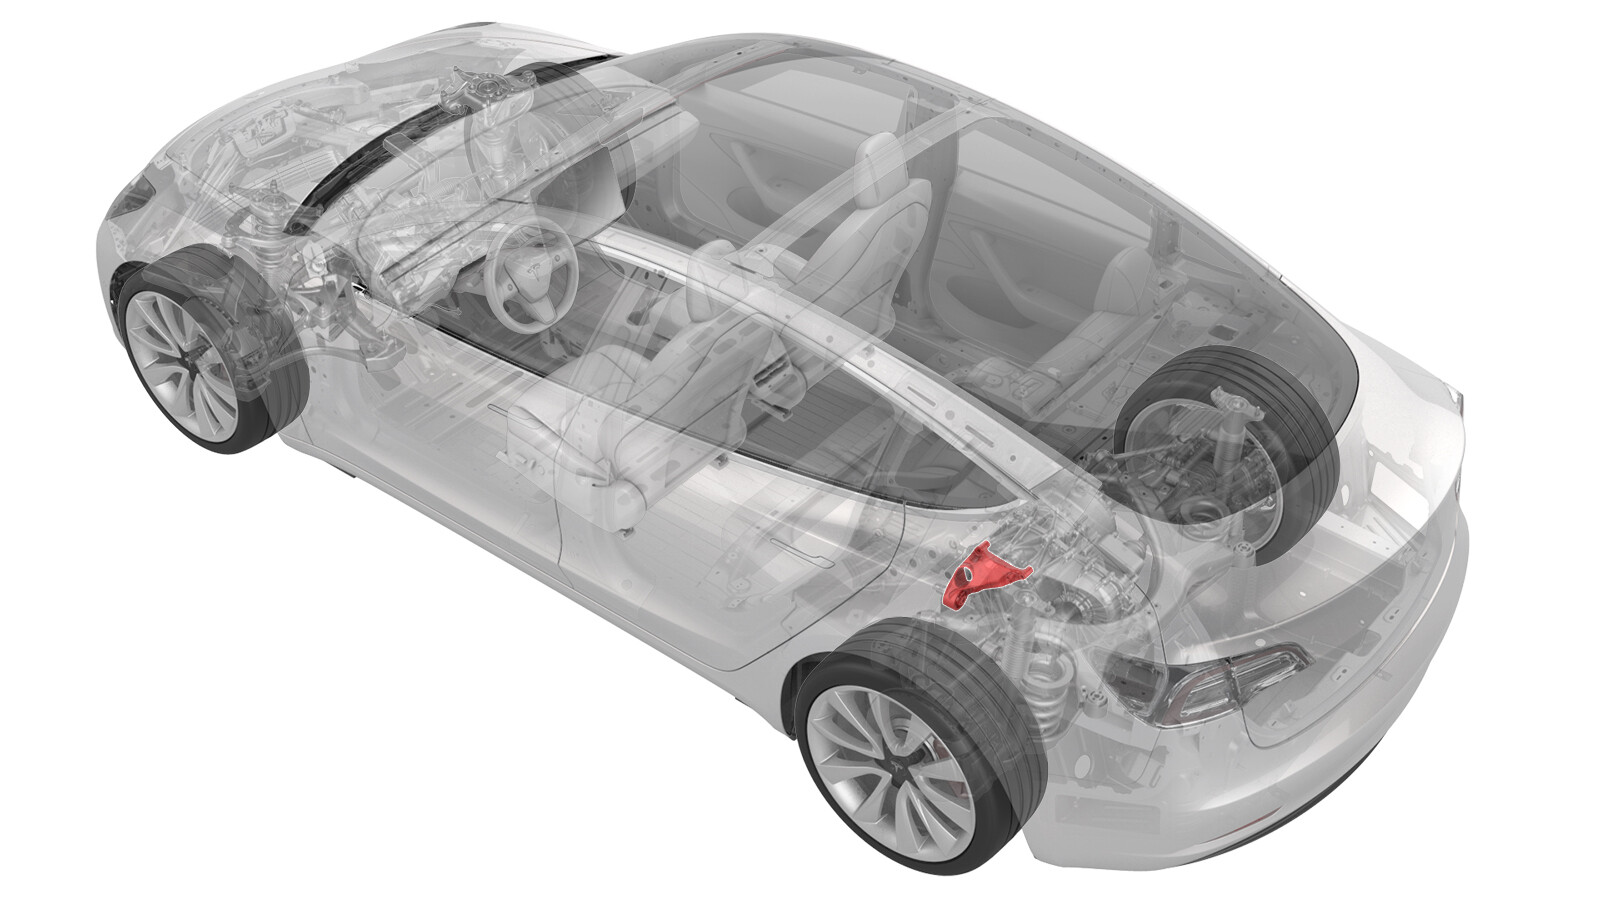 校正代码
40012802
3.66
NOTE: Unless otherwise explicitly
stated in the procedure, the correction code and its associated FRT reflect all of the
work required to perform this procedure, including the linked procedures. Do not stack correction codes unless
explicitly told to do so.
NOTE: See Flat Rate
Times to learn more about FRTs and how they are created.
NOTE: See 人员保护 to make sure wearing proper PPE when
performing the below procedure. NOTE: See 人体工程学注意事项 for safe and healthy working
practices.
- 2026-04-23: 更新了套件零件号版本。
设备:
- 1137785-00-B Kit, Drive Unit Bushing R&R, Model 3
拆卸
- 拆下后轮驱动单元。请参阅驱动电机 - 后 (3DU)(拆卸和安装)。
-
将驱动电机套管工具安装到后套管上。
注拆卸前,标记好旧套管在后驱动电机主体上的位置,以便确定新套管的准确安装位置。注装配特殊工具时,使用如图所示的 "N"、"A"、"F" 和 "L" 罩帽。
- 旋转止推垫圈上的螺母以拆下驱动单元上的套管。
-
分离套管工具,然后从驱动单元上拆下。
-
在右侧套管上安装套管拆卸工具。
注装配特殊工具时,使用如图所示的 "N"、"A" 和 "G" 罩帽。
- 将另一螺母固定在适当位置,同时用扳手转动轴承侧套管拆卸工具螺母。
-
将套管从驱动电机推出后,分离套管拆卸工具,然后将其从驱动电机上拆下。
-
拆下并弃用将左侧支座固定到后驱动电机的螺栓,然后将支座从后驱动电机上拆下。
安装
-
安装新的螺栓,将左侧支座固定到后驱动电机(紧固至 35 Nm,再旋转 55 度)。
注螺栓零件号:1111864-00-B
-
在右侧套管上安装套管拆卸工具。
注装配特殊工具时,使用如图所示的 "E" 和 "G" 罩帽。
- 将另一螺母固定在适当位置的同时,用扳手转动轴承侧套管安装工具螺母。
-
安装套管工具,以套上新的套管。
注装配特殊工具时,使用如图所示的 "N"、"A"、"F" 和 "L" 罩帽。
- 旋转止推垫圈上的螺母以在驱动单元上套上新的套管。
- 分离套管工具,然后从驱动单元上拆下。
- 安装后轮驱动单元。请参阅驱动电机 - 后 (3DU)(拆卸和安装)。
- Refer to the Alignment Requirement tables to determine whether an EPAS alignment check (EC) or four wheel alignment check (AC) is necessary. If performed, add the alignment check/adjust correction code as a separate activity to the SV. See 定位要求 - 悬架.