2025-04-11
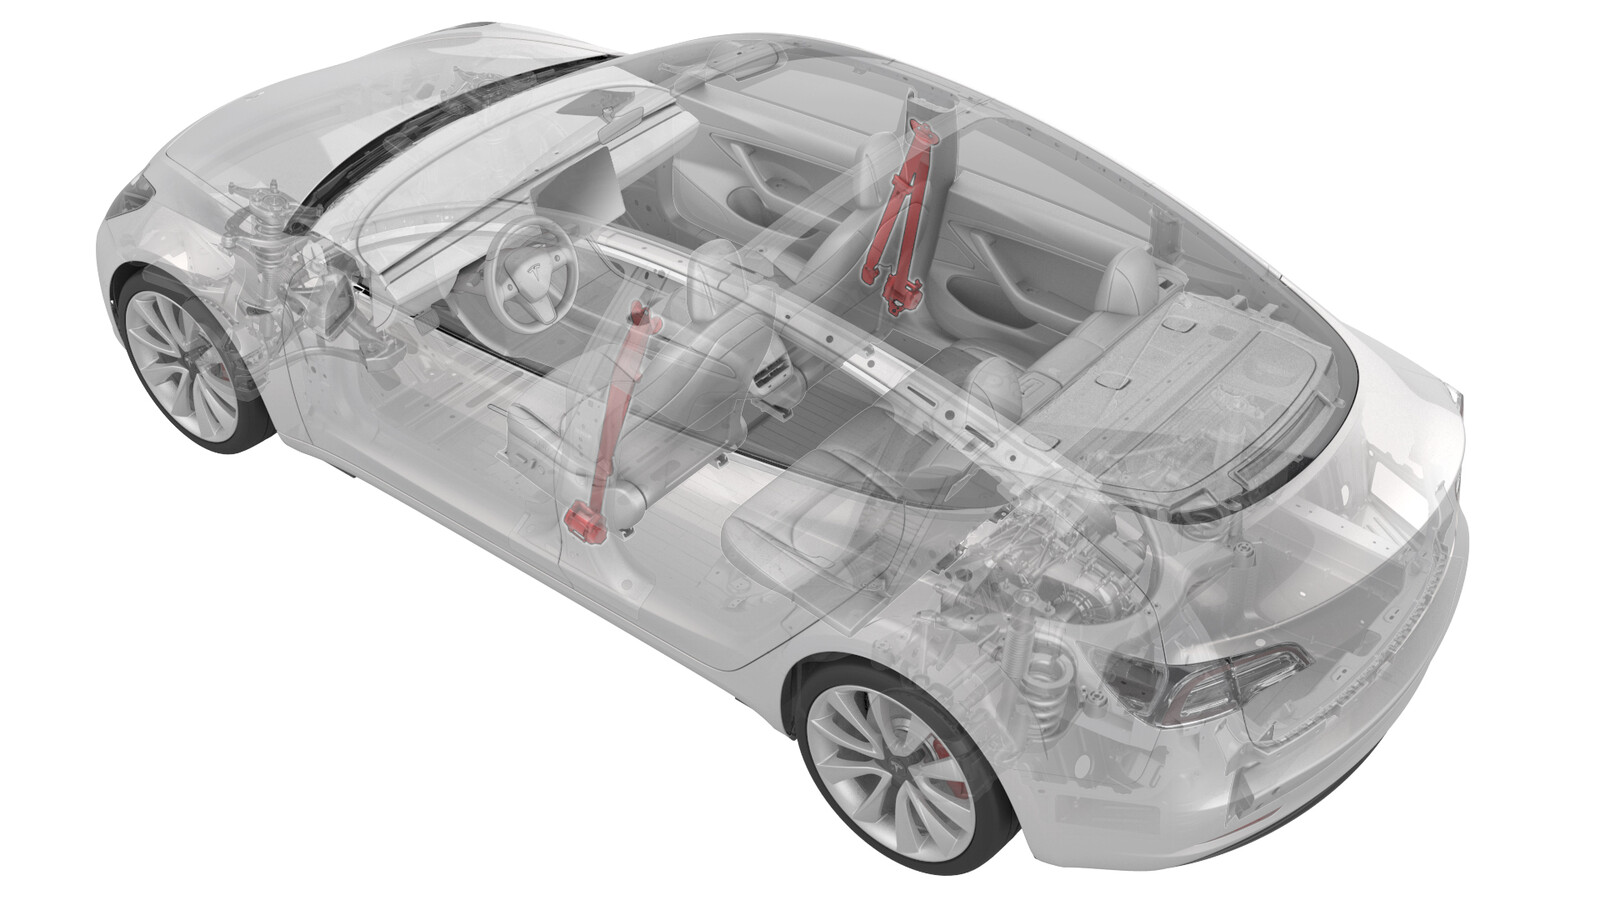
卷收器 - 安全带 - 第一排 - LH(拆卸和更换)
 校正代码
20054102 0.42
注意:除非本程序中另有明确规定,否则上述校正代码和 FRT 反映的是执行本程序(包括关联程序)所需的所有工作。除非明确要求,否则请勿堆叠校正代码。
注意:请参阅平均维修工时,深入了解 FRT 及其创建方式。要提供有关 FRT 值的反馈,请发送电子邮件至 ServiceManualFeedback@tesla.com。。
注意:请参阅人员保护,确保在执行以下程序时穿戴适当的个人防护装备 (PPE)。请参阅人体工程学注意事项查看安全健康的作业规程。
设备:
- 1133787-00-A 安全带释放按键,Model 3
扭矩规格
| 描述 | 扭矩值 | 推荐工具 | 重复使用/更换 | 备注 |
|---|---|---|---|---|
| 将上部 D 型环固定到可调顶部环的螺纹胶螺栓 |
 30 Nm (22.1 lbs-ft) |
|
更换 | |
| 将座椅安全带织带导件固定到 B 柱的螺栓 |
 5 Nm (3.7 lbs-ft) |
|
更换 | |
| 将座椅安全带卷收器固定到 B 柱底部的螺纹胶螺栓 |
 40 Nm (29.5 lbs-ft) |
|
更换 |
拆卸
- 拆下仪表板左侧端盖。请参阅端盖 - 仪表板 - LH(拆卸和更换)。
- 拆下左侧 A 柱中部饰板。请参阅饰板 - A 柱 - 中部 - LH(拆卸和更换)。
- 拆下左侧 A 柱下饰板。请参阅饰板 - A 柱 - 下 - LH(拆卸和更换)。
-
将安全带释放钥匙 (1133787-00-A) 插入到安全带预紧装置耦合的底部,以从预紧装置中松开安全带。
- 拆下第二排座椅下部座垫。请参阅座椅座垫 - 下部 - 第二排(拆卸和更换)。
- 拆下前备箱后部挡板。请参阅前备箱挡板 - 后部(拆卸和更换)。
- 断开 12V 电源。请参阅12V/低压电源(断开和连接)。
- 拆下第二排座椅左侧侧部承梁。请参阅承梁 - 侧 - 座椅 - 第二排 - LH(拆卸和更换)。
- 拆下左后门槛饰板。请参阅饰板 - 门槛板 - 后 - LH(拆卸和更换)。
-
松开将左侧 B 柱上饰板固定到车辆的卡子。
TIp首先松开左侧 B 柱上饰板底部的卡子,然后松开饰板顶部的卡子。
- 将座椅安全带穿过左侧 B 柱上饰板上的孔,然后将饰板置于一旁。
- 拆下左侧 B 柱下饰板。请参阅饰板 - B 柱 - 下 - LH(拆卸和更换)。
-
拆下将座椅安全带织带导件固定到 B 柱的螺栓,然后将导件从 B 柱上拆下。
TIp推荐使用以下工具
- 8 毫米套筒
-
拆下并弃用将上部 D 型环固定到顶部环的螺纹胶螺栓。
TIp推荐使用以下工具
- 梅花 T50 套筒
-
拆下并弃用将座椅安全带卷收器固定到 B 柱底部的螺纹胶螺栓。
TIp推荐使用以下工具
- 13 毫米 12 角深套筒
-
将电气线束从座椅安全带卷收器连接器(2 个)上断开。
注可先将卷收器从 B 柱上拆下,以便接触连接器。
-
将左前座椅安全带从车辆上拆下。
安装
-
将电气线束连接到座椅安全带卷收器连接器(2 个)上,然后将卷收器放置在 B 柱上。
-
安装新的螺纹胶螺栓,将座椅安全带卷收器固定到 B 柱底部。
 40 Nm (29.5 lbs-ft)TIp推荐使用以下工具
- 13 毫米 12 角深套筒
-
安装新的螺纹胶螺栓,将上部 D 型环固定到顶部环。
 30 Nm (22.1 lbs-ft)TIp推荐使用以下工具
- 梅花 T50 套筒
-
将座椅安全带织带导件安装到 B 柱上,然后安装将导件固定到 B 柱的螺栓。
 5 Nm (3.7 lbs-ft)TIp推荐使用以下工具
- 8 毫米套筒
- 将座椅安全带穿过左侧 B 柱上饰板上的孔。
- 安装左侧 B 柱下饰板。请参阅饰板 - B 柱 - 下 - LH(拆卸和更换)。
-
紧固将左侧 B 柱上饰板固定到车辆的卡子。
TIp先紧固左侧 B 柱上饰板顶部的卡子,再紧固饰板底部的卡子。
- 安装左后门槛饰板。请参阅饰板 - 门槛板 - 后 - LH(拆卸和更换)。
- 安装第二排座椅左侧侧部承梁。请参阅承梁 - 侧 - 座椅 - 第二排 - LH(拆卸和更换)。
- 连接 12V 电源。请参阅12V/低压电源(断开和连接)。
- 安装前备箱后部挡板。请参阅前备箱挡板 - 后部(拆卸和更换)。
- 安装第二排座椅下部座垫。请参阅座椅座垫 - 下部 - 第二排(拆卸和更换)。
-
将左前安全带预紧器连接件安装到左前座椅预紧器上。
注执行推拉推测试,确认预紧器和连接件已完全接合。警告本程序所含视频仅作为补充材料予以概括说明。请遵循本程序所列的所有步骤,以避免部件损坏和/或人身伤害。
- 安装左侧 A 柱下饰板。请参阅饰板 - A 柱 - 下 - LH(拆卸和更换)。
- 安装左侧 A 柱中部饰板。请参阅饰板 - A 柱 - 中部 - LH(拆卸和更换)。
- 安装仪表板左侧端盖。请参阅端盖 - 仪表板 - LH(拆卸和更换)。