2026-08-09
传感器 - 驻车距离 - 内部 - 前部(拆卸和更换)
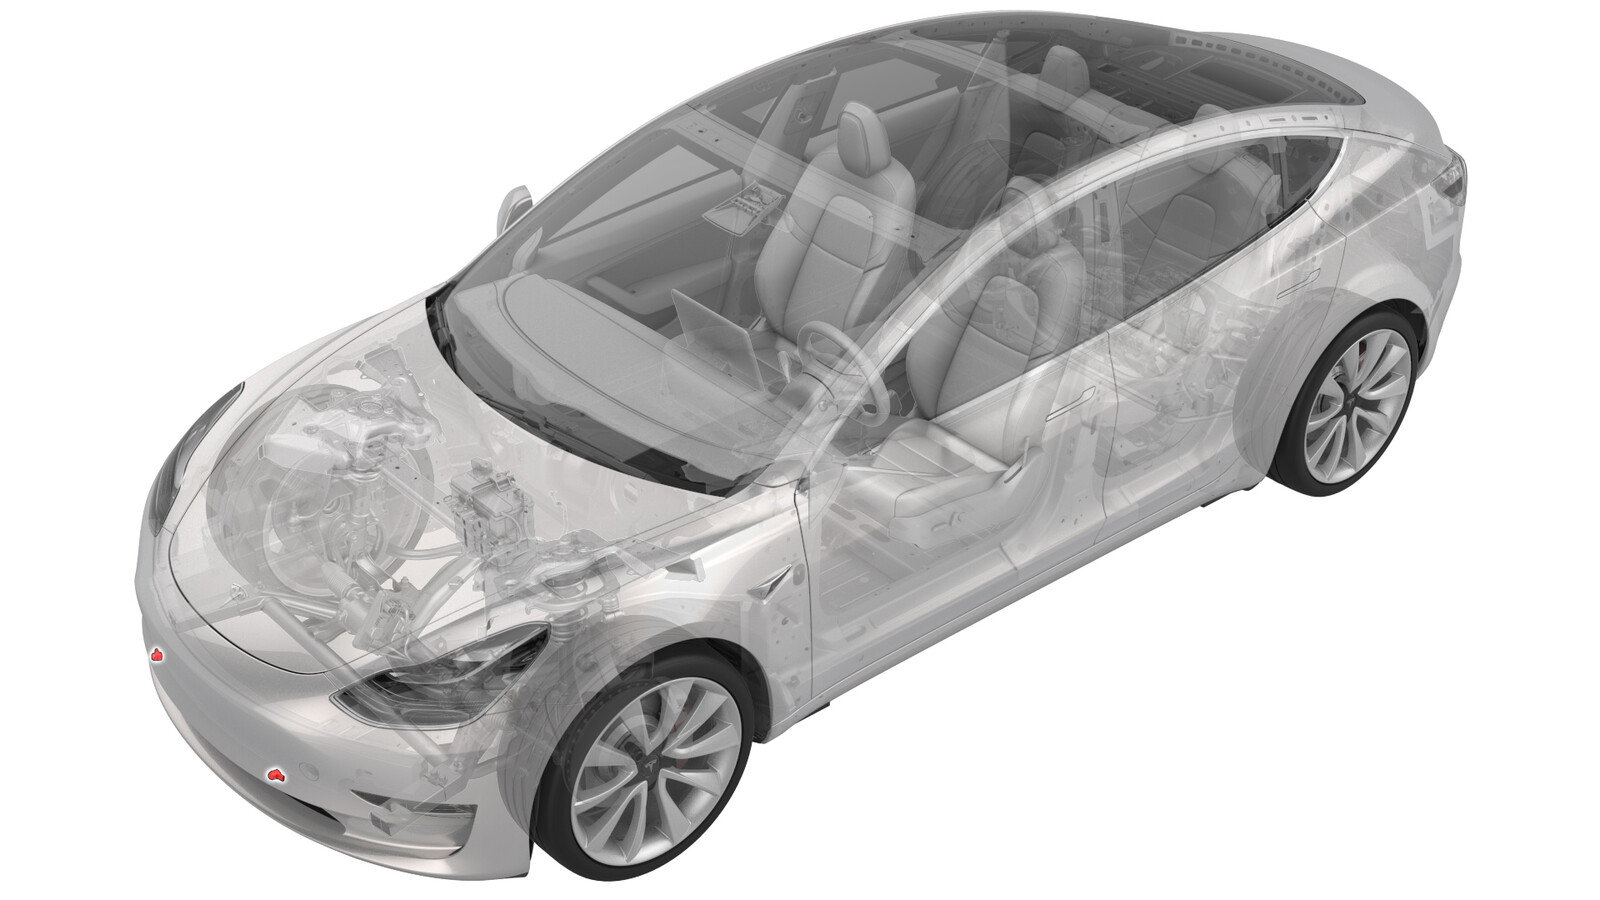 校正代码
17271012 0.18
NOTE: Unless otherwise explicitly
stated in the procedure, the correction code and its associated FRT reflect all of the
work required to perform this procedure, including the linked procedures. Do not stack correction codes unless
explicitly told to do so.
NOTE: See Flat Rate
Times to learn more about FRTs and how they are created.
NOTE: See 人员保护 to make sure wearing proper PPE when
performing the below procedure. NOTE: See 人体工程学注意事项 for safe and healthy working
practices.
- 2026-04-14: 添加了有关 Valeo 传感器的步骤。
注
内侧驻车距离传感器为 S3 和 S4。外侧驻车距离传感器为 S1、S2、S5 和 S6。请参阅 传感器 - 驻车距离 - 外部 - 前部(拆卸和更换)
警告
The video(s)
included in this procedure are meant as an overview for supplemental purposes only.
Follow all of the steps listed in the procedure to avoid damage to components and/or
personal
injury.
- 2023 年 4 月 28 日:添加了整个程序的视频,仅作为补充材料予以概括说明。
拆卸
- 拆卸前备箱后部挡板。请参阅 前备箱挡板 - 后部(拆卸和更换)。
- 拆卸驾驶室进气槽。请参阅 槽 - 上部 - 驾驶室进气(拆卸和更换)。
- 拆卸前备箱储物单元。请参阅 前备箱储物单元(拆卸和更换)。
-
松开将前驻车距离传感器固定到前饰板的锁片 (x2),然后从饰板上拆下传感器。
安装
-
将驻车传感器安装到前保险杠饰板上,然后紧固将前驻车距离传感器固定到前保险杠饰板的锁片 (x2)。
- 安装前备箱储物单元请参阅 前备箱储物单元(拆卸和更换)。
- 安装驾驶室进气槽。请参阅 槽 - 上部 - 驾驶室进气(拆卸和更换)。
- 安装前备箱后挡板。请参阅 前备箱挡板 - 后部(拆卸和更换)。
-
请参阅零件目录以确定安装在车辆上的驻车传感器的类型。
- 如果车辆配备 Tesla USS,请按所列顺序运行以下 Toolbox 3.0 例程:
- 如果车辆配备 Valeo 传感器,请运行以下 Toolbox 3.0 例行程序:
- TEST-RESET_PARKvia Toolbox:(link)