2026-08-09

前照灯 - 调节 - 全球(墙壁法)
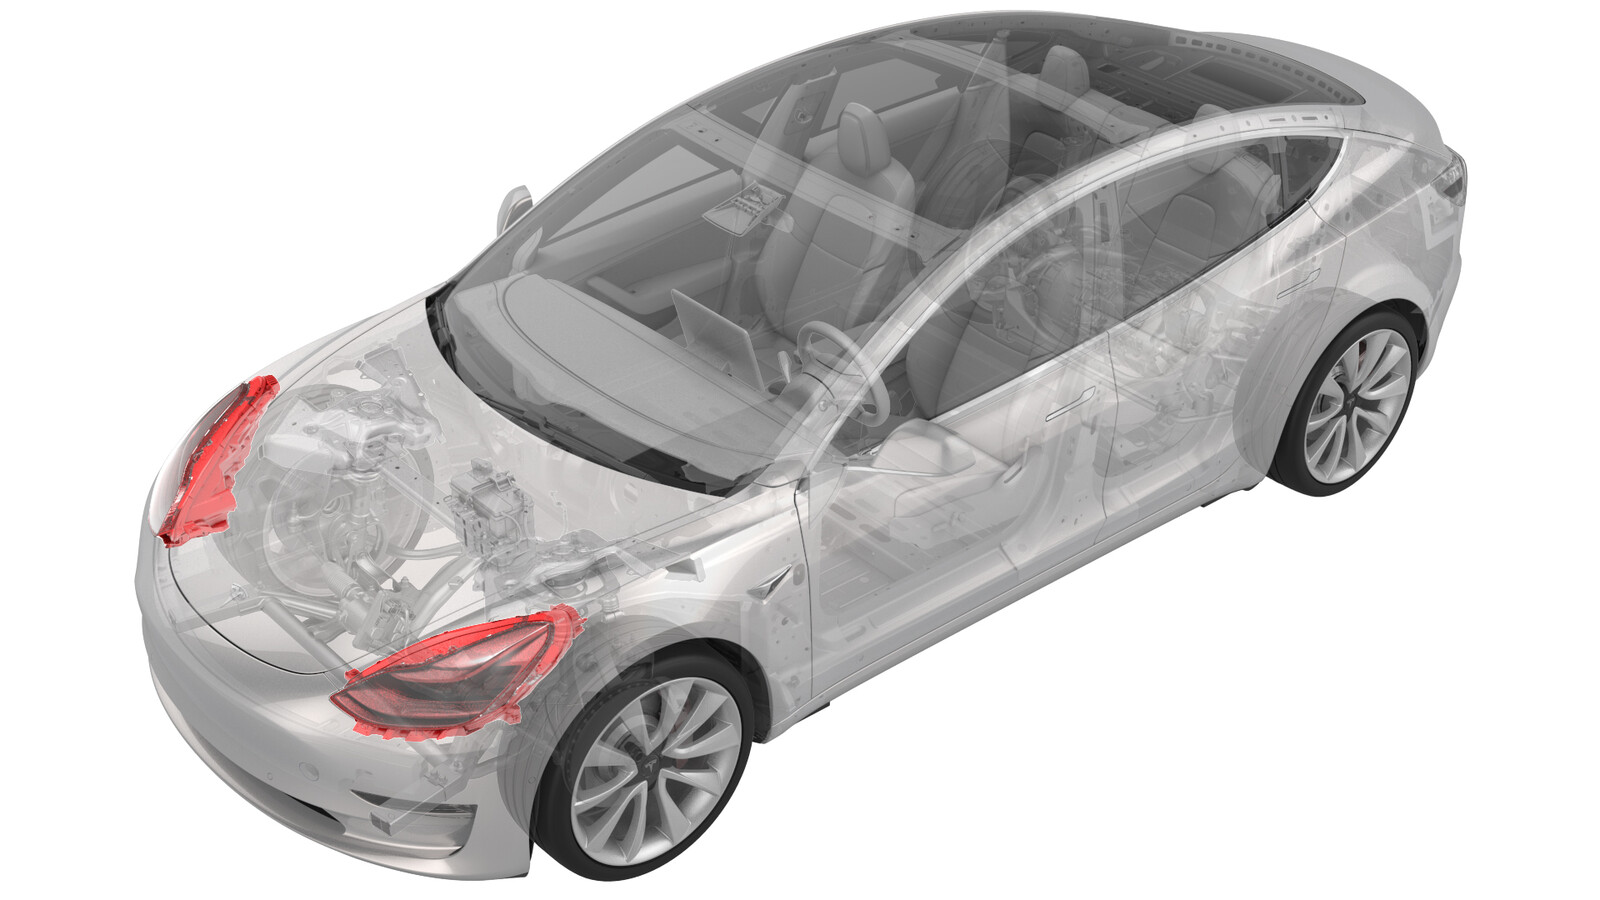
校正代码 17400160 0.18 NOTE: Unless otherwise explicitly stated in the procedure, the correction code and its associated FRT reflect all of the work required to perform this procedure, including the linked procedures. Do not stack correction codes unless explicitly told to do so. NOTE: See Flat Rate Times to learn more about FRTs and how they are created. NOTE: See 人员保护 to make sure wearing proper PPE when performing the below procedure. NOTE: See 人体工程学注意事项 for safe and healthy working practices.

  • 2024 年 4 月 1 日:更新了测量值和单位。

明确大灯类型

本程序仅适用于“球形”大灯。球形大灯 (2) 在反光器和透镜方面有别于 SAE/ECE 大灯 (1)。区别如下所示。

调节模式下的倾角与正常驾驶条件下的倾角

请注意,在调节模式下,球形大灯的倾角将调至 0%。这意味着在调节模式下,前照灯光束投射在墙壁上的高度与前照灯中心的高度相同(71 厘米(28 英寸))。
在正常驾驶条件下(即车辆未处于调节模式时),前照灯会自动调平垂直(向下)和水平(左/右,取决于右侧驾驶/左侧驾驶车辆)角度,不同区域自动调平角度不同。这意味着,当您在非调节模式下检查前照灯调节时,前照灯光束将投射到墙壁上胶带标记的下方。
例如:欧洲地区,前照灯光束垂直倾角为 -1%。这意味着,当车辆距离墙壁 7.62 米(25 英尺)时,光束将投射到墙壁上胶带标记下 7.62 厘米(3 英寸)处。

借助墙壁调节前照灯

  1. Enter headlight adjustment mode:
    1. On the vehicle touchscreen, touch Controls > Service > Adjust Headlights.
    2. If prompted to calibrate the headlights (Figure A), continue to substep c. If prompted to adjust the headlights (Figure B), skip to step 2.
      图 1. Figure A
      图 2. Figure B
    3. Follow the prompts on the touchscreen to calibrate the headlights. Calibration is complete when all 4 checks have transitioned from "red" to "green".
      注
      The calibration drive can take up to 2 km (1.24 mi).
      注
      To ensure an accurate calibration:
      • After turning on the drive rails, wait for at least 1 second before switching to Drive.
      • Close all vehicle doors and do not open the doors while performing the calibration drive.
      • After stopping the vehicle, wait at least 1 second before opening the doors.
      • Do not drive the vehicle in reverse for more than 10 meters. If this is unavoidable due to garage logistics, start the headlight calibration after the vehicle has exited the garage.
    4. After headlight calibration is complete, the headlights can be adjusted. Continue to the next step.
  2. 调整车位以便调节前照灯。车辆应:
    • 停放在环境光微弱,较昏暗的作业区域。
    • 停放在水平的地面上。
    • 与墙壁保持垂直,墙面需为哑光。墙壁必须至少有 1.8 米(6 英尺)高和 3.7 米(12 英尺)宽。
  3. 确保按照技术规格对所有 4 个轮胎充气。
  4. 在墙上距离地面71 厘米(28 英寸)处粘贴胶带。
  5. 在距离墙壁 7.62 米(25 英尺)的地面粘贴一条胶带,以指示车辆应当停驻的位置。
  6. 车辆应与墙壁保持垂直,以使前饰板与上一步粘贴在地面的胶带齐平。
    图 3. 图示为 Model 3;Model Y 与之类似
  7. 测量各前轮中心与墙壁之间的距离,确认车辆垂直于墙壁。如需要,请重新停放车辆,直至各前轮毂与墙壁之间的距离相同。
  8. 手持激光笔对准墙壁上的胶带,向车辆中心点投射一束激光束。激光束与车辆中心对齐后,在第4步中粘贴的胶带旁,使用胶带在墙壁上标记激光笔的位置。此处为中心参考点。
    提示
    将激光束对准前饰板盖板的平整部分,位于 Tesla“T”徽标的底端正下方。
    图 4. 图示为 Model 3;Model Y 与之类似
  9. 在距离中心参考点左右两侧75 厘米(29.5 英寸)处的墙壁上粘贴胶带。这两处为左右两侧的参考点。
  10. 如果尚未激活,请进入大灯调节模式。在车辆触摸屏上点击Controls > Service > Adjust Headlamps,以启用“大灯调节模式”。
  11. 使用干净的车间抹布遮盖右侧大灯,确保阻挡右侧大灯的全部光源。
  12. 在车辆触摸屏上,选择Left,然后使用方向盘上的左侧滚轮调节光束高度。
    注
    矩形光束的顶端与墙壁上的水平胶带标记对齐,L 型光束的左侧边缘与左侧参考点对齐。
    警告
    切勿坐在车内,否则将影响前照灯校准效果。
  13. 拆卸右侧前照灯罩。
  14. 遮盖左侧大灯,并重复第11步和第13步,以便调节右侧大灯。
  15. 在中央显示器上退出“大灯调节模式”。