2026-08-09
玻璃 - 车顶 - 固定(拆卸和更换)
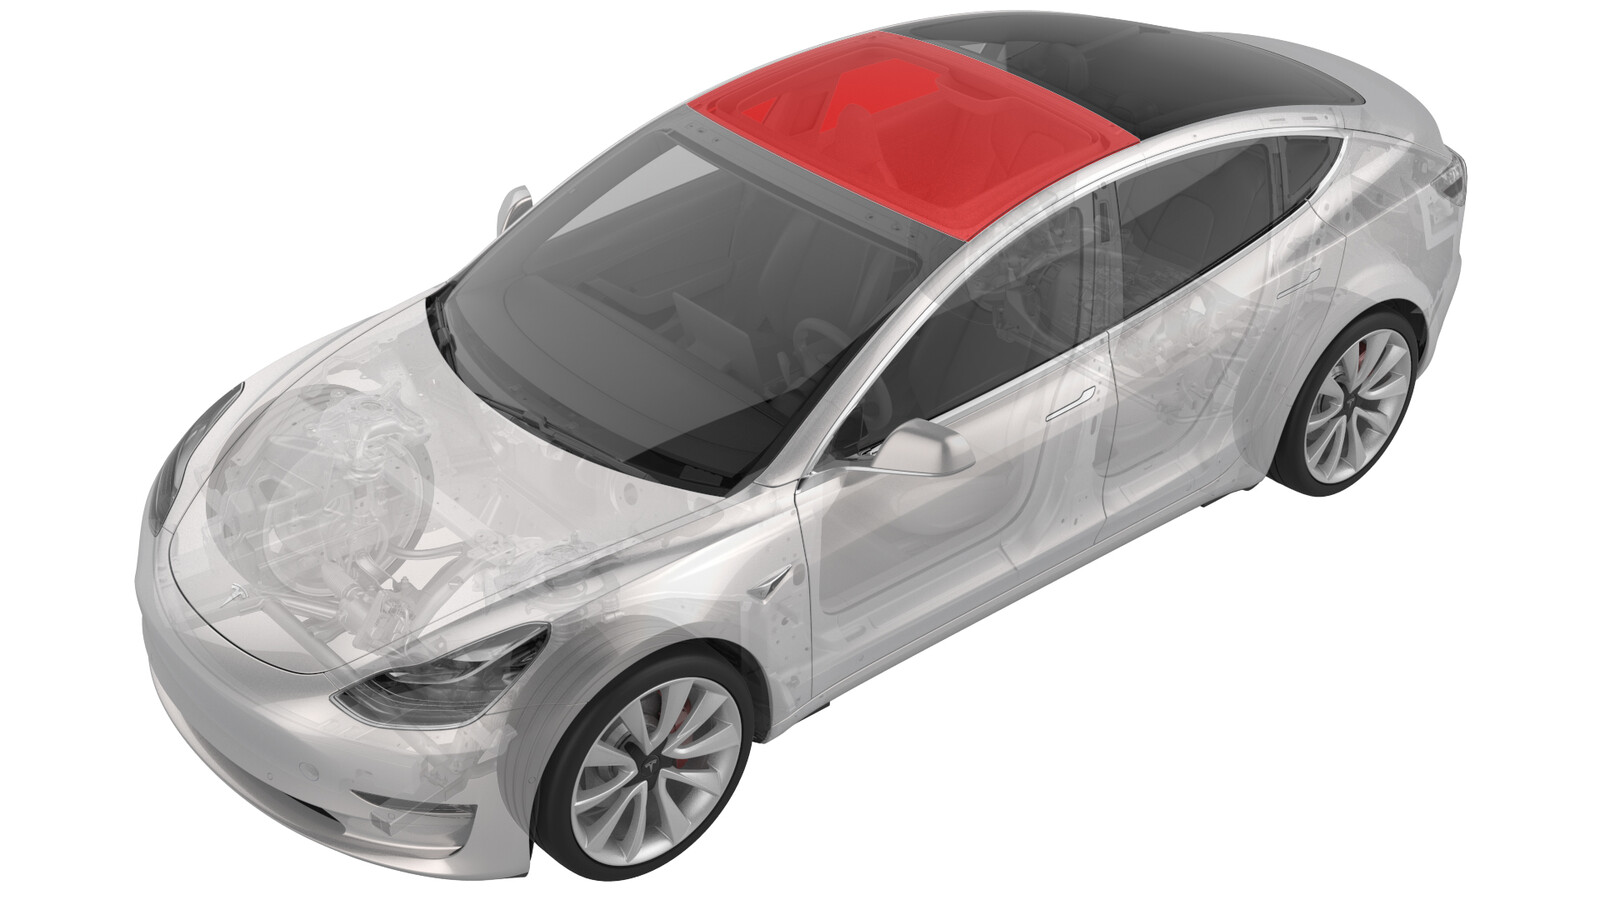 校正代码
10205002 0.96
NOTE: Unless otherwise explicitly
stated in the procedure, the correction code and its associated FRT reflect all of the
work required to perform this procedure, including the linked procedures. Do not stack correction codes unless
explicitly told to do so.
NOTE: See Flat Rate
Times to learn more about FRTs and how they are created.
NOTE: See 人员保护 to make sure wearing proper PPE when
performing the below procedure. NOTE: See 人体工程学注意事项 for safe and healthy working
practices.
- 2026-06-01: 添加了“将电钻调节钮设置到 1”的警告。
- 2026-05-19: 删除了损坏的链接并添加了配置说明。
- 2024-12-10: 添加了新的有关“安装前玻璃检查服务要求”的注意事项。
- 2024 年 3 月 26 日:将聚氨酯涂层宽度从 13 毫米更新为 12.5 毫米。
警告
The video(s)
included in this procedure are meant as an overview for supplemental purposes only.
Follow all of the steps listed in the procedure to avoid damage to components and/or
personal
injury.
警告
仅适用于欧洲:只有接受过二异氰酸酯操作培训并完成所有必修认证课程的技术人员才允许执行使用聚氨酯和含有二异氰酸酯的其他产品的程序。处理含有二异氰酸酯的产品时必须穿戴适当的个人防护装备 (PPE)。
警告
New glass components
(windshield, roof, door, and fixed glass) must be inspected before installation to meet
Tesla’s internal standards of quality. Perform the inspection described in 安装前玻璃检查 before beginning this
procedure.
拆卸
- 打开所有车门,降下所有车窗。
- 粘贴遮蔽胶带,以保护车辆上的涂漆。
-
测量并记录固定车顶玻璃与风挡玻璃、车身侧面和背光灯玻璃之间的间隙。
注将依照测量所得的间隙数据安装固定车顶玻璃。
-
准备 WRD Spider 3 玻璃拆卸套件。
提示推荐使用以下工具
- WRD Spider 3 - 1571168-00-A
-
将线固定在穿线器上,然后将穿线器推进车顶固定玻璃总成左侧后角的聚氨酯内。
警告切勿损坏顶篷总成和外部车漆。
-
将线从穿线器工具上松开,然后将线缠绕在车顶固定玻璃总成外部。
注确保线拉过玻璃的长度足够长。注确认线位于玻璃下方。
- 将线的一端重新连接到穿线器上,然后将线朝车内方向回拉。
-
将锚固点固定到车顶固定玻璃总成内部,然后将线固定到锚固件上。
-
将线的内侧固定到 Spider 切割工具上。
注按照 Spider 工具说明操作。将线穿过切割工具的开口,然后打结将线固定到位。如果轴的转动方向不正确,切割工具将损坏。
-
将 Spider 切割工具固定到车顶固定玻璃总成内侧。
注注意切割线的方向。确保线缠绕在大滑轮上并保持 90 度角。
-
Install an angle driver to an electric drill and set the drill clutch to 1.
警告Failure to set the drill clutch to 1 may result in serious injury.
-
Use the drill to turn the spindle on the cutting tool. Begin cutting urethane around the glass.
警告Do not begin cutting the windshield without first setting the drill clutch to 1. Failure to do so may result in serious injury.警告Wear appropriate eye and hand protection while cutting the glass assembly.警告Place a plastic guard to protect the headliner assembly.警告Take precaution to make sure the line goes above the datums and the roof brackets. If the line gets caught on the roof bracket then the line will break.提示Use the headliner protector or a trim tool to apply upward pressure to the line as it cuts. Do not use your hands.提示Move the cutting tool as needed while keeping the line close to a 90° angle. If the line gets stuck, try to pull it backwards in order release it from under the metal roof bracket or change the positions of the anchor and cutting tool.
图 1. Plastic guard to protect the headliner - 将吸盘放置在固定车顶玻璃的各角处 (x2)。
- 在协助下,将固定车顶玻璃从车辆上拆下。
- 将吸盘从固定车顶玻璃上拆下。
-
使用刮刀清理车身上的旧聚氨酯,然后使用异丙醇 (IPA) 湿巾擦拭车身,清洁表面。
注确保残留聚氨酯的厚度不超过 1 毫米。警告进行本步骤操作时,请确保佩戴合适的个人防护装备 (PPE),包括防割手套。
安装
- 将吸盘放置在新固定车顶玻璃的各角处 (x2)。
- 使用异丙醇 (IPA) 清理固定车顶玻璃前侧边缘。待表面风干之后,再继续进行下一步。
- 使用异丙醇 (IPA) 湿巾清理车辆上的聚氨酯路径。待表面风干之后,再继续进行下一步。
-
沿着聚氨酯路径,在车身上以及拆卸固定车顶玻璃期间损坏的区域涂敷聚氨酯底漆。
注等待底漆风干至少 1 分钟。
- 揭下车上的遮蔽胶带。
-
沿着原始路径在车身上涂敷聚氨酯。
注确保聚氨酯涂层的三角交叉部分宽约 12.5 毫米,高约 20 毫米。
- 在协助下,将新固定车顶玻璃安装到车辆上,但此时切勿将其固定。
- 将玻璃后侧的固定销与车身对齐。
- 依照拆卸固定车顶玻璃期间记录的间隙测量数据,将新固定车顶玻璃压入车身。
- 检查挡风玻璃、车身侧面和背光灯玻璃的间隙是否处于间隙测量数据范围内,并按需进行调整。
- 将吸盘从新固定车顶玻璃上拆下。
- 使用胶带暂时固定车顶玻璃。
-
按需重新放置挡风玻璃和背光灯玻璃。
注按需喷涂玻璃清洁剂,以便润滑密封条。
- 如果车辆约在 2019 年 4 月 5 日之前生产:"roofGlassType" 配置可能需要更新。将 "roofGlassType" 配置值设置为 "tsa5_nopet"。请参阅 网关配置(显示和变更)。
-
待聚氨酯凝固后,揭下遮蔽胶带。
警告Do not drive the vehicle until the adhesive manufacturer’s recommended minimum drive-away time has passed. Dow Betaseal Express has a drive-away time of 1 hour minimum in temperatures of 0˚F (-18˚C) or warmer. If necessary, leave the tape applying pressure to the glass on the vehicle and advise the customer that they can remove it after 24 hours. Additionally, advise the customer that they should avoid high driving speeds and speed bumps for the next 24 hours.