2026-11-04
鼓风电机 - 暖通空调 (HVAC) (拆卸和更换)
 校正代码
18103202 2.40
注意:除非本程序中另有明确规定,否则上文所列校正代码及相关 FRT 反映的是执行本程序(包括关联程序)所需的所有工作。除非明确要求,否则请勿堆叠校正代码。
注意:请参阅平均维修工时,深入了解 FRT 及其创建方式。
注意:请参阅人员保护,确保在执行以下程序时穿戴适当的个人防护装备 (PPE)。注意:请参阅人体工程学注意事项查看安全健康的作业规程。
- 2026-09-17: Updated Note on replacing the blower motor with the same part number as the original one.
- 2026-08-10: Added Note on replacing the blower motor with the same part number as the original one.
- 2025-03-11: Updated procedure not to remove the cross car beam but to only release it.
- 2024-01-25: Added a note to remind that it is not necessary to separate the IP harness from the cross car beam when removing the cross car beam.
Note
To prevent functional issues after replacing the blower
motor, make sure to replace the blower motor with the same part number as the
original one. Before installation, check the new blower motor's brand; it should be
the same brand as the one removed from the vehicle.
拆卸
- Remove the rear underhood apron. See 前备箱挡板 - 后部(拆卸和更换).
- Remove the underhood storage unit. See 前备箱储物单元(拆卸和更换).
- Move the LH and RH front seat backward.
- Remove the HEPA filter assembly and intake duct. See 风管 - 高效分子空气 (HEPA)(拆卸和更换)
- Remove the LH and RH middle A-pillar trim. See 饰板 - A 柱 - 中部 - 左侧(拆卸和更换).
- Remove the LH and RH upper A-pillar trim. See 饰板 - A 柱 - 上 - 左侧(拆卸和更换).
- Remove the LH and RH lower A-pillar trim. See 饰板 - A 柱 - 下 - 左侧(拆卸和更换).
- Remove the LH and RH instrument panel end caps. See 端盖 - 仪表板 - 左侧(拆卸和更换).
- Remove the driver and front passenger footwell cover. See 盖板 - 脚部空间 - 驾驶位(拆卸和更换).
- Disconnect 12V/LV power. See 12V/低压电源(断开和连接)
- Remove the driver knee airbag. See 气囊 - 膝部 - 驾驶位(拆卸和安装).
- Remove the LH footwell duct. See 风管 - 脚部空间 - LH(拆卸和更换).
- Remove the center console. See 中控台(拆卸和安装).
- Remove the front passenger knee airbag. See 气囊 - 膝部 - 副驾位(拆卸和更换).
- Remove the main instrument panel decor trim. See 饰板 - 仪表板 - 主(左侧驾驶)(拆卸和更换).
- Remove the LH and RH air wave end cap. See 端盖 - 气波 - 左侧(拆卸和更换).
- Remove the glove box. See 手套箱 - 有膝部气囊(拆卸和更换).
- Remove the RH footwell duct. See 风管 - 脚部空间 - LH(拆卸和更换).
- Remove the RH air wave duct. See 槽 - 气波 - RH(拆卸和更换).
- Remove the driver air bag. See 气囊 - 驾驶位(拆卸和更换).
- Remove the steering wheel. See 方向盘(拆卸和安装).
- Remove the steering column control module. See 模块 - 转向柱控制(拆卸和更换).
- Remove the touchscreen. See 触摸屏(拆卸和更换).
- Remove the LH front vent. See 通风口 - 前 - 左侧(拆卸和更换).
- Remove the RH front vent. See 通风口 - 前 - RH(拆卸和更换).
- Remove the LH, center, and RH dash speakers. See 扬声器 - 前围板 - 左侧(拆卸和更换).
- Remove the IP carrier. See 仪表板支架(拆卸和安装).
- Remove the LH air wave duct. See 槽 - 气波 - LH(拆卸和更换).
- Fold back the front half of the LH front carpet.
- Fold back the front half of the RH front carpet.
-
Remove the bolts (x2) that
attach the cross car beam to the LH side of bulkhead.
Tip推荐使用以下工具
- 回旋头棘轮/回旋头扭矩扳手
- 10 英寸加长件
- 旋转球 13 mm 套筒
- 棘轮/扭矩扳手
-
Remove the main floor duct
from the HVAC assembly and set aside.
NoteUse a bungee cord as needed to hold the floor duct in position.
-
Remove the bolt that
attaches the HVAC module to the body.
-
Release the clips (x2) that
attach the carpets to the LH and RH cross car beam brackets.
-
Remove the nuts (x2) that
attach the LH and RH cross car beam brackets to the body.
NoteSlightly pull the LH carpet towards the LH side of vehicle.Tip推荐使用以下工具
- 回旋头棘轮/回旋头扭矩扳手
- 6 英寸加长件
- 13 mm 套筒
-
Remove the bolts (x2) that
attach the LH and RH cross car beam brackets to the cross car beam, and then
remove the brackets from the vehicle.
Tip推荐使用以下工具
- 回旋头棘轮/回旋头扭矩扳手
- 3 英寸加长件
- 13 mm 套筒
-
Remove the nut that
attaches the RH side of the HVAC assembly to the vehicle.
-
Remove the bolt that
attaches the cross car beam to the upper cowl.
Tip推荐使用以下工具
- 13 毫米 12 点组合扳手
-
Remove the bolt that
attaches the cross car beam to the HVAC assembly on the upper LH side of the
HVAC assembly.
Tip推荐使用以下工具
- 回旋头棘轮/回旋头扭矩扳手
- 4 英寸加长件
- 10 毫米套筒扳手
- 无绳棘轮/冲击钻
- 棘轮/扭矩扳手
-
Remove the bolts (x4) that
attach the cross car beam to the LH side and RH side of body.
Tip推荐使用以下工具
- 棘轮/扭矩扳手
- 15 毫米套筒
- 3 英寸加长件
- 回旋头棘轮/回旋头扭矩扳手
-
Release the cross car beam from the vehicle.
NotePull cross car beam backwards to gain space.
-
Remove the screws (x3) that
attach the HVAC fan motor to the HVAC assembly
-
Slightly move the HVAC
assembly towards the RH side of the vehicle and rotate the blower motor
towards the rear of the vehicle, and then remove the motor from the HVAC
assembly.
安装
- Slightly move the HVAC assembly towards the RH side of the vehicle and position the HVAC fan motor on the HVAC assembly.
-
Install the screws (x3) that
attach the HVAC fan motor to the HVAC assembly.
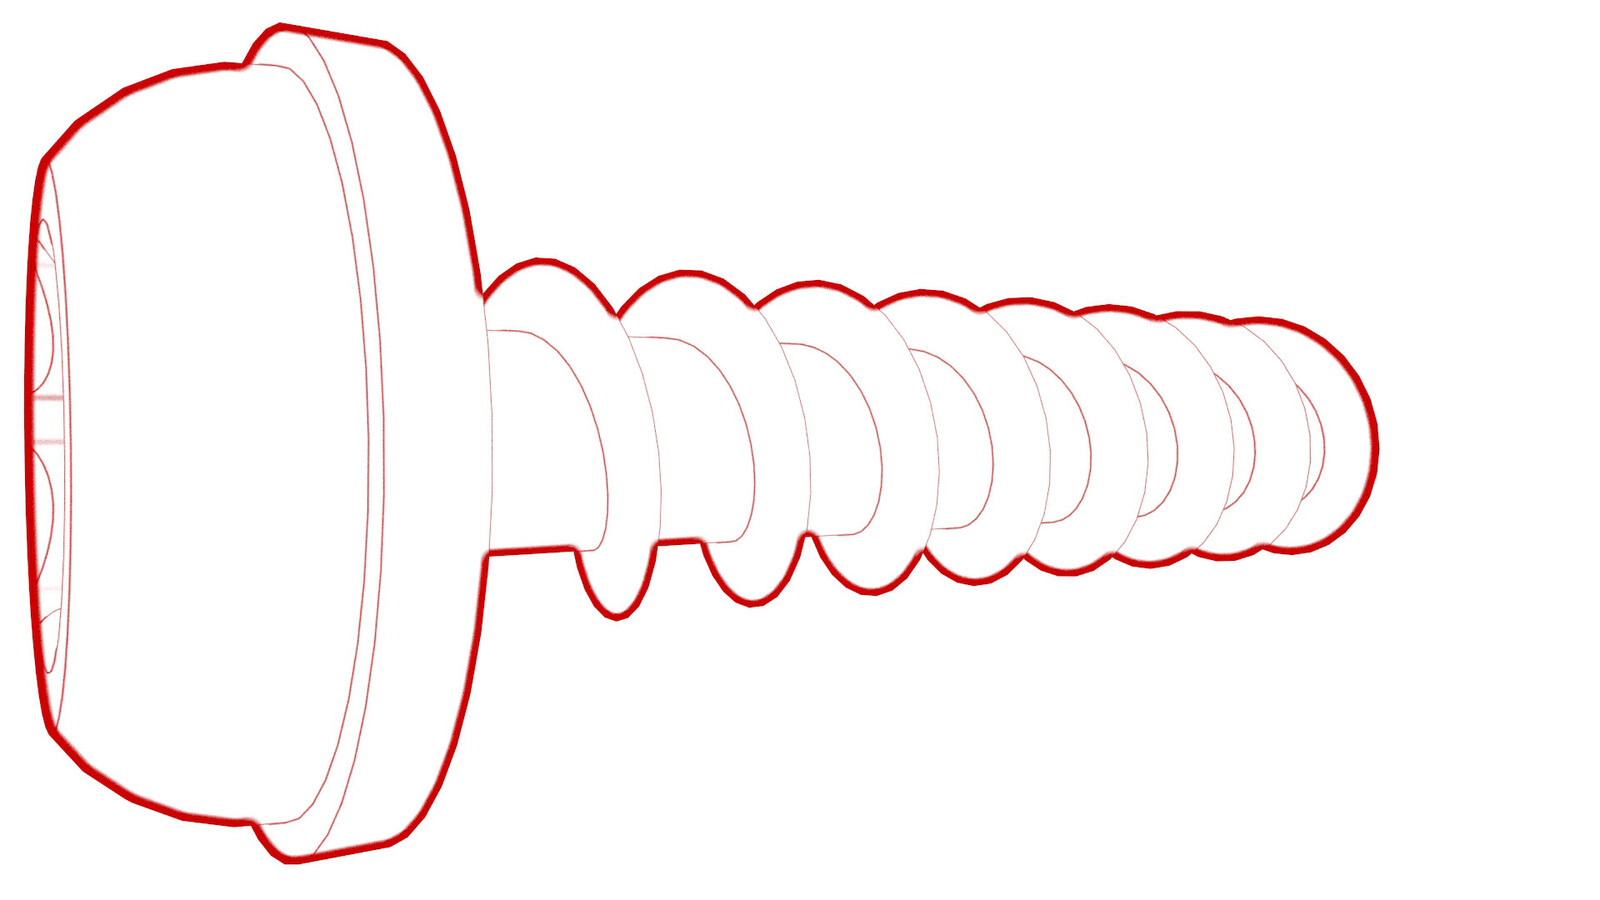 1.2 Nm (.9 lbs-ft)
-
Install the nut that
attaches the RH side of the HVAC assembly to the vehicle.
 5.5 Nm (4.1 lbs-ft)
-
Reposition the cross car beam to the vehicle.
-
Loosely install the bolts (x4) that attach the cross car beam to the LH
side and RH side of body.
Tip推荐使用以下工具
- 棘轮/扭矩扳手
- 15 毫米套筒
- 3 英寸加长件
- 回旋头棘轮/回旋头扭矩扳手
-
Loosely install the bolt that attaches the cross car beam to the upper
cowl.
Tip推荐使用以下工具
- 13 毫米 12 点组合扳手
-
Loosely install the bolt that attaches the cross car beam to the HVAC
assembly on the upper LH side of the HVAC assembly.
Tip推荐使用以下工具
- 回旋头棘轮/回旋头扭矩扳手
- 4 英寸加长件
- 10 毫米套筒扳手
- 无绳棘轮/冲击钻
- 棘轮/扭矩扳手
-
Loosely install the nut that attaches the
RH side of the HVAC assembly to the vehicle.
-
Loosely install the nuts (x2) that attach the LH and RH cross car beam
brackets to the body.
NoteSlightly pull the LH carpet towards the LH side of vehicle.Tip推荐使用以下工具
- 回旋头棘轮/回旋头扭矩扳手
- 6 英寸加长件
- 13 mm 套筒
-
Loosely install the bolts (x2) that attach the LH and RH cross car beam
brackets to the cross car beam.
Tip推荐使用以下工具
- 回旋头棘轮/回旋头扭矩扳手
- 3 英寸加长件
- 13 mm 套筒
-
Install the bolts (x2) that attach the cross car beam to the LH side of
bulkhead (torque 25 Nm).
Tip推荐使用以下工具
- 回旋头棘轮/回旋头扭矩扳手
- 10 英寸加长件
- 旋转球 13 mm 套筒
- 棘轮/扭矩扳手
-
Install the bolt that
attaches the HVAC module to the body.5.5 Nm (4.1 lbs-ft)
-
Torque the bolts (x2) that attach the LH and RH cross car beam brackets to
the cross car beam (torque 25 Nm).
Tip推荐使用以下工具
- 回旋头棘轮/回旋头扭矩扳手
- 3 英寸加长件
- 13 mm 套筒
-
Install the clips (x2) that attach the carpets to the LH and RH cross car
beam brackets.
-
Torque the nut that attaches the RH side
of the HVAC assembly to the vehicle (torque 5.5 Nm).
-
Loosely install the bolt
that attaches the cross car beam to the HVAC assembly on the upper LH side
of the HVAC assembly (torque 5.5 Nm).
Tip推荐使用以下工具
- 回旋头棘轮/回旋头扭矩扳手
- 4 英寸加长件
- 10 毫米套筒扳手
- 无绳棘轮/冲击钻
- 棘轮/扭矩扳手
-
Torque the bolt that attaches the cross car beam to the upper cowl (torque
25 Nm).
Tip推荐使用以下工具
- 13 毫米 12 点组合扳手
-
Torque the bolts (x4) that attach the cross car beam to the LH side and RH
side of body (torque 29 Nm).
Tip推荐使用以下工具
- 棘轮/扭矩扳手
- 15 毫米套筒
- 3 英寸加长件
- 回旋头棘轮/回旋头扭矩扳手
- Install the floor duct to the HVAC assembly.
- Connect the blower motor connector.
- Position the front carpets back and install the clips that attach the LH and RH front carpets.
- Install the LH front carpet. See 地毯 - 前 - 左侧(拆卸和更换).
- Install the RH front carpet. See GUID-E357757A-090D-4833-9E1E-CED9FE200A0E.html#GUID-E357757A-090D-4833-9E1E-CED9FE200A0E.
- Install the LH air wave duct. See 槽 - 气波 - LH(拆卸和更换).
- Install the IP carrier. See 仪表板支架(拆卸和安装).
- Install the LH, center, and RH dash speakers. See 扬声器 - 前围板 - 左侧(拆卸和更换).
- Install the LH front vent. See 通风口 - 前 - 左侧(拆卸和更换).
- Install the RH front vent. See 通风口 - 前 - RH(拆卸和更换).
- Install the RH air wave duct. See 槽 - 气波 - RH(拆卸和更换).
- Install the RH footwell duct. See 风管 - 脚部空间 - LH(拆卸和更换).
- Install the glove box. See 手套箱 - 有膝部气囊(拆卸和更换).
- Install the main instrument panel decor trim. See 饰板 - 仪表板 - 主(左侧驾驶)(拆卸和更换).
- Install the LH and RH air wave end cap. See 端盖 - 气波 - 左侧(拆卸和更换).
- Install the touchscreen. See 触摸屏(拆卸和更换).
- Install the steering column control module. See 模块 - 转向柱控制(拆卸和更换).
- Install the steering wheel. See 方向盘(拆卸和安装).
- Install the driver air bag. See 气囊 - 驾驶位(拆卸和更换).
- Install the center console. See 中控台(拆卸和安装).
- Install the front passenger knee airbag. See 气囊 - 膝部 - 副驾位(拆卸和更换).
- Install the LH footwell duct. See 风管 - 脚部空间 - LH(拆卸和更换).
- Install the driver knee airbag. See 气囊 - 膝部 - 驾驶位(拆卸和安装).
- Install the driver and front passenger footwell cover. See 盖板 - 脚部空间 - 驾驶位(拆卸和更换).
-
- Install the LH and RH upper A-pillar trim. See 饰板 - A 柱 - 上 - 左侧(拆卸和更换).
- Install the LH and RH lower A-pillar trim. See 饰板 - A 柱 - 下 - 左侧(拆卸和更换).
- Install the LH and RH middle A-pillar trim. See 饰板 - A 柱 - 中部 - 左侧(拆卸和更换).
- Install the LH and RH instrument panel end caps. See 端盖 - 仪表板 - 左侧(拆卸和更换).
- Reconnect 12V/LV power. See 12V/低压电源(断开和连接)
- Install the HEPA filter assembly and duct. See 风管 - 高效分子空气 (HEPA)(拆卸和更换)
- Install the underhood storage unit. See 前备箱储物单元(拆卸和更换).
- Install the rear underhood apron. See 前备箱挡板 - 后部(拆卸和更换).
- Verify the correct operation of the windshield washers and wipers.
- Install the 2nd row lower seat cushion. See 座椅座垫 - 下部 - 第二排(拆卸和更换).
- Move the LH and RH front seats to their original positions.
- Raise all windows and close all doors.