2022-08-25
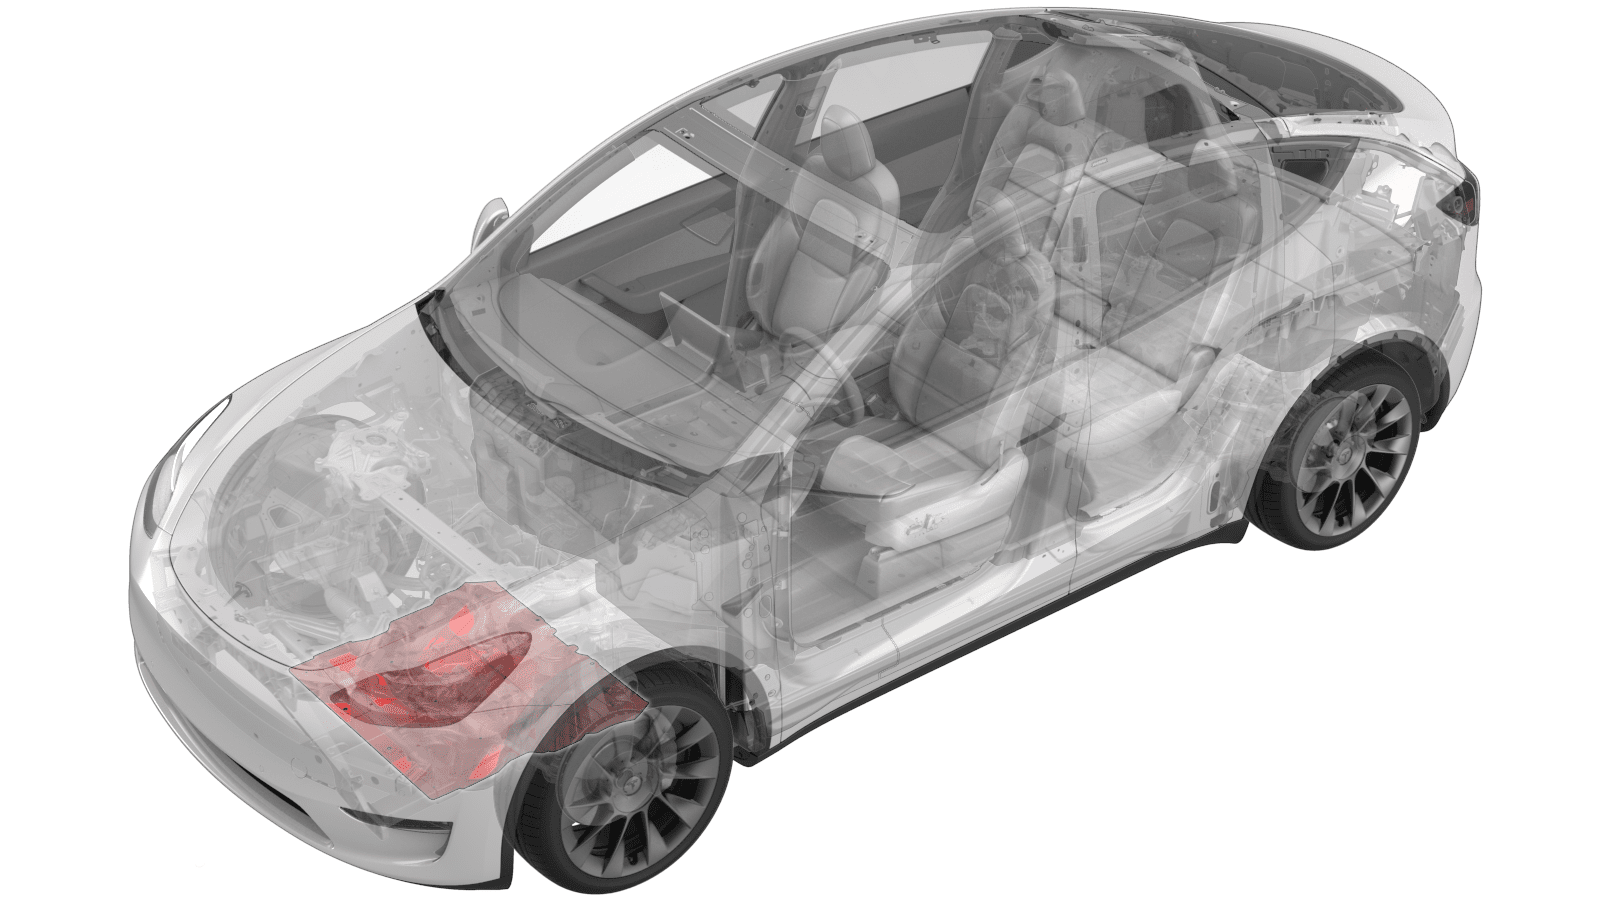
面板 - 流线型护板 - 前部(结构化电池组)(拆卸和更换)
 校正代码
12030112 0.24
注意:除非本程序中另有明确规定,否则上述校正代码和 FRT 反映的是执行本程序(包括关联程序)所需的所有工作。除非明确要求,否则请勿堆叠校正代码。
注意:请参阅平均维修工时,深入了解 FRT 及其创建方式。
注意:请参阅人员保护,确保在执行以下程序时穿戴适当的个人防护装备 (PPE)。注意:请参阅人体工程学注意事项查看安全健康的作业规程。
校正代码
12030112 0.24
注意:除非本程序中另有明确规定,否则上述校正代码和 FRT 反映的是执行本程序(包括关联程序)所需的所有工作。除非明确要求,否则请勿堆叠校正代码。
注意:请参阅平均维修工时,深入了解 FRT 及其创建方式。
注意:请参阅人员保护,确保在执行以下程序时穿戴适当的个人防护装备 (PPE)。注意:请参阅人体工程学注意事项查看安全健康的作业规程。
扭矩规格
| 描述 | 扭矩值 | 推荐工具 | 重复使用/更换 | 备注 |
|---|---|---|---|---|
| 流线型护板至车身螺母 |
 8 Nm (5.9 lbs-ft) |
|
重复使用 | |
| 流线型护板至车身螺栓 |
6 Nm (4.4 lbs-ft) |
|
重复使用 |
拆卸
- Raise and support the vehicle. See 举升车辆 - 双柱举升机.
-
Remove the clips (x2) and the nuts (x2) that attach the front aero shield panel to
the vehicle.
TIp推荐使用以下工具
- 15 毫米套筒
-
Remove the bolts (x12) that attach the
front aero shield panel to the vehicle.
TIp推荐使用以下工具
- 10 毫米套筒扳手
- Lower the aero shield from the front, and then unhook and remove the aero shield from the vehicle.
安装
- Apply a thin bead of Loctite 222 to the threads of the bolts (x12) that attach the front aero shield panel to the vehicle.
-
Install the front aero shield panel to
the underside of the vehicle, and then hand-tighten the nuts (x2) to temporarily hold
the panel in place.
-
Hand-tighten the bolts (x12) that attach the front aero shield panel to the
vehicle.
-
将螺母 (x2) 拧至正确规格。8 Nm (5.9 lbs-ft)TIp推荐使用以下工具
- 15 毫米套筒
-
将螺栓 (x12) 拧至正确规格,然后安装夹子 (x2)。6 Nm (4.4 lbs-ft)TIp推荐使用以下工具
- 10 毫米套筒扳手
- Lower the vehicle. See 举升车辆 - 双柱举升机.