2026-11-03
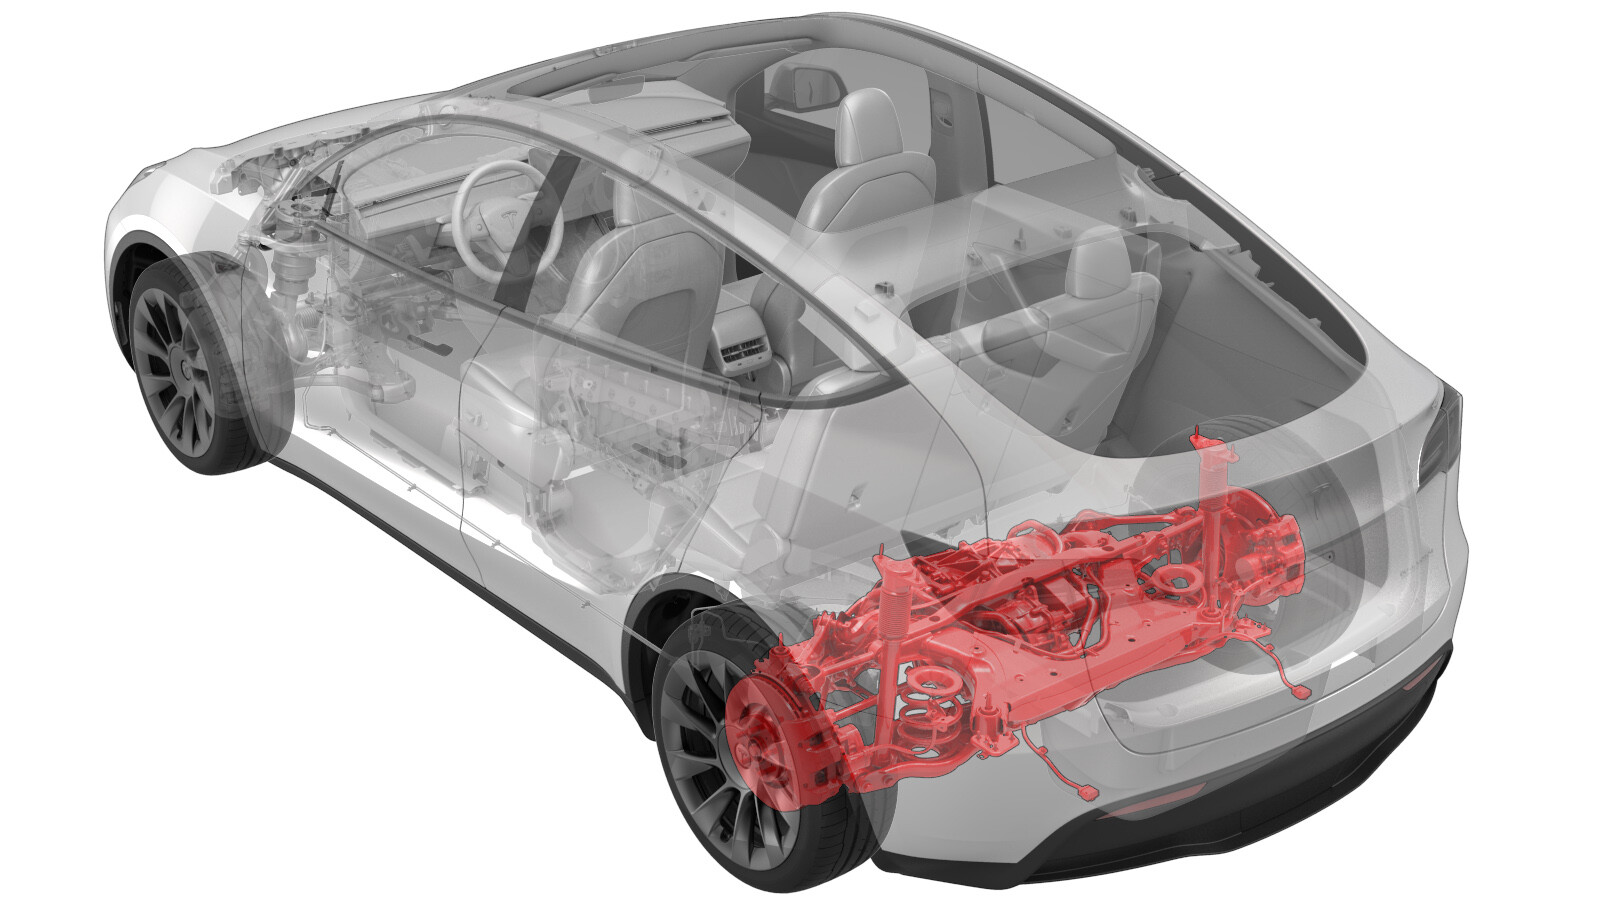
副车架总成 - 后(拆卸和安装)
 校正代码
30010201 2.22
注意:除非本程序中另有明确规定,否则上文所列校正代码及相关 FRT 反映的是执行本程序(包括关联程序)所需的所有工作。除非明确要求,否则请勿堆叠校正代码。
注意:请参阅平均维修工时,深入了解 FRT 及其创建方式。
注意:请参阅人员保护,确保在执行以下程序时穿戴适当的个人防护装备 (PPE)。注意:请参阅人体工程学注意事项查看安全健康的作业规程。
- 2026-11-02: Updated torque specifications.
- 2026-01-29: Added photos to show how to position the subframe lifting tool.
- 2025-12-12: Updated torque table and torque values shown in the procedure.
- 2025-02-14: Added rear suspension torque check.
- 2024-10-14: Updated torque spec for LH/RH shear plate-to-rear subframe large bolts.
- 2023-06-15: Added shear plate small bolts torque figure for Structural Pack vehicles.
Equipment:
- 1134520-00-A 电子驻车制动 (EPB) 手动释放套件
- 1129348-00-A XP-10 电源,XP-10
- 1099645-00-B 副车架固定装置,Model 3
- 1140311-00-A Lever Lock, HV Connector, Model 3
扭矩规格
| 描述 | 扭矩值 | 推荐工具 | 重复使用/更换 | 备注 |
|---|---|---|---|---|
| Bolts that attach the LH rear brake caliper bracket to the knuckle |
 83 Nm (61.2 lbs-ft) |
|
更换 | |
| Bolts that attach the LH rear damper at the top mount |
 41 Nm (30.2 lbs-ft) |
|
重复使用 | |
| Nut that attaches the rear drive unit ground strap to the body |
 10 Nm (7.4 lbs-ft) |
|
重复使用 | |
| Nuts that attach the HV battery to rear drive unit harness bracket to the HV battery |
 10 Nm (7.4 lbs-ft) |
|
重复使用 | |
| Small bolts that attach the LH shear plate to the HV battery (non-Structural Pack vehicles) |
 35 Nm (25.8 lbs-ft) |
|
重复使用 |
Note Some vehicles
are equipped with self-tapping bolts in bolt position #8-15 from the
factory. If the vehicle is equipped with a bolt with a hexagonal
indentation on the bolt head (1637725-00-A), the torque value is 64 Nm. |
| Small bolts that attach the LH shear plate to the HV battery (Structural Pack vehicles) |
62 Nm (45.7 lbs-ft) |
|
||
| Large bolt that attaches the LH shear plate and rear subframe to the body |
 125 Nm (92.2 lbs-ft) |
|
更换 | |
| Bolts that attach the rear subframe to the body |
 165 Nm (121.7 lbs-ft) |
|
更换 |
拆卸
- Raise and support the vehicle. See 举升车辆 - 双柱举升机.
- Open all doors and lower the windows.
- Release the parking brakes. See 驻车制动 - 钳 - 后 - 左侧(释放).
- Remove the 2nd row lower seat cushion. See 座椅座垫 - 下部 - 第二排(拆卸和更换).
- Remove the rear underhood apron. See 前备箱挡板 - 后部(拆卸和更换).
- Disconnect 12V power. See 12V/低压电源(断开和连接).
- Perform the vehicle electrical isolation procedure. See 车辆高压禁用程序.
- Remove the LH and RH rear wheels. See 轮毂(拆卸和安装).
- Remove the LH and RH suspension cover. See 护罩 - 后悬架 - 左侧(拆卸和更换).
- Remove the mid aero shield panel. See 面板 - 流线型护板 - 后部(拆卸和更换).
- Remove the rear fascia diffuser. See 扩散器 - 后饰板(拆卸和更换).
-
Remove the nut that attaches the rear
drive unit ground strap to the body.
Tip推荐使用以下工具
- 10 毫米 12 角深套筒
-
Remove and discard the bolt that
attaches the LH rear brake caliper bracket to the knuckle, and then hang the caliper
bracket on the body with an S-hook. Repeat this step on the RH rear brake caliper.
Tip推荐使用以下工具
- 外梅花套筒 E18
-
Install a spring compressor onto the
LH rear coil spring.
Tip推荐使用以下工具
- Gedore 弹簧压缩器
-
Remove the bolts (x2) that attach the
LH rear damper to the top mount.
Tip推荐使用以下工具
- 15 毫米套筒
- 3 英寸加长件
- Repeat steps 14 and 15 on the RH rear damper.
-
Disconnect the electrical harness from
the LH 12V subframe connector.
-
Release the clip that attaches the LH
subframe electrical harness to the body.
- Repeat steps 17 and 18 on the RH side of the vehicle.
- Remove the rear stabilizer bar. See 平衡杆 - 后(拆卸和更换).
- Remove the rear HV battery skid plate. See 滑板 - 高压电池 - 后部(拆卸和更换).
- Position a coolant drain container under the LH rear of the HV battery.
-
Disconnect the rear drive unit
inverter inlet hose from the LH rear side of the HV battery, and then plug the male and
female fittings.
- If the rear drive unit will be removed from the rear subframe assembly, continue to step 25. If the rear drive unit will not be removed, skip to step 27.
- Position the coolant drain container beneath the LH rear drive unit area.
-
Disconnect the coolant inlet hose from
the rear drive unit, and then plug the hose.
- Position the coolant drain under the RH rear of the vehicle.
- Release the push clips (x2) that attach the RH rear wheel liner to the rocker panel.
-
Release the clip, disconnect the rear
drive unit coolant outlet hose to powertrain return hose, and then plug the male and
female fittings.
- Remove the coolant drain container from under the vehicle.
-
Remove the nut that attaches the HV
battery to rear drive unit harness bracket to the HV battery.
Tip推荐使用以下工具
- 10 毫米套筒扳手
- 4 英寸加长件
-
Slide the release to unlock the HV
battery rear drive unit connector handle of the rear drive unit to HV battery harness
from the secured position.
-
Fully raise the handle on the HV
battery rear drive unit connector, and then remove the HV battery rear drive unit
connector from the HV battery header.
-
Position the subframe lifting tool
under the rear subframe.
-
Attach an air hose to the subframe
lifting tool.
-
With an assistant, raise the subframe
lifting tool to support the rear subframe.
-
Loop the straps over the rear
subframe, hook the ends of the straps to the metal rings, and then pull the straps tight
to restrain the subframe to the rear subframe lifting tool.
NoteLower the vehicle to give more slack to connect the straps to the rings, if necessary.
-
Mark the LH and RH rear subframe bolts
for realignment during re installation.
NoteYou can also mark the LH and RH subframe casting and subframe bushing to the body.
-
Release the fir tree clips that attach
the coolant hoses to the LH shear plate.
-
Remove the smaller bolts that attach
the LH shear plate to the HV battery.
Tip推荐使用以下工具
- 13 mm 套筒
- 3 英寸加长件
-
Remove the larger bolt that attaches
the LH shear plate and rear subframe to the body, and then remove the LH shear
plate.
Tip推荐使用以下工具
- 21 毫米套筒
- 6 英寸加长件
- Repeat step 39 through step 41for the RH shear plate.
-
Remove and discard the bolts (x2) that
attach the rear subframe to the body.
Tip推荐使用以下工具
- 21 毫米套筒
- 6 英寸加长件
-
With an assistant, slowly lower the
subframe lifting tool to remove the rear subframe from the vehicle.
CAUTIONTake care not to damage HV harnesses and coolant hoses during lowering of the subframe.
- Disconnect the air supply from the rear subframe lifting tool.
-
Move the rear subframe and subframe
lifting tool away from the vehicle.
安装
- Position the subframe lifting tool and rear subframe underneath the vehicle.
- Connect the air line to the subframe lifting tool.
-
With an assistant, slowly raise the
rear drive unit and subframe into position.
CAUTIONTake care not to damage HV harnesses and coolant hoses during lifting of the subframe.
-
Hand-tighten new bolts (x2) that
attach the rear subframe to the body.
NoteThe tightening of the bolts will be performed later in this procedure.
-
Install the LH shear plate to the rear
subframe and HV battery, and then hand-tighten the bolt that attaches the shear plate to
the subframe.
NoteThe tightening of the bolt will be performed later in this procedure.
-
Hand-tighten the smaller bolts that
attach the LH shear plate to the HV battery.
NoteThe tightening of the bolts will be performed later in this procedure.
- Repeat steps 5 and 6 on the RH shear plate.
-
Position the subframe to the locations
as marked during removal.
NoteReturn the subframe to its original position as closely as possible.
-
Torque the bolts that attach the LH
and RH rear subframe to the body, and then mark them with a paint pen after
torquing.165 Nm (121.7 lbs-ft)Tip推荐使用以下工具
- 21 毫米套筒
- 6 英寸加长件
-
Torque the large bolts that attach the
LH and RH shear plates to the vehicle, and then mark them with a paint pen after
torquing.130 Nm (95.9 lbs-ft)Tip推荐使用以下工具
- 21 毫米套筒
- 6 英寸加长件
-
Torque the smaller bolts that attach
the LH and RH shear plates to the vehicle.
For non-Structural Pack vehicles:35 Nm (25.8 lbs-ft)For Structural Pack vehicles:62 Nm (45.7 lbs-ft)Tip推荐使用以下工具
- 13 mm 套筒
- 3 英寸加长件
-
Fasten the fir tree clips that attach
the coolant hoses to the LH and RH shear plates.
LH shear plate shown, RH shear plate similar
- Release the straps and lower the subframe lifting tool.
- Disconnect the air line from the subframe lifting tool, and then remove the tool from under the vehicle.
-
Fully raise the handle on the HV
battery rear drive unit connector of the rear drive unit to HV battery harness.
-
Install the HV connector special tool
onto the HV battery rear drive unit connector.
-
Use both hands to firmly connect the
HV battery rear drive unit connector of the rear drive unit to HV battery harness to the
HV battery header.
CAUTIONMake sure that the connector fits the header squarely and tightly, and that both retention pins enter the handle.
- Remove the HV connector special tool from the HV battery rear drive unit connector.
-
While pressing the HV battery rear
drive unit connector onto the HV battery header, fully lower the handle.
CAUTIONMake sure that the handle does not bind as it is lowered.
-
Slide the release to lock the HV
battery rear drive unit connector handle in the secured position.
-
Verify that the HV battery rear drive
unit connector is fully seated, and compare both sides of the connector that it is
properly secured in place.
NoteAn improperly seated connector might lead to connector damage and rear drive unit problems later on.
-
Install the nut that attaches the rear
drive unit HV electrical harness bracket to the HV battery.10 Nm (7.4 lbs-ft)Tip推荐使用以下工具
- 10 毫米套筒扳手
- 4 英寸加长件
- Position a coolant drain container under the RH rear of the HV battery.
-
Remove the hose plugs, connect the
rear drive unit outlet hose to the powertrain return hose, and then fasten the
clip.
CAUTION执行推拉测试,确认软管已完全就位。
- Position the coolant drain beneath the LH rear of the HV battery.
-
Remove the plugs from the male and
female fittings, connect the rear drive unit inverter inlet hose to the rear of the HV
battery, and then fasten the clip.
CAUTION执行推拉测试,确认软管已完全就位。
- Remove the coolant drain from beneath the vehicle.
- Install the rear HV battery skid plate. See 滑板 - 高压电池 - 后部(拆卸和更换).
- Install the rear stabilizer bar. See 平衡杆 - 后(拆卸和更换).
-
Fasten the LH subframe electrical
harness barrel clip to the body.
-
Connect the electrical connector for
the LH side 12V subframe harness.
Figure 1. LH side shown, RH similar - Repeat steps 30 and 31 on the RH side of the vehicle.
-
Install the bolt that attaches the
rear drive unit ground strap to the body.10 Nm (7.4 lbs-ft)Tip推荐使用以下工具
- 10 毫米 12 角深套筒
NoteReinstall the washer if the vehicle had this washer during removal. -
Install the bolts that attach the RH
rear damper at the top mount.41 Nm (30.2 lbs-ft)Tip推荐使用以下工具
- 15 毫米套筒
- 3 英寸加长件
LH shown; RH similar.
-
Remove the spring compressor from the
RH rear coil spring.
-
Install the RH rear brake caliper
bracket onto the knuckle, and then install the bolts that attach the caliper bracket to
the knuckle.83 Nm (61.2 lbs-ft)Tip推荐使用以下工具
- 外梅花套筒 E18
LH rear brake caliper shown, RH rear brake caliper similar.
- Repeat step 34through step 36 for the LH side of the vehicle.
- Check the torque for any rear suspension bolts that were loosened while the rear subframe assembly was removed from the vehicle and torque as required. See 悬架 - 后部(检查扭矩).
- Install the rear fascia diffuser. See 扩散器 - 后饰板(拆卸和更换).
- Install the clips that attach the LH and RH wheel liner to the rear fascia.
- Install the mid aero shield panel. See 面板 - 流线型护板 - 后部(拆卸和更换).
- Install the LH and RH rear suspension covers. See 护罩 - 后悬架 - 左侧(拆卸和更换).
- Install the LH and RH rear wheels. See 轮毂(拆卸和安装).
- Remove the coolant bottle cap, and then fill the coolant bottle to the "MAX" line.
- Connect 12V power. See 12V/低压电源(断开和连接).
- Press and hold the Park button on the gear selector to release the EPB service mode.
-
通过“维护模式”或 Toolbox 执行以下例行程序(请参阅0005 - 维护模式):
TEST-SELF_VCFRONT_X_THERMAL-PERFORMANCEvia Service Mode:Thermal ➜ Actions ➜ Test Thermal Performancevia Service Mode Plus:
- Drive Inverter ➜ Front Drive Inverter Replacement ➜ Thermal System Test
- Drive Inverter ➜ Rear Drive Inverter Replacement ➜ Thermal System Test
- Drive Inverter ➜ Rear Left Drive Inverter Replacement ➜ Thermal System Test
- Drive Inverter ➜ Rear Right Drive Inverter Replacement ➜ Thermal System Test
- Drive Unit ➜ Front Drive Unit Replacement ➜ Thermal System Test
- Drive Unit ➜ Rear Drive Unit Replacement ➜ Thermal System Test
-
Inspect the coolant level and top off
as necessary, and then install the coolant bottle cap.
NoteEnsure that the coolant level is at the "MAX" line.
- Install the rear underhood apron. See 前备箱挡板 - 后部(拆卸和更换).
- Install the 2nd row lower seat cushion. See 座椅座垫 - 下部 - 第二排(拆卸和更换).
- Restore the driver and front passenger seats back to their original positions.
- 请参阅“定位要求”表,以确定是否需要 EPAS 定位检查 (EC) 或四轮定位检查 (AC)。如果已执行,请将定位检查/调整校正代码作为一项单独的工项添加到服务工单。请参阅 定位要求 - 悬架。