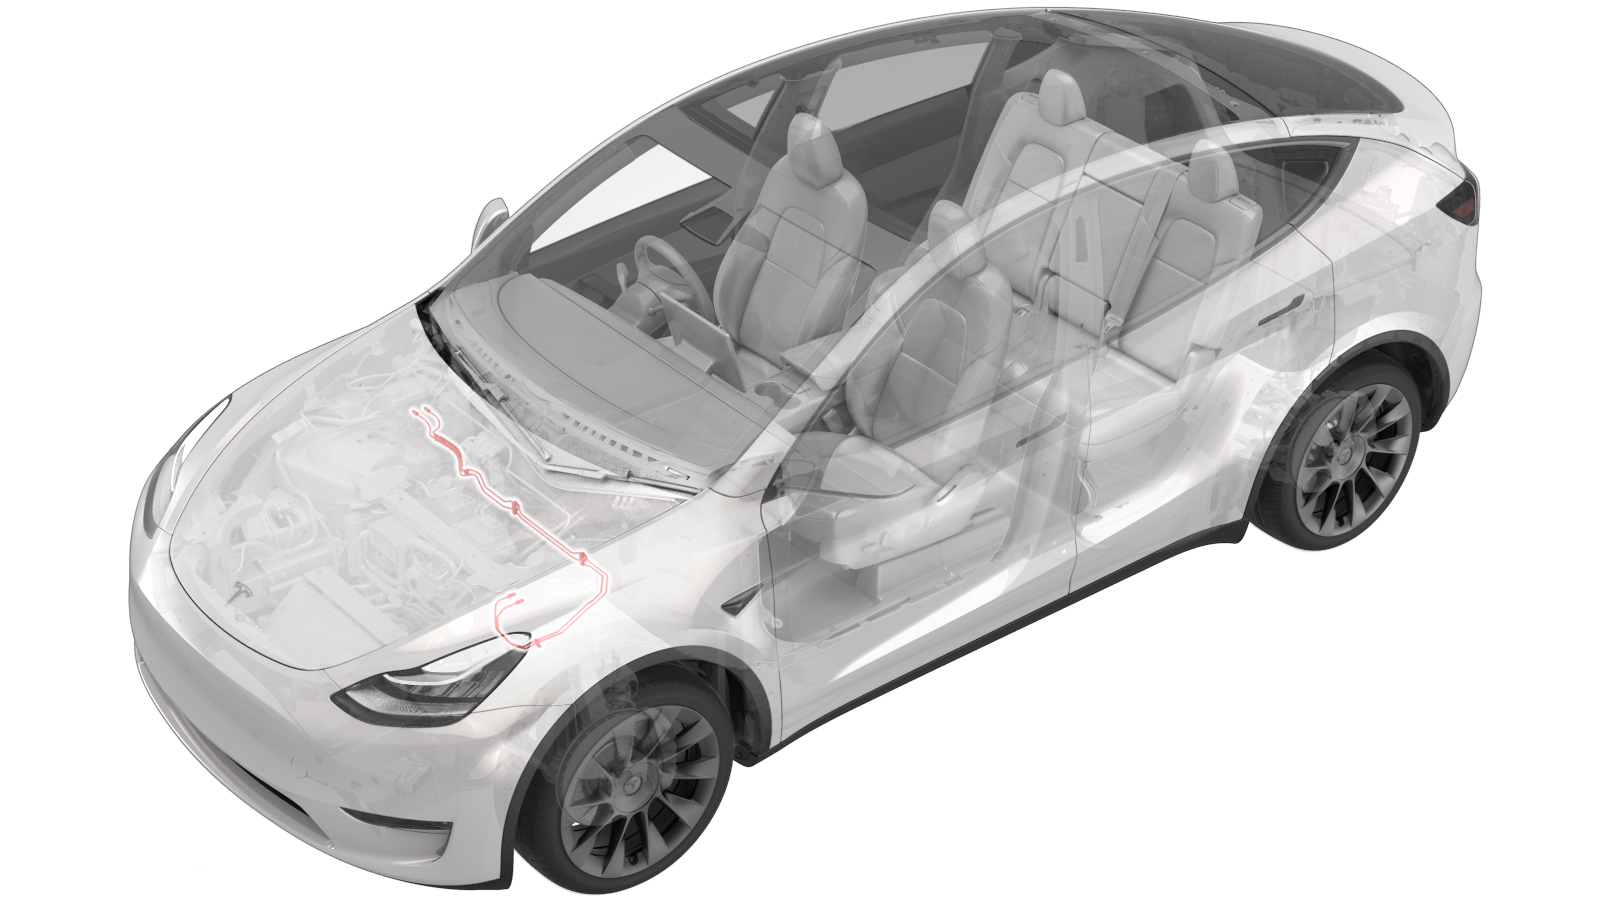
2025-09-11
制动管路 - 主缸至防抱死制动系统(非结构化电池组)(右侧驾驶)(拆卸和更换)
 校正代码
33034202 2.04
注意:除非本程序中另有明确规定,否则上述校正代码和 FRT 反映的是执行本程序(包括关联程序)所需的所有工作。除非明确要求,否则请勿堆叠校正代码。
注意:请参阅平均维修工时,深入了解 FRT 及其创建方式。要提供有关 FRT 值的反馈,请发送电子邮件至 ServiceManualFeedback@tesla.com。。
注意:请参阅人员保护,确保在执行以下程序时穿戴适当的个人防护装备 (PPE)。请参阅人体工程学注意事项查看安全健康的作业规程。
- 2025-06-26: Modified brake bleeding method to bleed through inner valves only.
拆卸
- Open the RH front door and lower the RH front window.
- Remove the rear underhood apron. See 前备箱挡板 - 后部(拆卸和更换).
- Remove the underhood storage unit. See 前备箱储物单元(拆卸和更换).
- Disconnect 12V power. See 12V/低压电源(断开和连接).
- Remove the 12V battery. See 12V/低压电池(拆卸和更换).
- Remove the fresh air intake duct. See 风管 - 高效分子空气 (HEPA)(拆卸和更换).
- Remove the front aero shield. See 面板 - 流线型护板 - 前(非结构化电池组)(拆卸和更换).
-
Remove the fir tree clips (x4) that attach the coolant hoses to the AC compressor bracket.
-
Remove the retaining clips (x2) that attach the AC compressor HV harness to the shock tower brace.
-
Remove the LH and RH bolts that attach the shock tower brace to the body.
 55 Nm (40.6 lbs-ft)
 55 Nm (40.6 lbs-ft)
 -
Remove the LH and RH outer bolts that attach the shock tower brace to the body.
 62 Nm (45.7 lbs-ft)
 -
Disconnect the HVIL connector.
-
Remove the bolts (x2) that attach the AC compressor bracket to the shock tower brace.
 31 Nm (22.9 lbs-ft)
 -
Carefully remove the AC compressor and AC compressor bracket towards the front of the vehicle, under the shock tower brace.
- Disconnect the electrical connector from the ABS unit.
- Position the oil drain under the ABS unit.
-
Loosen the nut that attaches the master cylinder secondary brake line to the ABS unit.
 16 Nm (11.8 lbs-ft)
 -
Loosen the nut that attaches the primary cylinder secondary brake line to the ABS unit.
 16 Nm (11.8 lbs-ft)
 - Place an absorbent material beneath the brake booster and reservoir area.
- Using a brake fluid syringe, remove the brake fluid from the reservoir.
-
Loosen the nut that attaches the secondary brake line to the master cylinder, and then remove the secondary brake line.
 16 Nm (11.8 lbs-ft)
 -
Loosen the nut that attaches the primary brake line to the master cylinder, and then remove the primary brake line.
 16 Nm (11.8 lbs-ft)
 -
Release the primary and secondary brake lines from the brake line bundle clip.
-
Remove the bolts (x2) that attach the ABS unit to the frame rail.
 10 Nm (7.4 lbs-ft)
 - Move the ABS unit and bracket towards the 12V battery area to make sure there is space to remove the brake lines.
-
Remove the brake lines from the bundle clips (x2) under the ABS unit.
-
Remove and discard the bolts (x2) that attach the harness guide to the front controller, and then release the harness guide.
 6 Nm (4.4 lbs-ft)
 -
Remove brake line bundle clips (x3).
- Route the master cylinder brake lines towards the right controller, and then remove the master cylinder brake line bundle from the vehicle.
安装
- Route the master cylinder brake lines from the controller towards the ABS unit, and then put the brake lines into position.
-
Install the brake line bundle clips (x3).
-
Mount the brake lines to the bundle clips (x2)under the ABS unit.
-
Fasten the bolts (x2) that attach the harness guide to the front controller.
注Replace the patchbolts.
 6 Nm (4.4 lbs-ft)
 -
Mount the primary and secondary brake lines to the brake line bundle clip.
-
Fasten the nut that attaches the master cylinder secondary brake line to the ABS unit.
 16 Nm (11.8 lbs-ft)
 -
Fasten the nut that attaches the primary cylinder secondary brake line to the ABS unit.
 16 Nm (11.8 lbs-ft)
 - Clean the ABS unit surface of residual brake fluid.
-
Put the ABS unit and bracket into position.
- Remove the oil drain container from underneath vehicle
-
Install the bolts (x2) that attach the ABS unit to the frame rail.
 10 Nm (7.4 lbs-ft)
 -
Install the secondary brake line to the master cylinder, and then fasten the nut that attaches the secondary brake line.
 16 Nm (11.8 lbs-ft)
 -
Install the primary brake line to the master cylinder, and then fasten the nut that attaches the primary brake line.
 16 Nm (11.8 lbs-ft)
 - Remove the absorbent material from underneath the brake booster and brake fluid reservoir area.
-
Carefully position the AC compressor and AC compressor bracket into the vehicle.
-
Fasten the bolts (x2) that attach the AC compressor bracket to the shock tower brace.
 31 Nm (22.9 lbs-ft)
 -
Install the fir tree clips (x4) that attach the coolant hoses to the AC compressor bracket.
-
Install the LH and RH bolts that attach the shock tower brace to the body.
 55 Nm (40.6 lbs-ft)
 55 Nm (40.6 lbs-ft)
 -
Install the LH and RH outer bolts that attach the shock tower brace to the body.
 62 Nm (45.7 lbs-ft)
 -
Install the retaining clips (x2) that attach the AC compressor HV harness to the shock tower brace.
-
Connect the HVIL connector
- Install the 12V battery. See 12V/低压电池(拆卸和更换).
- Reconnect 12V power. See 12V/低压电源(断开和连接).
- Install the fresh air intake duct. See 风管 - 高效分子空气 (HEPA)(拆卸和更换).
- Install the underhood storage unit. See 前备箱储物单元(拆卸和更换).
-
通过制动钳内侧排放阀排放左前和右前制动钳,直至制动钳内流出的液体清澈无气泡。
注无需通过外侧排放阀排放制动钳。
- Install the front aero shield. See 面板 - 流线型护板 - 前(非结构化电池组)(拆卸和更换).
- Install the rear underhood apron. See 前备箱挡板 - 后部(拆卸和更换).
-
进行道路测试,期间进行多次急刹,确保制动踏板触感及制动性能正常。
注将试驾校正代码 00040100 作为一项单独的工项添加至服务工单 (SV)。