2026-11-02
释放缆索 - 充电接口(北美)(拆卸和更换)
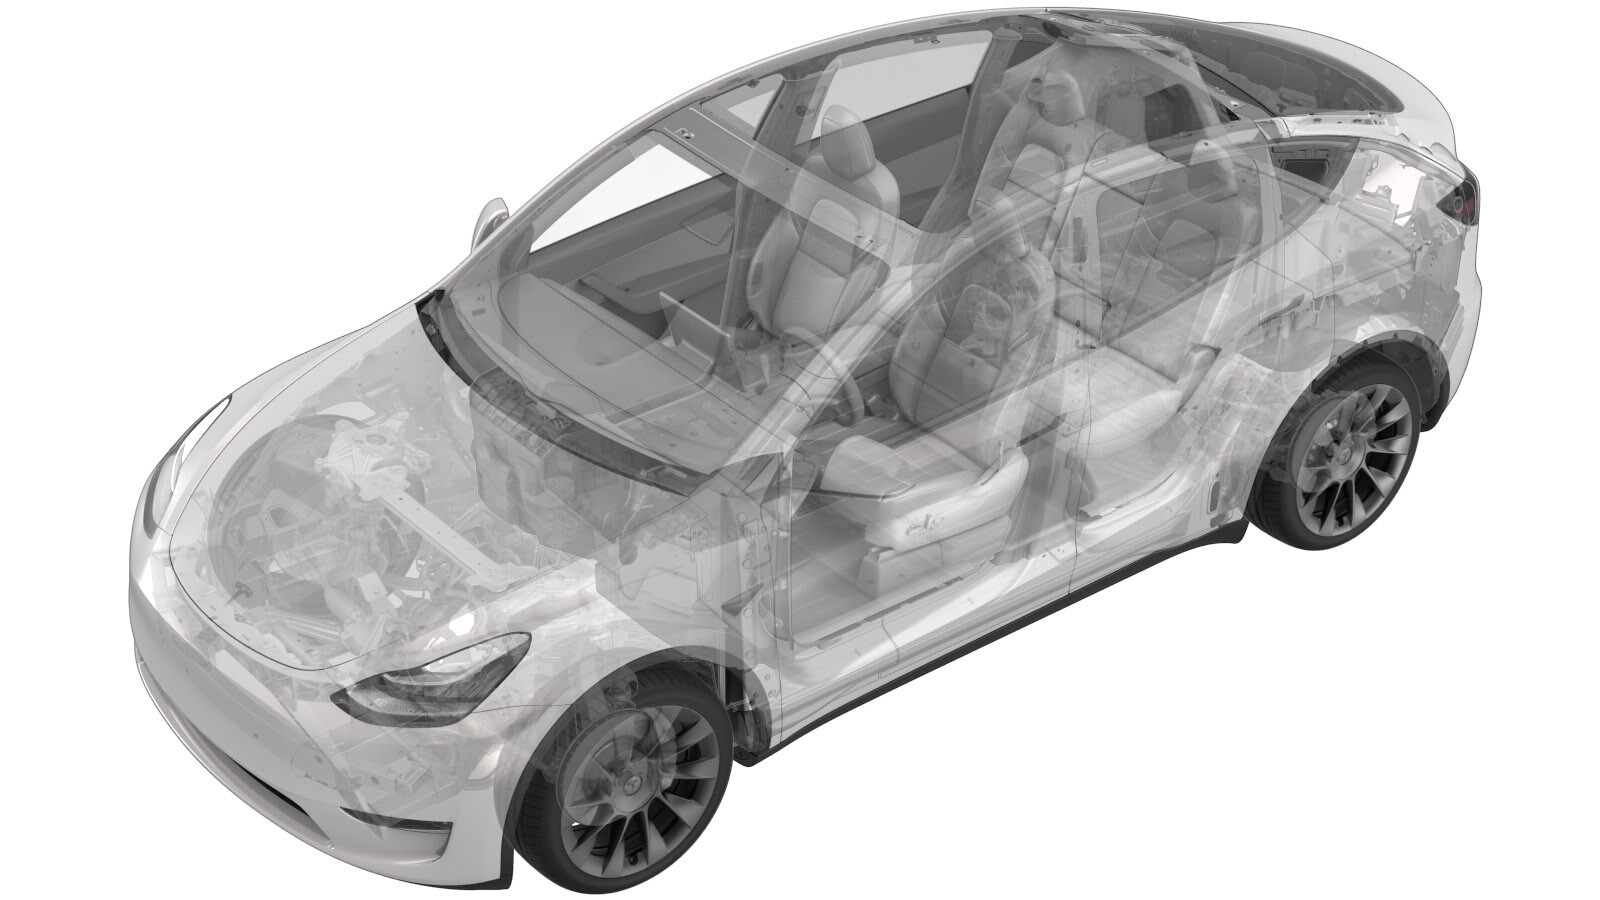 校正代码
44013202 0.72
注意:除非本程序中另有明确规定,否则上文所列校正代码及相关 FRT 反映的是执行本程序(包括关联程序)所需的所有工作。除非明确要求,否则请勿堆叠校正代码。
注意:请参阅平均维修工时,深入了解 FRT 及其创建方式。
注意:请参阅人员保护,确保在执行以下程序时穿戴适当的个人防护装备 (PPE)。注意:请参阅人体工程学注意事项查看安全健康的作业规程。
- 2023-10-27: Update charge port to body bolt torque to 9 Nm.
- 2023-10-10: Added a caution to not manually close the charge port door.
- 2023-08-25: Added link to charge port voltage check procedure.
拆卸
- Open all the doors and lower all the windows.
- Move the front seats forward.
- Remove the rear underhood apron. See 前备箱挡板 - 后部(拆卸和更换).
- Open the charge port door.
- Open the liftgate.
- Disconnect 12V/LV power. See 12V/低压电源(断开和连接).
- Perform the charge port voltage check procedure. See 充电接口电压检查.
- Remove the 2nd row lower seat cushion. See 座椅座垫 - 下部 - 第二排(拆卸和更换).
- Remove the LH lower C-pillar trim. See 饰板 - C 柱 - 下 - 左侧(拆卸和更换).
- Remove the rear trunk load floor. See 行李箱负重底板 - 后(拆卸和更换).
- Remove the front runk load floor. See 后备箱负重底板 - 前部(拆卸和更换).
- Remove the trunk sill trim. See 饰板 - 门槛板 - 后备箱(拆卸和更换).
- Remove the LH load floor bracket. See 支架 - 后备箱负重底板- 左侧(拆卸和更换).
- Remove the LH trunk pocket bracket. See 支架 - 后备箱挂袋 - 左侧(拆卸和更换).
- Remove the LH trunk side trim. See 饰板 - 侧边 - 后备箱 - 左侧(拆卸和更换).
- Remove the LH upper C-pillar trim. See 饰板 - C 柱 - 上 - 左侧(拆卸和更换).
- Remove the LH C-pillar bracket. See 支架 - C 柱 - 左侧(拆卸和更换).
-
Release the locking tabs, and then
disconnect the connectors (x3) from the charge port assembly.
NoteFully remove the white locking tab (x2) before disconnecting the connector.NotePull the red locking tab to release the lock, and then pull again to release from the connector.
-
Release the tabs (x2), and then remove
the charge port safety cap.
-
Remove the fasteners (x2) that attach
the charge port busbar to the charge port, and then remove the busbar leads from the
studs.
 9 Nm (6.6 lbs-ft)NoteThe nuts have captured washers.Tip推荐使用以下工具
- 10 mm socket
-
Release the locking tab upward, and
then disconnect the AC 3-phase connector from the charge port assembly.
-
Remove the bolts (x3) that attach the
charge port assembly to the vehicle, and then remove the assembly from the vehicle.5.5 Nm (4.1 lbs-ft)Tip推荐使用以下工具
- 10 mm socket
-
Remove the screws (x2) that attach the
latch actuator to the charge port assembly, and then remove the actuator from the
assembly.1.2 Nm (.9 lbs-ft)Note推荐使用以下工具
- T20
-
Release the latch cable arm from the
latch actuator.
NoteTake note of the orientation when releasing the arm.
-
Release the latch cable clip from the
carrier assembly, and then remove the release cable.
安装
-
Install the release cable into the
latch actuator, and then secure the latch cable clip to the carrier assembly.
-
Install the latch cable arm to the
latch actuator.
NoteInstall into the same position noted during removal.
-
Install the latch actuator to the
charge port assembly, and then install the screws (x2) that attach the actuator to the
assembly.1.2 Nm (.9 lbs-ft)Note推荐使用以下工具
- T20
-
Position the charge port assembly to
the vehicle, and then install the bolts (x3) that attach the assembly to the
vehicle.9 Nm (6.6 lbs-ft)Tip推荐使用以下工具
- 10 mm socket
-
Connect the AC 3-phase connector from
the charge port assembly, and then secure the connector lock.
-
Use IPA wipes to clean the charge port
busbar contact surface of residual Penetrox.
NoteAllow 1 minute of dry time.
-
Apply Penetrox to the backside of
busbar leads.
NoteApply 2 drops of Penetrox A-13 about 5mm in diameter to either side of the hole on both leads. Spread evenly to verify the contact surface is fully covered.
-
Position the charge port busbar to the
charge port, and then install the fasteners (x2) that attach the busbar leads to the
studs.9 Nm (6.6 lbs-ft)NoteIf excessive force is required to seat busbars, they may have been bent. Inspect for damage and replace if necessary.NoteThe nuts have captured washers.Tip推荐使用以下工具
- 10 mm socket
-
Install the charge port safety
cap.
-
Connect the connectors (x3) to the
charge port assembly, and then secure the connector locks.
- Install the LH C-pillar bracket. See 支架 - C 柱 - 左侧(拆卸和更换).
- Install the LH upper C-pillar trim. See 饰板 - C 柱 - 上 - 左侧(拆卸和更换).
- Install the LH trunk side trim. See 饰板 - 侧边 - 后备箱 - 左侧(拆卸和更换).
- Install the LH trunk pocket bracket. See 支架 - 后备箱挂袋 - 左侧(拆卸和更换).
- Install the LH load floor bracket. See 支架 - 后备箱负重底板- 左侧(拆卸和更换).
- Install the trunk sill trim. See 饰板 - 门槛板 - 后备箱(拆卸和更换).
- Install the front trunk load floor. See 后备箱负重底板 - 前部(拆卸和更换).
- Install the rear trunk load floor. See 行李箱负重底板 - 后(拆卸和更换).
- Install the LH lower c-pillar trim. See 饰板 - C 柱 - 下 - 左侧(拆卸和更换).
- Install the 2nd row lower seat cushion. See 座椅座垫 - 下部 - 第二排(拆卸和更换).
- Connect 12V power. See 12V/低压电源(断开和连接).
-
Verify operation of charging
system.
NoteUse customer's charging equipment if available, Ensure all charging adapters are presentCAUTION请勿尝试手动关闭充电端口盖板。
- Install the rear underhood apron. See 前备箱挡板 - 后部(拆卸和更换).
- Raise all the windows and close all the doors.