2025-04-06
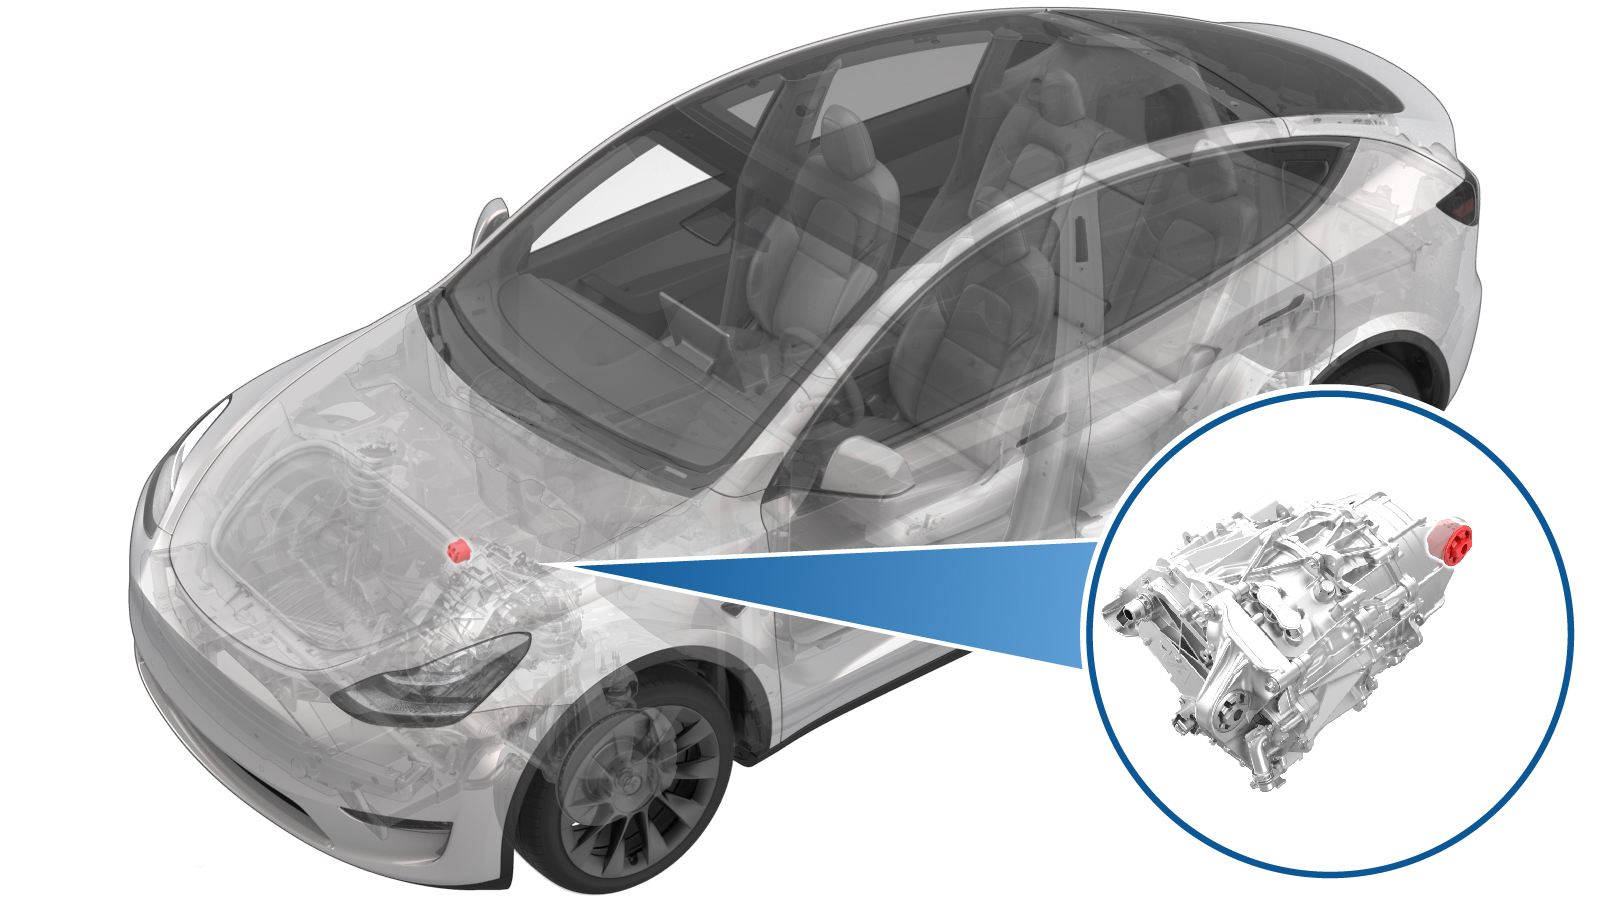
套管 - 前驱动电机 - 右侧(拆卸和更换)
 校正代码
39011102 2.70
注意:除非本程序中另有明确规定,否则上述校正代码和 FRT 反映的是执行本程序(包括关联程序)所需的所有工作。除非明确要求,否则请勿堆叠校正代码。
注意:请参阅平均维修工时,深入了解 FRT 及其创建方式。
注意:请参阅人员保护,确保在执行以下程序时穿戴适当的个人防护装备 (PPE)。注意:请参阅人体工程学注意事项查看安全健康的作业规程。
校正代码
39011102 2.70
注意:除非本程序中另有明确规定,否则上述校正代码和 FRT 反映的是执行本程序(包括关联程序)所需的所有工作。除非明确要求,否则请勿堆叠校正代码。
注意:请参阅平均维修工时,深入了解 FRT 及其创建方式。
注意:请参阅人员保护,确保在执行以下程序时穿戴适当的个人防护装备 (PPE)。注意:请参阅人体工程学注意事项查看安全健康的作业规程。
- 2025-04-04: Added step to refer to the suspension alignment tables to define whether an alignment check is required and, if so, what type of alignment check is required.
拆卸
- Remove the front subframe assembly from the vehicle. See 副车架总成 - 前(双电机)(拆卸和安装).
-
Install the bushing tool on the RH
front drive unit bushing.
注Use cups "K", "B", and "I" when assembling the special tool, as shown.
图 1. Other assemblies hidden for clarity -
Turn the bearing-side bushing tool nut
with a wrench while holding the opposite nut in place.
警告Apply torque only to the bearing-side bushing tool nut.
图 2. Apply torque only to the nut highlighted red -
When the bushing has been pushed out
of the front drive unit, separate the bushing tool, and then remove the bushing.
安装
-
安装套管工具,以套上新的套管。
注Use cups "L", "J", and "C" when assembling the special tool, as shown.注Make sure the rubber tab is visible at the top of cup "J".
图 3. Cups "L", "J", and "C" used to install the bushing 图 4. Rubber tab visible at the top of cup "J" -
Turn the bearing-side bushing tool nut
with a wrench until the bushing flange makes contact with the front drive unit.
警告Apply torque only to the bearing-side bushing tool nut.注While installing the bushing, make sure the rubber tab remains visible at the top of cup "J".
图 5. Apply torque only to the nut highlighted red - 分离套管工具,然后从驱动单元上拆下。
-
Make sure the bushing alignment lug is
oriented to 12 o'clock.
图 6. Other assemblies hidden for clarity - Install the front subframe assembly on the vehicle. See 副车架总成 - 前(双电机)(拆卸和安装).
- 请参阅“定位要求”表,以确定是否需要 EPAS 定位检查 (EC) 或四轮定位检查 (AC)。如果已执行,请将定位检查/调整校正代码作为一项单独的工项添加到服务工单。请参阅 定位要求 - 悬架。