Assembly - Fascia and Diffuser - Rear (Remove and Install)
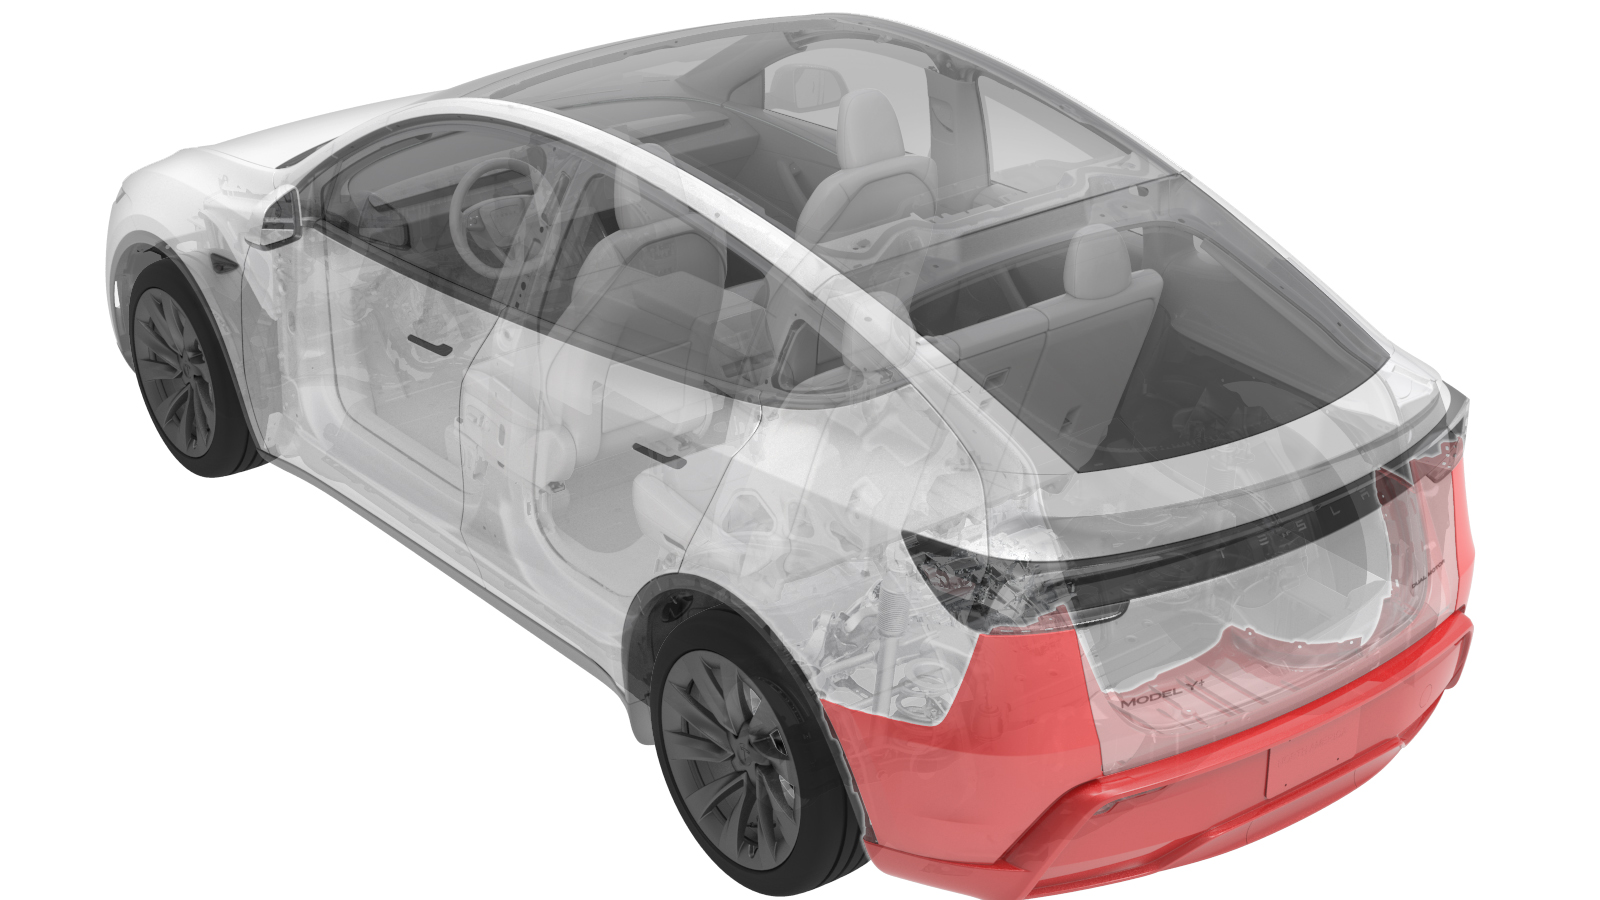 Correction code
10010501601
FRT
0.36
NOTE: Unless
otherwise explicitly stated in the procedure, the correction code and its
associated FRT reflect all of the work required to perform this procedure,
including the linked procedures. Do not stack correction
codes unless explicitly told to do so.
NOTE: See Flat Rate Times to
learn more about FRTs and how they are created.
NOTE: See Personal Protection to make
sure you are wearing proper PPE when performing the procedure below.
NOTE: See Ergonomic Precautions for safe and healthy
working practices.
Correction code
10010501601
FRT
0.36
NOTE: Unless
otherwise explicitly stated in the procedure, the correction code and its
associated FRT reflect all of the work required to perform this procedure,
including the linked procedures. Do not stack correction
codes unless explicitly told to do so.
NOTE: See Flat Rate Times to
learn more about FRTs and how they are created.
NOTE: See Personal Protection to make
sure you are wearing proper PPE when performing the procedure below.
NOTE: See Ergonomic Precautions for safe and healthy
working practices.
- 2026-07-20: Added a note to prevent interference between rear fog lamp connectors and the rear bumper beam.
Torque Specifications
| Description | Torque Value | Recommended Tools | Reuse/Replace | Notes |
|---|---|---|---|---|
| Bolt that attaches the corner of the rear fascia to the body |
 3.5 Nm (2.6 lbs-ft) |
|
Reuse | |
| Bolt that attaches the rear fascia to the body |
2 Nm (1.5 lbs-ft) |
|
Reuse | |
| Rear diffuser bolts |
5 Nm (3.7 lbs-ft) |
|
Reuse |
Remove
-
Place the vehicle on the 2-post
lift.
TipEnsure the vehicle is not charging.
- Remove both rear fender garnishes. See Fender Garnish - Rear - LH (Remove and Replace).
- Open the liftgate.
-
Apply masking tape around the LH
corner of the rear upper fascia.
-
Release 3 clips of the LH rear trough
trim.
-
Remove the bolt that attaches the LH
corner of the rear fascia to the body.
TipUse of the following tool(s) is recommended:
- 10 mm socket
-
Remove the bolt that attaches the LH
rear fascia to the body.
TipUse of the following tool(s) is recommended:
- 8 mm socket
- Repeat step 4 to 7 to the RH side.
-
Raise the vehicle to a comfortable
working height, and lower the lift onto locks.
CAUTION
Make sure there is an audible click of the locks on both sides before lowering, otherwise the vehicle may tilt to one side.
Make sure that the doors are clear of surrounding objects.
-
Remove the bolts (x2) that attach the
mid aero shield to the rear diffuser.
TipUse of the following tool(s) is recommended:
- 10 mm deep socket
-
Remove the bolts (x7), push clips (x6)
and fastener covers (x2) from the rear fascia diffuser.
TipUse of the following tool(s) is recommended:
- 10 mm deep socket
- Lower the vehicle to a comfortable working height and set the lift onto locks.
-
With assistance, release the rear
fascia assembly from the body, disconnect the electrical connector, and place the
assembly on a padded surface to avoid damage.
NoteWhen handling the rear fascia assembly, keep the rear fog lamp connectors on both sides clear of the rear bumper beam to avoid damage.
Install
-
With assistance, connect the
electrical connector, and secure the rear fascia assembly onto the body.
NoteWhen handling the rear fascia assembly, keep the rear fog lamp connectors on both sides clear of the rear bumper beam to avoid damage.
-
Install the bolt that attaches the LH
corner of the rear fascia to the body.3.5 Nm (2.6 lbs-ft)TipUse of the following tool(s) is recommended:
- 10 mm socket
-
Secure the clips (x3) to the LH rear
trough trim.
-
Install the bolt that attaches the LH
rear fascia to the body.2 Nm (1.5 lbs-ft)TipUse of the following tool(s) is recommended:
- 8 mm socket
- Install the LH rear fender garnish. See Fender Garnish - Rear - LH (Remove and Replace).
- Repeat step 2 to 5 to the RH side.
- Remove the masking tape from the LH and RH corners of the rear upper fascia.
-
Raise the vehicle to a comfortable
working height, and lower the lift onto locks.
CAUTION
Make sure there is an audible click of the locks on both sides before lowering, otherwise the vehicle may tilt to one side.
Make sure that the doors are clear of surrounding objects.
-
Install the bolts (x2) that attach the
mid aero shield to the rear diffuser.5 Nm (3.7 lbs-ft)TipUse of the following tool(s) is recommended:
- 10 mm deep socket
-
Install the bolts (x7), push clips
(x6) and fastener covers (x2) to the rear fascia diffuser.5 Nm (3.7 lbs-ft)TipUse of the following tool(s) is recommended:
- 10 mm deep socket
- Fully lower the vehicle.
- Close the liftgate.
- Remove the vehicle from the lift.