Busbar Fast Charge - Input - Positive - PN Prefixed with 2xx (Remove and Replace)
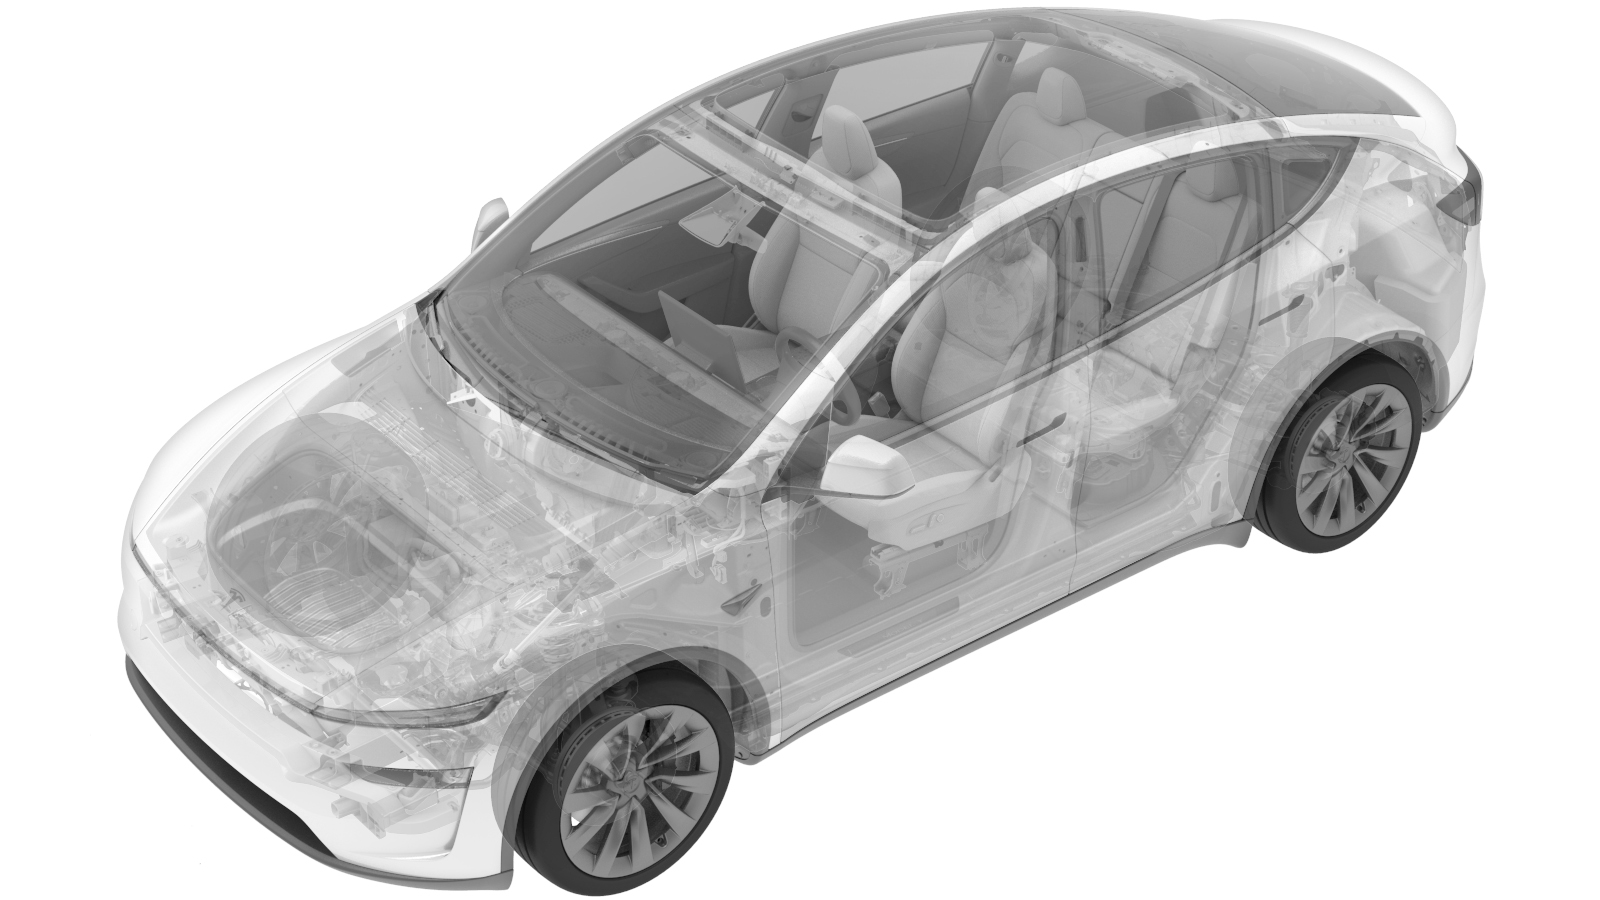 Correction code
1630021602
FRT
1.50
NOTE: Unless
otherwise explicitly stated in the procedure, the correction code and its
associated FRT reflect all of the work required to perform this procedure,
including the linked procedures. Do not stack correction
codes unless explicitly told to do so.
NOTE: See Flat Rate Times to
learn more about FRTs and how they are created.
NOTE: See Personal Protection to make
sure you are wearing proper PPE when performing the procedure below.
NOTE: See Ergonomic Precautions for safe and healthy
working practices.
- 2026-11-10: Added correct torque sequence and Hioki measurement.
Torque Specifications
| Description | Torque Value | Recommended Tools | Reuse/Replace | Notes |
|---|---|---|---|---|
| Patch bolt that attaches the input fast charge busbar / DC link busbar to the fast charge contactor |
 10 Nm (7.4 lbs-ft) - 180 degrees 10 Nm (7.4 lbs-ft) |
|
Replace | 1104475-00-F Note Tighten the bolt to 10 Nm, back off 180 degrees, then torque to 10 Nm. |
Remove
- Remove the fast charge cover from the fast charge contactor assembly. Cover - Fast Charge - PN Prefixed with 2xx (Remove and Replace).
-
Remove the fast charge HV carrier from
the fast charge contactor assembly by releasing the tabs (x6).
-
Release the location pins (x3) and
tabs (x2), then remove and discard the patch bolt that attaches the positive input fast
charge busbar to the fast charge contactor.
TipUse of the following tool(s) is recommended:
- SKT, 1/4" SQ DR, 13MM, HV INSULATED
Install
-
Secure the location pins (x3) and tabs
(x2), then install a new patch bolt that attaches the positive input fast charge busbar
to the fast charge contactor.
- Torque the bolt(s) to 10 Nm
- Loosen the bolt(s) by 180 degrees
- Re-torque the bolt(s) to 10 Nm
TipUse of the following tool(s) is recommended:- Insulated Ratchet/torque wrench
- Insulated 13 mm socket
- Insulated Torque wrench with angle measurement
- Perform a zero adjust of the Hioki resistance meter. See Resistance Meter (Zero Adjust).
-
Perform a Hioki resistance test at the
positive HV joint of the fast charge contactor on the input busbar.
NoteThe resistance must be 30 𝜇Ω or less.
-
Install the fast charge HV carrier to
the fast charge contactor assembly, ensuring all the tabs (x6) are secured.
- Install the fast charge cover to the fast charge contactor assembly. Cover - Fast Charge - PN Prefixed with 2xx (Remove and Replace).