Carpet - Rear Cabin - LH (Model YL) (Remove and Replace)
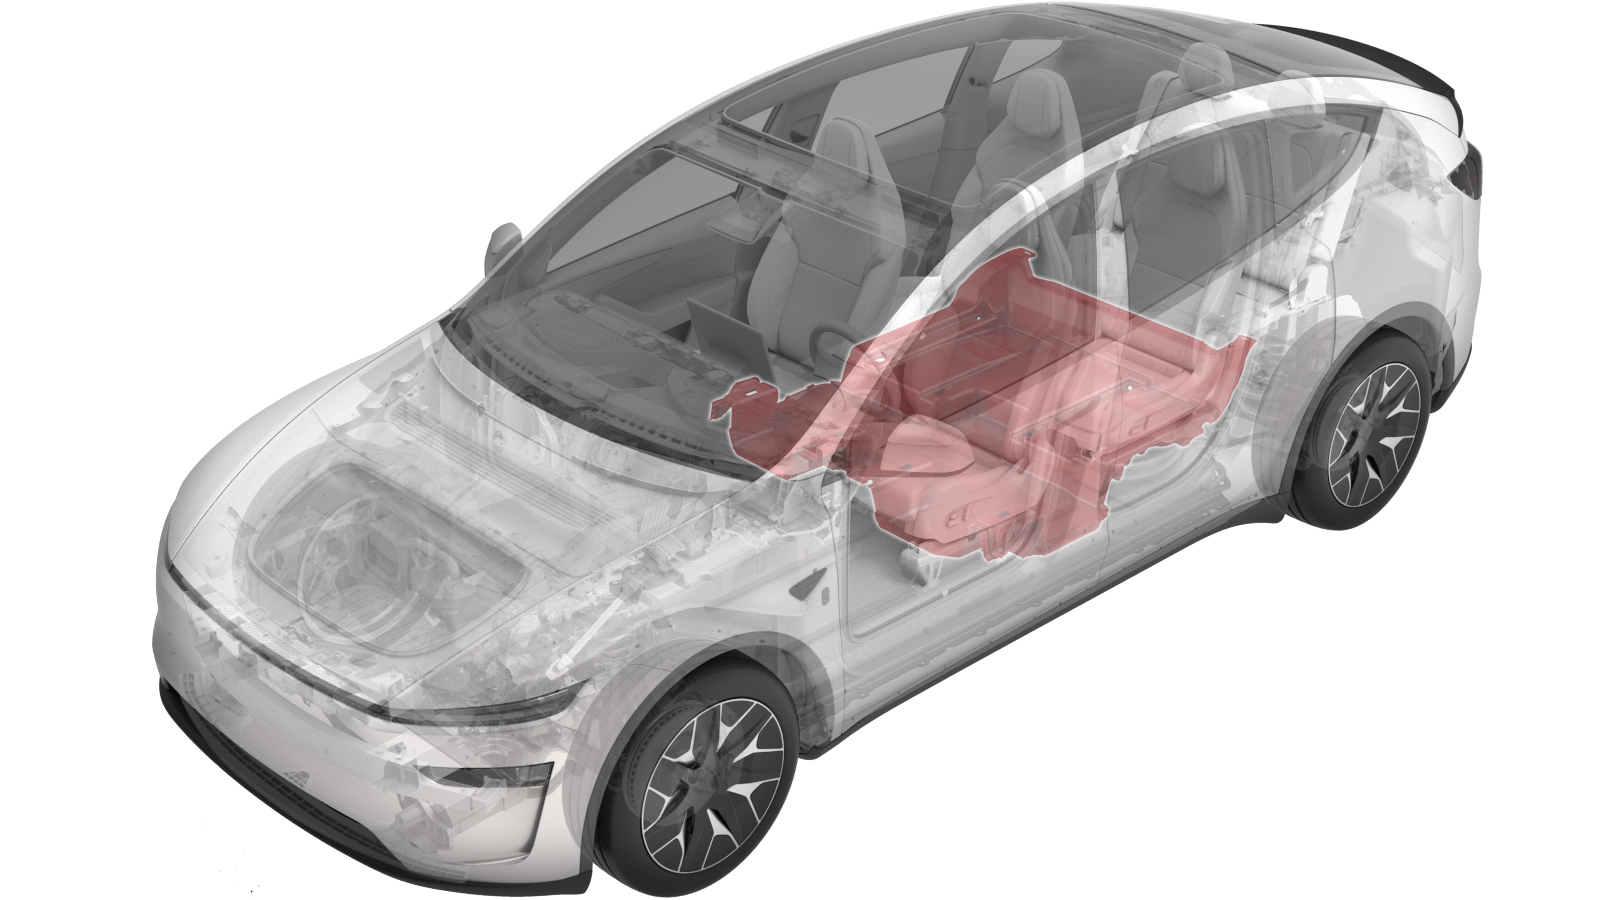 Correction code
15301200102
FRT
1.38
NOTE: Unless
otherwise explicitly stated in the procedure, the correction code and its
associated FRT reflect all of the work required to perform this procedure,
including the linked procedures. Do not stack correction
codes unless explicitly told to do so.
NOTE: See Flat Rate Times to
learn more about FRTs and how they are created.
NOTE: See Personal Protection to make
sure you are wearing proper PPE when performing the procedure below.
NOTE: See Ergonomic Precautions for safe and healthy
working practices.
Correction code
15301200102
FRT
1.38
NOTE: Unless
otherwise explicitly stated in the procedure, the correction code and its
associated FRT reflect all of the work required to perform this procedure,
including the linked procedures. Do not stack correction
codes unless explicitly told to do so.
NOTE: See Flat Rate Times to
learn more about FRTs and how they are created.
NOTE: See Personal Protection to make
sure you are wearing proper PPE when performing the procedure below.
NOTE: See Ergonomic Precautions for safe and healthy
working practices.
Remove
-
Remove the 1st row LH and RH seat assemblies. See 1st Row Seat- LH (Remove and Install).
NoteStop this step before disconnecting the LV battery, and go to the next step.
- Remove the 2nd row LH and RH seat assemblies. See Seat Assembly - 2nd Row - LH (Model YL) (Remove and Install).
- Continue to remove the 1st row LH and RH seat assemblies. See 1st Row Seat- LH (Remove and Install).
- Remove the 3rd row LH seat cushion bolster. See Bolster - Seat Cushion - 3rd Row - LH (Model YL) (Remove and Replace).
- Remove the 3rd row RH seat cushion bolster. See Bolster - Seat Cushion - 3rd Row - RH (Model YL) (Remove and Replace).
-
Remove the center console assembly. See Center Console (Model Y L) (Remove and Install).
NoteDuring removal, certain steps require extra care. See the animation(s) for detailed guidance.
- Remove the LH and RH B-pillar lower trims. See Trim - B-Pillar - Lower - LH (Model YL) (Remove and Replace).
-
Remove the clips (x6) that attach the rear cabin carpet to the body.
-
Release the datums (x2), and then carefully pull the rear cabin carpet from the
vehicle.
CAUTIONMake sure to pull the electrical harness out of the carpet openings before completely removing the carpet from the body.
Install
-
Push the electrical harness through the carpet openings; carefully install the rear
cabin carpet to the vehicle, and then engage the datums (x2).
-
Install the clips (x6) that attach the rear cabin carpet to the body.
- Install the LH and RH B-pillar lower trims. See Trim - B-Pillar - Lower - LH (Model YL) (Remove and Replace).
- Install the center console assembly. See Center Console (Model Y L) (Remove and Install).
- Install the 3rd row LH seat cushion bolster. See Bolster - Seat Cushion - 3rd Row - LH (Model YL) (Remove and Replace).
- Install the 3rd row RH seat cushion bolster. See Bolster - Seat Cushion - 3rd Row - RH (Model YL) (Remove and Replace).
-
Install the 2nd row LH and RH seat assemblies. See Seat Assembly - 2nd Row - LH (Model YL) (Remove and Install).
NoteStop this step before connecting the LV battery, and go to the next step.
- Install the 1st row LH and RH seat assemblies. See 1st Row Seat- LH (Remove and Install).
- Continue to install the 2nd row LH and RH seat assemblies. See Seat Assembly - 2nd Row - LH (Model YL) (Remove and Install).