Harness - Instrument Panel (Model Y L) (Remove and Replace)
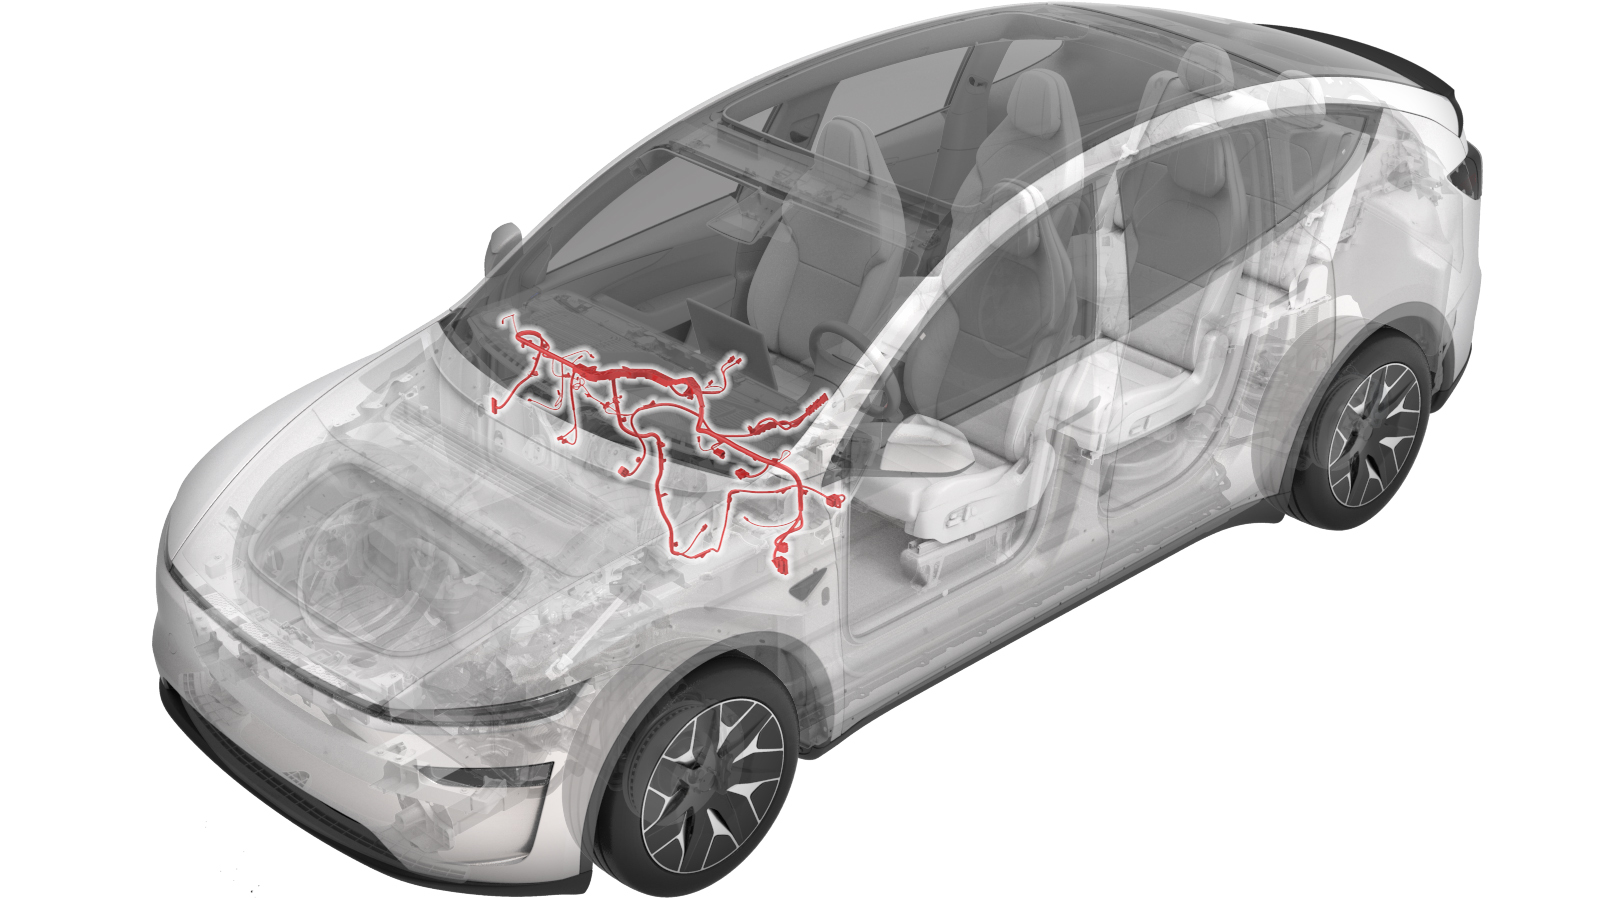 Correction code
1710061102
FRT
1.98
NOTE: Unless
otherwise explicitly stated in the procedure, the correction code and its
associated FRT reflect all of the work required to perform this procedure,
including the linked procedures. Do not stack correction
codes unless explicitly told to do so.
NOTE: See Flat Rate Times to
learn more about FRTs and how they are created.
NOTE: See Personal Protection to make
sure you are wearing proper PPE when performing the procedure below.
NOTE: See Ergonomic Precautions for safe and healthy
working practices.
Correction code
1710061102
FRT
1.98
NOTE: Unless
otherwise explicitly stated in the procedure, the correction code and its
associated FRT reflect all of the work required to perform this procedure,
including the linked procedures. Do not stack correction
codes unless explicitly told to do so.
NOTE: See Flat Rate Times to
learn more about FRTs and how they are created.
NOTE: See Personal Protection to make
sure you are wearing proper PPE when performing the procedure below.
NOTE: See Ergonomic Precautions for safe and healthy
working practices.
Remove
-
Remove the center console assembly.
See Center Console (Model Y L) (Remove and Install).
NoteDuring removal, certain steps require extra care. See the animation(s) for detailed guidance.
-
Remove the LH instrument panel air
wave duct. See Instrument Panel - Air Wave Duct - LH (Remove and Replace).
NoteDuring removal, certain steps require extra care. See the animation(s) for detailed guidance.
-
Disconnect the HVAC connector from the LH body controller.
-
Release the locking tab to disconnect
the instrument panel harness J10 connector from the LH body controller.
-
Remove the harness clip from the
instrument panel area near the LH controller.
-
Disconnect the instrument panel
harness connector from the electronic steering column.
-
Remove the bracket buckles (x2) that attach the connectors to the cross car
beam.
-
Remove the HVAC harness clips (x2)
from the instrument mount bracket.
-
Remove the steering column control
module (SCCM) harness clip from the cross car beam.
-
Disconnect the blower motor connector
and release the harness clip.
-
Remove the instrument panel harness
clips (x4) and harness holders (x4) from the upper cross car beam.
-
Remove the RH harness connector clip
from the cross car beam.
-
Remove the RH harness clips (x2) from
the cross car beam.
-
Disconnect the J10 instrument panel
electrical connector from the RH body controller module.
- Remove the RH instrument panel riser bracket. See Riser Assembly - Instrument Panel - RH (Model Y L) (Remove and Replace).
-
Release the clips (x4) at the lower section of the instrument panel harness.
-
Disconnect the instrument panel
harness connector from the RCM.
NoteRelease the locking tab then pivot the lever to disconnect.
-
Cut the cable ties (x2) to release the bottom wiring harness of the instrument
panel.
-
Release the harness clips (x4) near
the B-pillar duct A section.
-
Pass the harness through underneath
the B-pillar duct A section, and then remove it from the vehicle.
NoteTake note of the harness routing for installation.
Install
-
Pass the harness through underneath
the B-pillar duct A section, and install the harness clips (x4).
-
Connect the instrument panel harness connector to the RCM.
NotePosition the lever then secure the locking tab to connect.
-
Connect the HVAC connector to the LH body controller.
-
Connect the instrument panel harness J10 connector to the LH body controller, and
engage the locking tab.
-
Install the harness clip to the
instrument panel near the LH controller.
-
Install the HVAC harness clips (x2) to
the instrument mount bracket.
-
Install the bracket buckles (x2) that
attach the connectors to the cross car beam.
-
Connect the instrument panel harness
connector to the electronic steering column.
-
Install the SCCM harness clip to the
cross car beam.
-
Install the instrument panel harness
clips (x4) and harness holders (x4) to the upper cross car beam.
-
Use cable ties (x2) to secure the bottom wiring harness of the instrument
panel.
-
Install the harness clips (x4) to the
lower cross car beam.
-
Install the RH harness connector clip
to the cross car beam.
-
Install the RH harness clips (x2) to
the cross car beam.
-
Connect the J10 instrument panel electrical connector to the RH body controller
module.
- Install the RH instrument panel riser bracket. See Riser Assembly - Instrument Panel - RH (Model Y L) (Remove and Replace).
- Install the LH instrument panel air wave duct. See Instrument Panel - Air Wave Duct - LH (Remove and Replace).
- Install the center console assembly. See Center Console (Model Y L) (Remove and Install).