Super Manifold Assembly R134a (V2) (Remove and Install)
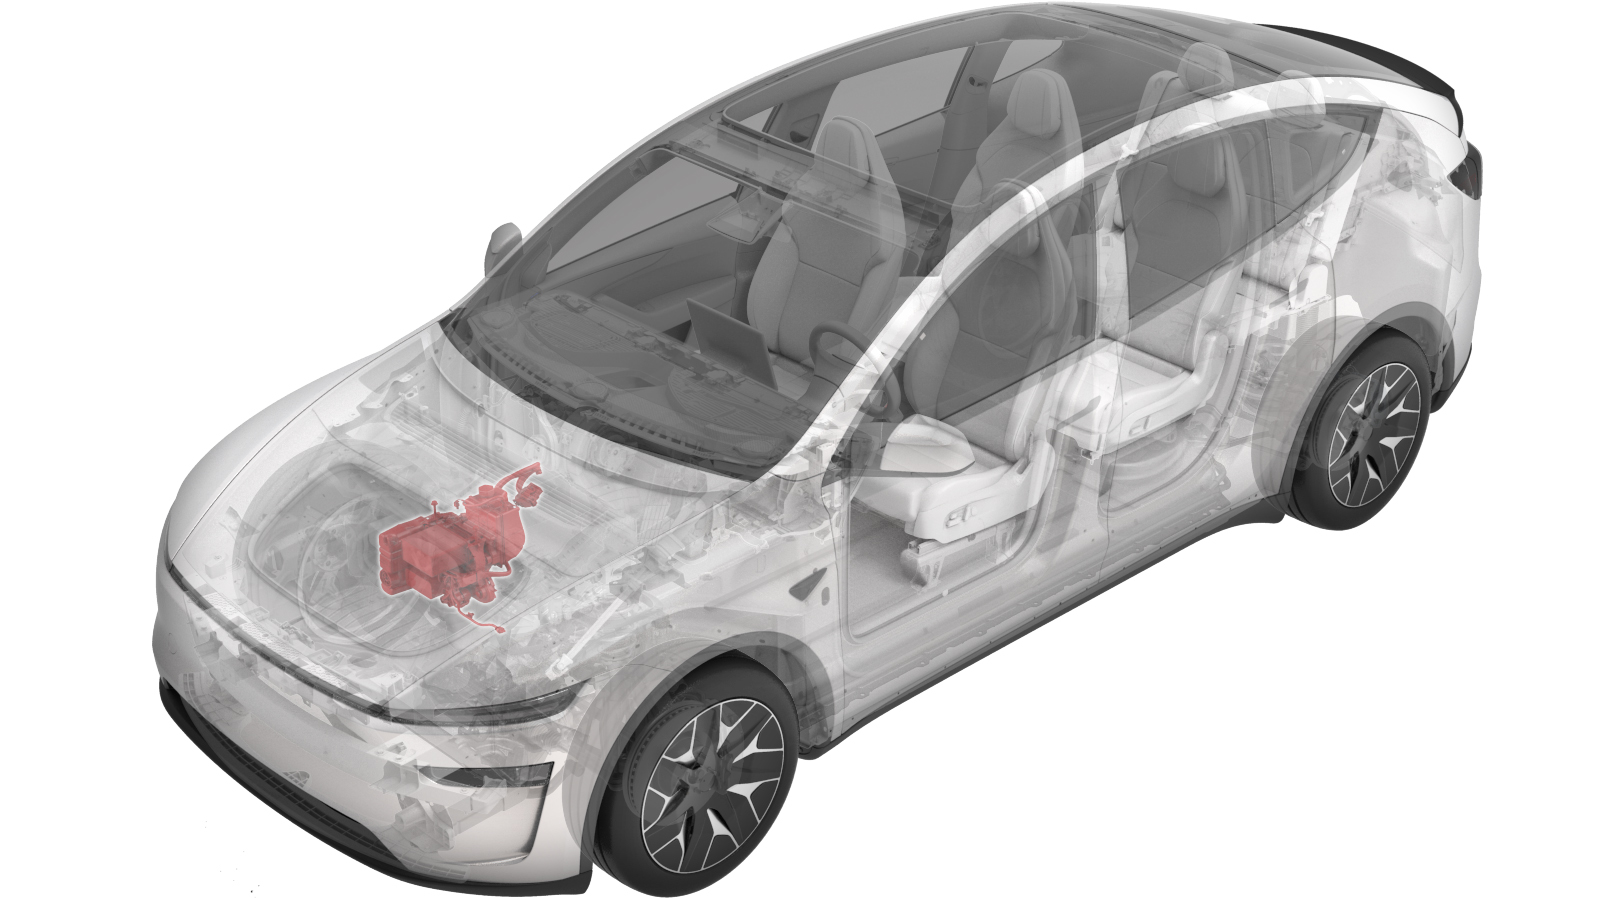 Correction code
18400100201
FRT
1.20
NOTE: Unless
otherwise explicitly stated in the procedure, the correction code and its
associated FRT reflect all of the work required to perform this procedure,
including the linked procedures. Do not stack correction
codes unless explicitly told to do so.
NOTE: See Flat Rate Times to
learn more about FRTs and how they are created.
NOTE: See Personal Protection to make
sure you are wearing proper PPE when performing the procedure below.
NOTE: See Ergonomic Precautions for safe and healthy
working practices.
Correction code
18400100201
FRT
1.20
NOTE: Unless
otherwise explicitly stated in the procedure, the correction code and its
associated FRT reflect all of the work required to perform this procedure,
including the linked procedures. Do not stack correction
codes unless explicitly told to do so.
NOTE: See Flat Rate Times to
learn more about FRTs and how they are created.
NOTE: See Personal Protection to make
sure you are wearing proper PPE when performing the procedure below.
NOTE: See Ergonomic Precautions for safe and healthy
working practices.
High Voltage Awareness Care Pointsfor additional safety information.
Equipment:
- 1050448-00-B COOLANT VACUUM FILL - JTC
Torque Specifications
| Description | Torque Value | Recommended Tools | Reuse/Replace | Notes |
|---|---|---|---|---|
| Bolt that attaches the supermanifold to compressor A/C line to the supermanifold |
 22 Nm (16.2 lbs-ft) |
|
Reuse | |
| Bolts (x2) that attach the supermanifold to HVAC A/C line to the HVAC assembly |
28 Nm (20.6 lbs-ft) |
|
Reuse | |
| Bolts (x2) that attach the supermanifold to the shock tower brace |
31 Nm (22.9 lbs-ft) |
|
Reuse | |
| Nut that attaches the supermanifold to HVAC A/C line to the supermanifold |
36 Nm (26.5 lbs-ft) |
|
Reuse |
Remove
- Set up the AC machine.
- Unlock the vehicle gateway. See Gateway (Unlock).
-
On the touchscreen, tap the Service
Mode "wrench" (at the bottom of the touchscreen UI), and then tap , enter 1 in the Coolant fill and Refrigerant fill fields,
click Run, and
allow the routine to complete.
NoteThis routine has a 5-hour limit. After 5 hours, the routine needs to be performed again.
- Disconnect the LV battery power. See LV Power (Disconnect and Connect) (Modify).
- Remove the underhood storage unit. See Underhood Storage Unit (Remove and Replace).
- Remove the fresh intake duct. See Duct - Air Intake (Remove and Replace).
- Remove the front aero shield. See Aero Shield - Front (Remove and Replace).
-
Recover the A/C refrigerant. See
A/C Refrigerant (Recovery and Recharge) (Restore).
WarningMake sure there is no overpressure in the A/C system before performing the following steps. Failure to do so may result in damage to components and/or personal injury.WarningHFO-R1234yf and R134a are considered hazardous and, if handled incorrectly, can cause serious injury. Suitable personal protective equipment, consisting of face and eye protection, safety glasses, face shield, heat-proof gloves, chemical resistant gloves, rubber boots and apron or waterproof overall must be worn when carrying out operations on the air conditioning system.
- Remove A/C machine hoses from the vehicle.
-
Carefully depress the Schrader valves (x2) to level out any pressure difference between the A/C system pressure and the actual ambient atmospheric pressure.
CAUTIONMake sure to depress both Schrader valves. Failure to do so may result in injury.
-
Remove the frunk reinforcement beam.
See Beam - Reinforcement - Frunk (Remove and Replace).
NoteIt is not necessary to separate the isolation brackets from the frunk reinforcement beam.
-
Place a fluid catcher underneath the
front of the vehicle.
-
Remove the coolant bottle cap.
NoteCoolant loss greater than 1L will require vacuum fill.
-
Release the spring clip, disconnect
the radiator inlet hose from the supermanifold, and then plug the hose and
supermanifold.
-
Release the spring clip, disconnect
the radiator outlet hose from the supermanifold, and then plug the hose and
supermanifold.
-
Release the spring clip, disconnect
the front drive unit return hose from the supermanifold, and then plug the hose and
supermanifold.
-
Disconnect the battery supply hose
sensor connector.
CAUTIONDO NOT push down on the red locking tab. Pull the tab away from the connector until the connector is unlocked, and then continue pulling the main body of the connector to fully disconnect it.
-
Disconnect the electrical connector
from the sensor on the powertrain supply hose, near the coolant bottle.
CAUTIONDO NOT push down on the red locking tab. Pull the tab away from the connector until the connector is unlocked, and then continue pulling the main body of the connector to fully disconnect it.
-
Release the spring clip, and then
remove the chiller to battery hose from the supermanifold, and then plug the hose and
supermanifold.
NoteCoolant loss greater than 1L will require vacuum fill.
-
Release the spring clip, disconnect
the powertrain supply hose from the supermanifold, and then plug the hose and
supermanifold.
-
Release the spring clip, disconnect
the HV battery return hose from the supermanifold, and then plug the hose and
supermanifold.
NoteCoolant loss greater than 1L will require vacuum fill.
-
Release the connector locking tab,
then disconnect the A/C logic electrical connector from the A/C compressor.
CAUTIONDO NOT push down on the red locking tab. Pull the tab away from the connector until the connector is unlocked, and then continue pulling the main body of the connector to fully disconnect it.
-
Use a clip pry tool to release the
retaining clip that attaches the A/C compressor logic harness to the A/C compressor HV
harness bracket.
-
Release the clip that attaches the
supermanifold harness to the front body controller module.
-
Disconnect the thermal harness from
the front body controller module connector.
-
Remove the bolts (x2) that attach the
supermanifold to HVAC A/C line to the HVAC assembly.
NoteUse of the following tool(s) is recommended:
- 13 mm socket
-
Remove the bolt that attaches the
supermanifold to compressor A/C line to the supermanifold.
NoteUse of the following tool(s) is recommended:
- 13 mm socket
-
Remove the supermanifold-to-compressor
A/C line from the supermanifold, move it aside, and use a bungee cord to secure
it.
-
With assistance, remove the bolts (x2)
that attach the supermanifold to the shock tower brace.
TipUse of the following tool(s) is recommended:
- 15 mm socket
-
Remove the nut that attaches the
supermanifold to HVAC A/C line to the supermanifold.
NoteUse of the following tool(s) is recommended:
- 13 mm socket
Install
-
Replace the seal washers (x5) on the
supermanifold to HVAC A/C line assembly on supermanifold side.
NoteLubricate the new seal washers with the appropriate A/C oil. See Fluids and Capacities for A/C oil specifications.
-
Replace the seal washers (x5) on the
supermanifold to HVAC A/C line assembly on the HVAC side.
NoteLubricate the new seal washers with the appropriate A/C oil. See Fluids and Capacities for A/C oil specifications.
-
Position the supermanifold to HVAC A/C
line on the supermanifold, and hand-tighten the nut that attaches the supermanifold to
HVAC A/C line to the supermanifold.
-
With assistance, position the
supermanifold assembly to the shock tower beam, and hand-tighten the bolts (x2) that
attach the supermanifold to the shock tower brace.
-
Torque the bolts (x2) that attach the
supermanifold to the shock tower brace.31 Nm (22.9 lbs-ft)TipUse of the following tool(s) is recommended:
- 15 mm socket
-
Torque the nut that attaches the
supermanifold to HVAC A/C line to the supermanifold.36 Nm (26.5 lbs-ft)NoteUse of the following tool(s) is recommended:
- 13 mm socket
-
Install the bolts (x2) that attach the
supermanifold to HVAC A/C line to the HVAC assembly.28 Nm (20.6 lbs-ft)NoteUse of the following tool(s) is recommended:
- 13 mm socket
-
Install new seal washers (x2) for the
supermanifold to compressor A/C line assembly at the supermanifold side.
NoteLubricate the new seal washers with the appropriate A/C oil. See Fluids and Capacities for A/C oil specifications.
-
Remove the bungee cord, and return the
the supermanifold to compressor AC line back to its original position.
-
Hand-tighten the bolt that attaches
the supermanifold to compressor A/C line to the supermanifold, and then torque the
bolt.22 Nm (16.2 lbs-ft)NoteUse of the following tool(s) is recommended:
- 13 mm socket
-
Connect the thermal harness to the
front body controller module connector.
-
Install the clip that attaches the
supermanifold harness to the front body controller module.
-
Install the retaining clip that
attaches the A/C compressor logic harness to the A/C compressor HV harness
bracket.
-
Connect the A/C compressor logic
electrical connector to the A/C compressor, and then engage the locking tab.
NotePush the red locking tab into the connector to engage the locking mechanism. DO NOT push down or pull up on the red locking tab.
-
Remove the plugs, immediately connect
the HV battery return hose to the supermanifold, and then fasten the clip.
NotePerform a push-pull-push test on the fittings to make sure that they are secure.
-
Remove the plugs, immediately connect
the powertrain supply hose to the supermanifold, and then fasten the clip.
NotePerform a push-pull-push test on the fittings to make sure that they are secure.
-
Remove the plugs, immediately connect the battery supply hose to the supermanifold,
and then fasten the clip.
NotePerform a push-pull-push test on the fittings to make sure that they are secure.
-
Connect the electrical connector to
the sensor on the powertrain supply hose, near the coolant bottle.
NoteHarness and coolant hose are color coded. Match harness color to coolant hose color.
-
Connect the electrical connector to
the sensor on the chiller to battery hose, near the coolant bottle.
-
Remove the plugs, immediately connect
the front drive unit powertrain return hose to the supermanifold, and then fasten the
clip.
NotePerform a push-pull test to verify that the hose is fully seated.
-
Remove the plugs from the
supermanifold and radiator outlet hose, immediately connect the radiator outlet hose to
the supermanifold, and then fasten the clip.
NotePerform a push-pull-push test on the fittings to make sure that they are secure.
-
Remove the plugs from the
supermanifold and radiator inlet hose, immediately connect the radiator inlet hose to
the supermanifold, and then fasten the clip.
NotePerform a push-pull-push test on the fittings to make sure that they are secure.
- Install frunk reinforcement beam, See Beam - Reinforcement - Frunk (Remove and Replace).
- Perform the vacuum leak test and oil injection, and A/C refrigerant recharge. See A/C Refrigerant (Recovery and Recharge) (Restore).
- Perform a cooling system vacuum refill. See Cooling System - Vacuum Refill (Test/Adjust).
-
Remove the fluid catcher from
underneath the front of the vehicle.
- Connect the LV battery. See LV Power (Disconnect and Connect) (Modify).
- Unlock the vehicle gateway. See Gateway (Unlock).
- On the touchscreen, tap the Service Mode "wrench" (at the bottom of the touchscreen UI), and then tap , and allow the routine to complete.
-
Tap , and allow the routine to complete.
NoteMake sure vehicle is not in Drive, shifting the vehicle into Drive will stop this routine. The test will last approximately 10 mins. The test will vary speeds from 3500-6500 RPM (idle speed = ~1500 RPM) and actuate the valve between series and parallel. If speed hovers at 7000 RPM, it indicates the pump is air locked, perform the vacuum fill again. Continue to add coolant and purge until the coolant level reaches between the NOM and MAX Lines on the bottle.
- Install the front aero shield. See Aero Shield - Front (Remove and Replace).
- Install the underhood storage unit. See Underhood Storage Unit (Remove and Replace).
-
Inspect the coolant level and top off
as necessary, and then install the coolant bottle cap.
NoteEnsure that the coolant level is at the "Max" line.
- Tap , and allow the routine to complete.
- Exit Service Mode. See 0005 - Service Modes.
- Install the fresh intake duct. See Duct - Air Intake (Remove and Replace).
- Install the HEPA filter assembly. See HEPA And Carbon Filters (Remove and Replace).
- Remove the vehicle from the lift.