Front Fascia (Model Y Standard) (Remove and Replace)
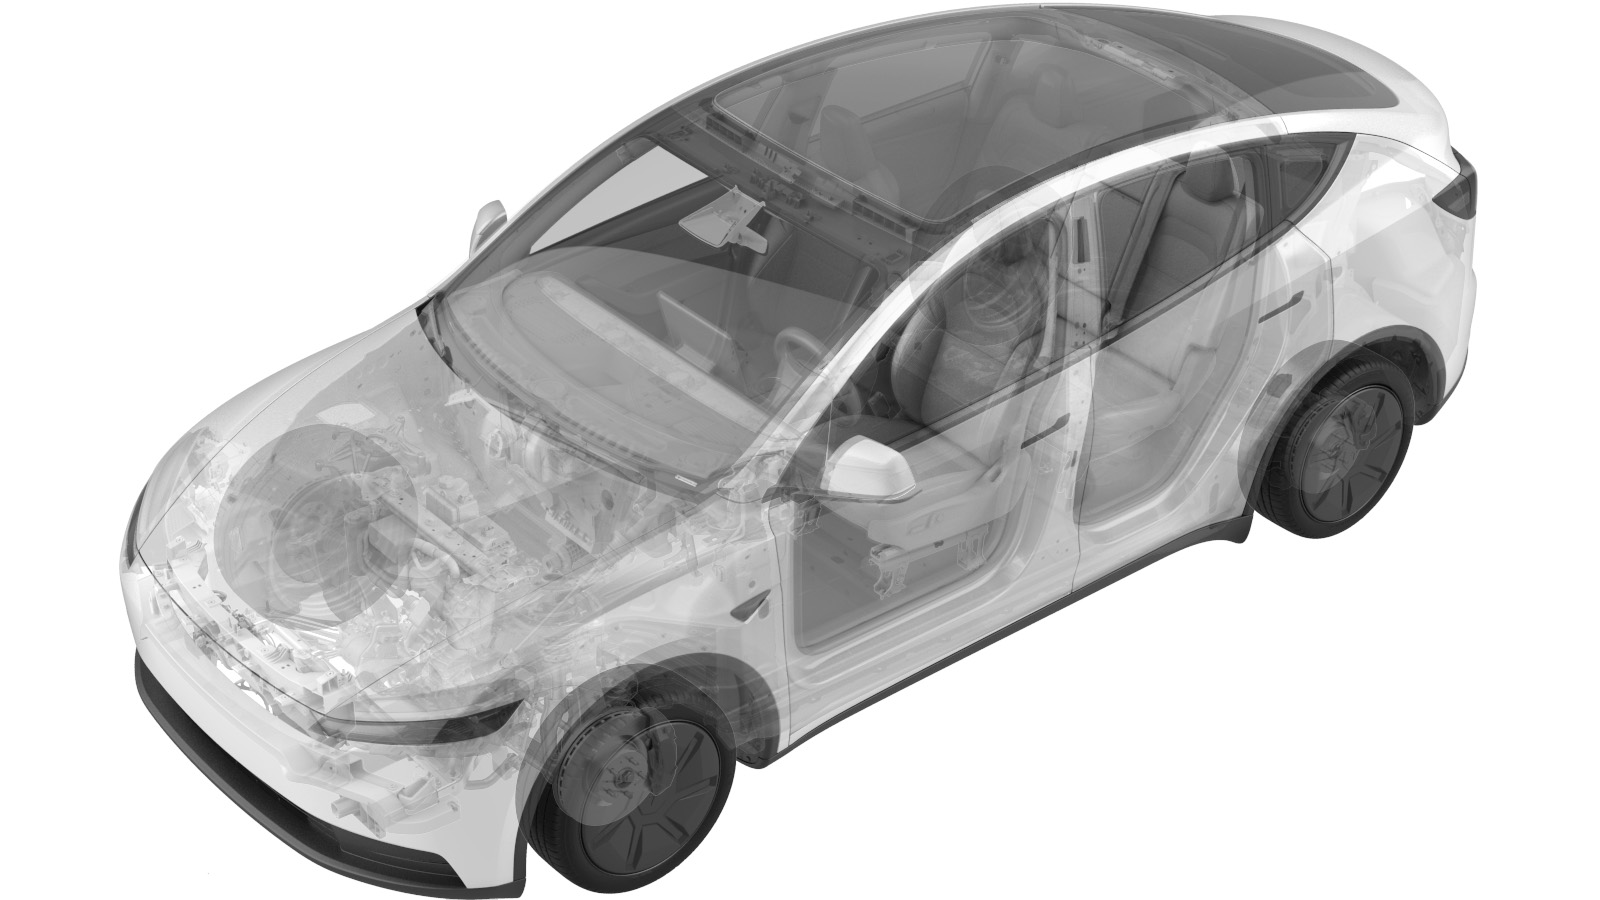 Correction code
1001020512
FRT
0.84
NOTE: Unless
otherwise explicitly stated in the procedure, the correction code and its
associated FRT reflect all of the work required to perform this procedure,
including the linked procedures. Do not stack correction
codes unless explicitly told to do so.
NOTE: See Flat Rate Times to
learn more about FRTs and how they are created.
NOTE: See Personal Protection to make
sure you are wearing proper PPE when performing the procedure below.
NOTE: See Ergonomic Precautions for safe and healthy
working practices.
Correction code
1001020512
FRT
0.84
NOTE: Unless
otherwise explicitly stated in the procedure, the correction code and its
associated FRT reflect all of the work required to perform this procedure,
including the linked procedures. Do not stack correction
codes unless explicitly told to do so.
NOTE: See Flat Rate Times to
learn more about FRTs and how they are created.
NOTE: See Personal Protection to make
sure you are wearing proper PPE when performing the procedure below.
NOTE: See Ergonomic Precautions for safe and healthy
working practices.
Torque Specifications
| Description | Torque Value | Recommended Tools | Reuse/Replace | Notes |
|---|---|---|---|---|
| Bolts (x4) that attach the upper portion of the front fascia to the vehicle |
 3.5 Nm (2.6 lbs-ft) |
|
Reuse | |
| Bolts (x3) that attach the valance to the front fascia |
5 Nm (3.7 lbs-ft) |
|
Reuse | |
| Bolts (x2) that attach the LH and RH corners of the front fascia to the LH front fender |
3.5 Nm (2.6 lbs-ft) |
|
Reuse | |
| Bolts (x6) that attach the LH and RH corners of the valance to the front fascia assembly |
2.5 Nm (1.8 lbs-ft) |
|
Reuse | |
| Bolts (x2) that attach the grille to the front fascia |
2.5 Nm (1.8 lbs-ft) |
|
Reuse |
Remove
- Remove the front fascia from the vehicle. See Front Fascia (Model Y Standard) (Remove and Install).
-
Disconnect the front fascia
camera connector.
-
Release the clips (x4) that
attach the front fascia electrical harness to the front fascia, and then
remove the front fascia harness from the front fascia assembly.
-
Remove the bolts (x6) that
attach the LH and RH corners of the valance to the front fascia
assembly.
TipUse of the following tool(s) is recommended:
- Torx T40 socket
-
Release the locating tabs
(x6) that attach the valance to the front fascia, and then remove the
valance from the front fascia assembly.
-
Remove the bolts (x2) that
attach the grille to the front fascia.
TipUse of the following tool(s) is recommended:
- Torx T40 socket
-
Remove the clips (20) that
attach the grille to the front fascia.
-
Release the tabs (x6) and remove the bolts (x6) that attach the front
fascia lower, and then separate the front fascia upper and front fascia
lower.
TipUse of the following tool(s) is recommended:
- Torx T40 socket
Figure 1. LH shown, RH similar
Install
-
Install the bolts (x6) and fasten the tabs (x6) that attach the front
fascia lower to the front fascia upper.2.5 Nm (1.8 lbs-ft)TipUse of the following tool(s) is recommended:
- Torx T40 socket
Figure 2. LH shown, RH similar -
Position the grille onto the
front fascia, and then fasten the clips (x20) that attach the grille to the
front fascia.
-
Install the bolts (x2) that
attach the grille to the front fascia.2.5 Nm (1.8 lbs-ft)TipUse of the following tool(s) is recommended:
- Torx T40 socket
-
Install the clips (x4) that
attach the front fascia electrical harness to the front fascia.
-
Connect the front fascia
camera connector.
-
Install the guide tabs (x6)
that attach the valance to the front fascia.
-
Install the bolts (x6) that
attach the LH and RH corners of the valance to the front fascia
assembly.2.5 Nm (1.8 lbs-ft)TipUse of the following tool(s) is recommended:
- Torx T40 socket
- Install the front fascia onto the vehicle. See Front Fascia (Model Y Standard) (Remove and Install).