Damper Coil - Rear - LH (Model YL) (Remove and Replace)
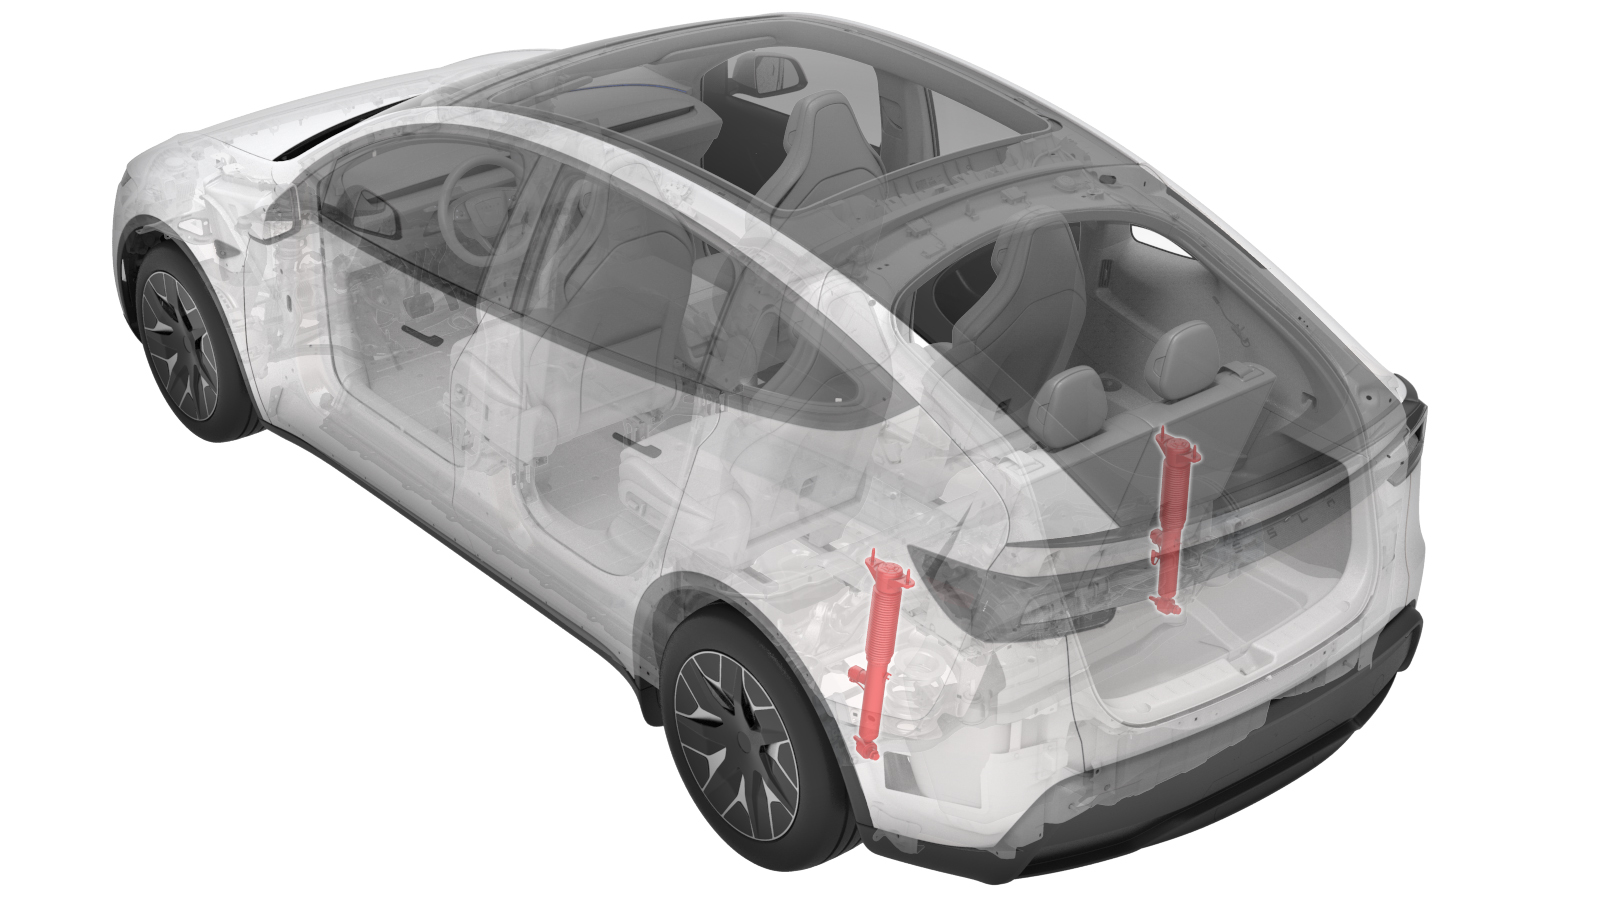 Correction code
31030600102
FRT
0.54
NOTE: Unless
otherwise explicitly stated in the procedure, the correction code and its
associated FRT reflect all of the work required to perform this procedure,
including the linked procedures. Do not stack correction
codes unless explicitly told to do so.
NOTE: See Flat Rate Times to
learn more about FRTs and how they are created.
NOTE: See Personal Protection to make
sure you are wearing proper PPE when performing the procedure below.
NOTE: See Ergonomic Precautions for safe and healthy
working practices.
Correction code
31030600102
FRT
0.54
NOTE: Unless
otherwise explicitly stated in the procedure, the correction code and its
associated FRT reflect all of the work required to perform this procedure,
including the linked procedures. Do not stack correction
codes unless explicitly told to do so.
NOTE: See Flat Rate Times to
learn more about FRTs and how they are created.
NOTE: See Personal Protection to make
sure you are wearing proper PPE when performing the procedure below.
NOTE: See Ergonomic Precautions for safe and healthy
working practices.
Equipment:
- 1457016-00-A KIT, SPRING COMPRESSOR, GEDORE
- 1137855-00-A TOOL, REAR RIDE HEIGHT TORQUE, MODEL 3
- 1081765-00-A 3/4 TON UNDERHOIST STAND
- 1459409-00-A ADAPTER, HUB JACK, MODEL 3
Torque Specifications
| Description | Torque Value | Recommended Tools | Reuse/Replace | Notes |
|---|---|---|---|---|
| Bolts (x2) secure the LH strut to body at top mount |
 41 Nm (30.2 lbs-ft) |
|
Reuse | |
| Bolt securing LH damper to rear lower aft link |
115 Nm (84.8 lbs-ft) |
|
Reuse |
Remove
- Remove the LH rear wheel. See Wheel Assembly (Remove and Install).
-
Release the connector lock, disconnect
the LH rear EPB harness connector, and remove the LH rear EPB harness from the LH rear
damper assembly.
- Remove the LH rear suspension cover. See Rear Suspension Cover - LH (Remove and Replace).
- Lower vehicle partially and set onto locks.
-
Position and raise the support stand
underneath the LH rear lower aft link to simulate the suspension at ride height.
-
Remove the bolts (x2) that attach the
LH rear damper to the body at the top mount.
NoteUse of the following tool(s) is recommended:
- 15 mm socket
-
Remove the bolt that attaches the LH
rear damper to the LH rear lower aft link.
NoteUse of the following tool(s) is recommended:
- 21 mm socket
-
Remove the LH rear damper from the
vehicle.
NoteGently lower the damper while rotating it counterclockwise, ensuring the upper part is carefully maneuvered away from the wheel arch liner first, and avoid damaging the solenoid valve connector.
Install
-
Place the LH rear damper into position
for installation.
NoteGently maneuver the LH rear damper around the wheel arch liner, and rotate it clockwise while lifting upwards, ensuring the upper part is secured first.
-
Install the bolt that attaches the LH
rear damper to the LH rear lower aft link.
NoteTighten by hand only at this stage. Apply specified torque in a later step. Assistance is recommended.
-
Install the bolts (x2) that attach the
LH rear damper to the body at the top mount.
41 Nm (30.2 lbs-ft)NoteUse of the following tool(s) is recommended:
- 15 mm socket
- Remove the support stand underneath the LH rear lower aft link.
-
Install a spring compressor onto the
LH rear suspension spring to simulate the suspension at ride height.
Warning
- Springs in a compressed state are under large amounts of energy. Refer to the Tool Profile for the spring compressor kit prior to performing this step for additional warnings and cautions.
- While compressing the spring, continuously check to make sure the spring compressor tool remains in place.
NoteCompressor plates must be installed in a specific orientation; the top of the compression rod has the notches, while the bottom of the compression rod has the fastener head. -
Remove the bolt that attaches the LH
rear brake rotor to the LH rear hub, and install the hub jack adapter onto the LH rear
hub by hand-tightening the lug nuts (x5).
NoteIf the hub jack adapter already has pre-drilled hole, there is no need to remove the rotor fastening bolt.
-
Position the underhoist stand
underneath the hub jack adapter to simulate LH rear suspension at ride height.
-
Measure the distance between the
bottom of the quarter panel and the center of the rear axle to make sure that the rear
suspension is set to ride height. The distance should measure 428 mm.
-
Torque the bolt that attaches the LH
rear damper to the LH rear lower aft link.
115 Nm (84.8 lbs-ft)NoteUse of the following tool(s) is recommended:
- 21 mm socket
-
Remove the underhoist stand that
supports the hub jack adapter.
-
Remove the hub jack adapter from the
LH rear hub, and install the bolt that attaches the LH rear brake rotor to the LH rear
hub.
- Remove the spring compressor from the LH rear suspension spring.
- Install the LH rear suspension cover. See Rear Suspension Cover - LH (Remove and Replace).
- Fasten the connector lock, connect the LH rear EPB harness connector, and then install the LH rear EPB harness onto the LH rear damper.
- Install the LH rear wheel. See Wheel Assembly (Remove and Install).
- Refer to the Alignment Requirement tables to determine whether an EPAS alignment check (EC) or four wheel alignment check (AC) is necessary. If performed, add the alignment check/adjust as a separate activity. See Alignment Requirement - Suspension.