Pack Contactor - High Voltage - Positive (Model Y L) (Remove and Replace)
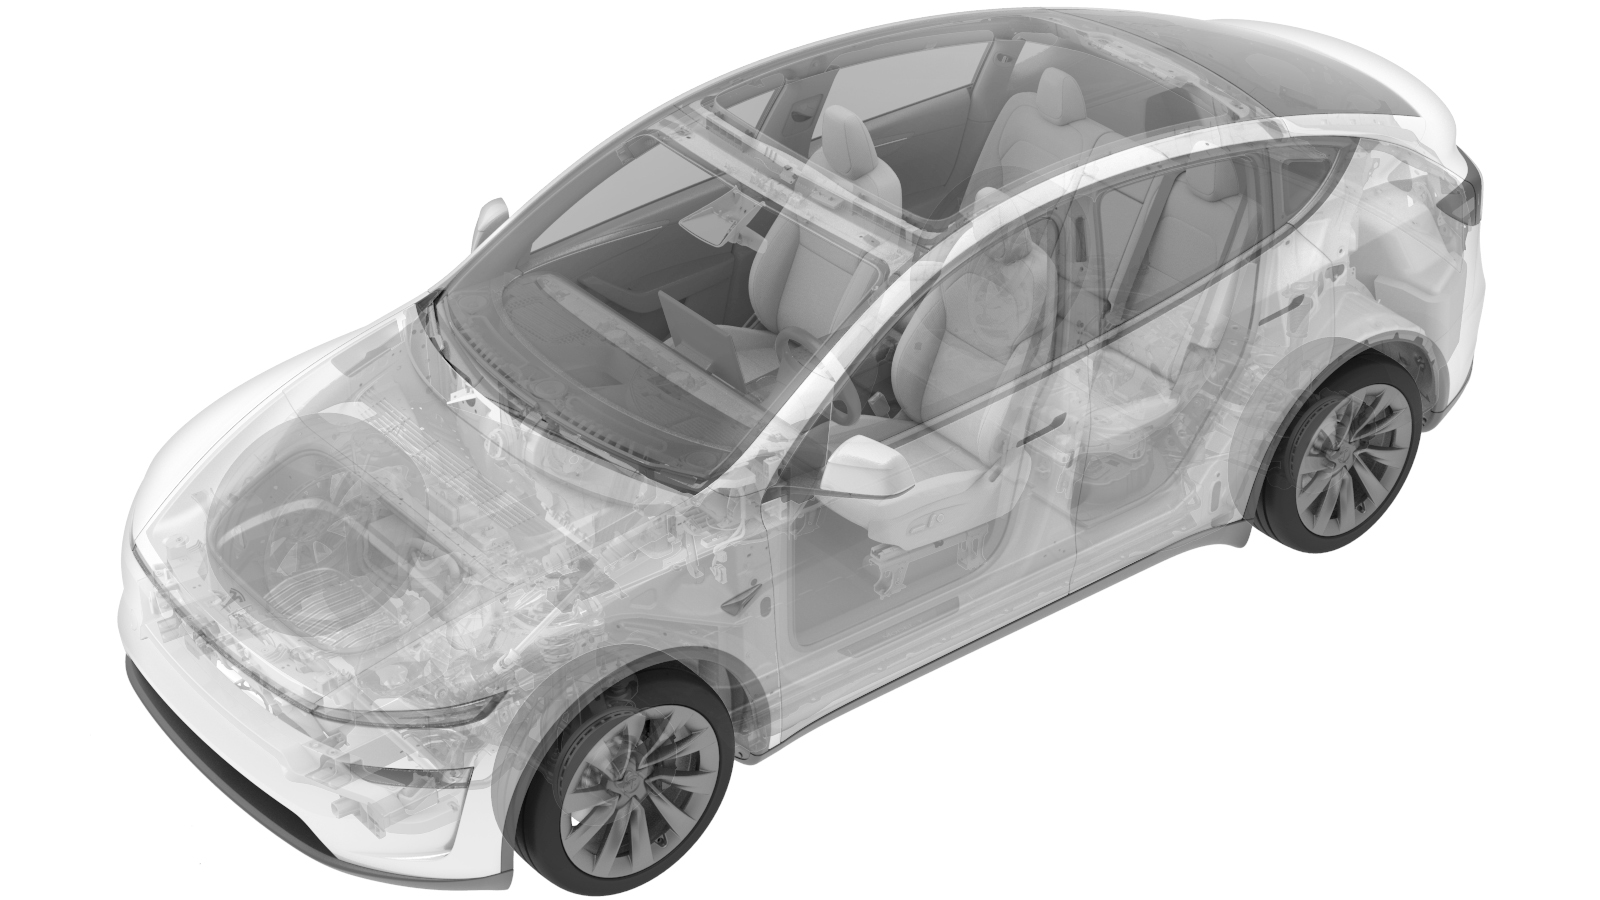 Correction code
16300121102
FRT
1.68
NOTE: Unless
otherwise explicitly stated in the procedure, the correction code and its
associated FRT reflect all of the work required to perform this procedure,
including the linked procedures. Do not stack correction
codes unless explicitly told to do so.
NOTE: See Flat Rate Times to
learn more about FRTs and how they are created.
NOTE: See Personal Protection to make
sure you are wearing proper PPE when performing the procedure below.
NOTE: See Ergonomic Precautions for safe and healthy
working practices.
Correction code
16300121102
FRT
1.68
NOTE: Unless
otherwise explicitly stated in the procedure, the correction code and its
associated FRT reflect all of the work required to perform this procedure,
including the linked procedures. Do not stack correction
codes unless explicitly told to do so.
NOTE: See Flat Rate Times to
learn more about FRTs and how they are created.
NOTE: See Personal Protection to make
sure you are wearing proper PPE when performing the procedure below.
NOTE: See Ergonomic Precautions for safe and healthy
working practices.
- 2026-06-05: Released new procedure.
Equipment:
- 1076927-00-A HIOKI RM 3548
- 1076928-00-A TEST PROBES - HIOKI 9461
- 1453448-02-A TOOL, KIT DIGITAL MULTIMETER SET
Only
technicians who have completed all required certification courses are permitted to
perform this procedure. Tesla recommends third party service provider technicians
undergo equivalent training before performing this procedure. For more information on
Tesla Technician requirements, or descriptions of the subject matter for third parties,
see HV Certification Requirements. Proper personal protective equipment (PPE) and insulating HV
gloves with a minimum rating of class 0 (1000V) must
be worn at all times a high voltage cable, busbar, or fitting is handled. Refer to Tech Note TN-15-92-003, High Voltage Awareness
Care Points
for additional safety
information.
Torque Specifications
| Description | Torque Value | Recommended Tools | Reuse/Replace | Notes |
|---|---|---|---|---|
| Bolt that attaches the positive pack contactor to the positive busbar |
 5 Nm (3.7 lbs-ft) + 60 degrees |
|
Replace | 1104475-00-F |
| Nut that attaches the positive pack contactor to the HV battery tall terminal |
5 Nm (3.7 lbs-ft) + 35 degrees |
|
Replace | 1104654-00-A |
| Nuts (x3) that attach the positive pack contactor to the ancillary bay |
8 Nm (5.9 lbs-ft) |
|
Reuse |
Remove
-
Remove the pyro disconnect. See Pyro Disconnect - HV Battery (Model Y L) (Remove and Replace).
WarningHV insulating gloves and leather glove protectors must be worn throughout the remainder of this procedure. Do not remove gloves or protectors until otherwise noted.
-
Remove the ancillary bay harness clip from the positive pack contactor.
-
Disconnect the ancillary bay harness connectors (x2) to the positive pack
contactor.
-
Remove the HV joint insulators (x2) from the positive pack contactor.
-
Remove and discard the bolt that attaches the positive pack contactor to the positive
busbar.
TipUse of the following tool(s) is recommended:
- SKT, 1/4" SQ DR, 13MM, HV INSULATED
-
Remove and discard the nut that attaches the positive pack contactor to the HV
battery tall terminal.
TipUse of the following tool(s) is recommended:
- SKT, 1/4" SQ DR, 13MM, HV INSULATED
-
Remove the nuts (x3) that attach the positive pack contactor to the ancillary
bay.
TipUse of the following tool(s) is recommended:
- Insulated Socket 1/4in Dr. 12pt. Deep x 10mm
-
Release the guide pins (x2) that attach the positive pack contactor to the ancillary
bay.
Replace
-
Secure the guide pins (x2) that attach the positive pack contactor to the ancillary
bay.
-
Install the nuts (x3) that attach the positive pack contactor to the ancillary
bay.8 Nm (5.9 lbs-ft)TipUse of the following tool(s) is recommended:
- Insulated Socket 1/4in Dr. 12pt. Deep x 10mm
-
Install new bolt that attaches the positive pack contactor to the positive
busbar.5 Nm (3.7 lbs-ft) + 60 degreesNoteMark after torque.TipUse of the following tool(s) is recommended:
- SKT, 1/4" SQ DR, 13MM, HV INSULATED
-
Install new nut that attaches the positive pack contactor to the HV battery tall
terminal.5 Nm (3.7 lbs-ft) + 35 degreesNoteMark after torque.TipUse of the following tool(s) is recommended:
- SKT, 1/4" SQ DR, 13MM, HV INSULATED
-
Measure the resistance at the HV joint between the HV battery positive pack contactor
and the center of the HV battery positive terminal.
NoteThe reading must be 73 μΩ or less.
-
Measure the resistance at the HV joint between the HV battery positive pack contactor
and the center of the DC link positive busbar.
NoteThe reading must be 30 μΩ or less.
-
Install HV joint insulators (x2) from positive pack contactor.
-
Install the ancillary bay harness clip to the positive pack contactor.
-
Connect the ancillary bay harness connectors (x2) to the positive pack
contactor.
-
Install the pyro disconnect. See Pyro Disconnect - HV Battery (Model Y L) (Remove and Replace).
WarningHV insulating gloves and leather glove protectors must be worn throughout the remainder of this procedure. Do not remove gloves or protectors until otherwise noted.