Microphone - Telephony Audio - Headliner - LH (Remove and Replace)
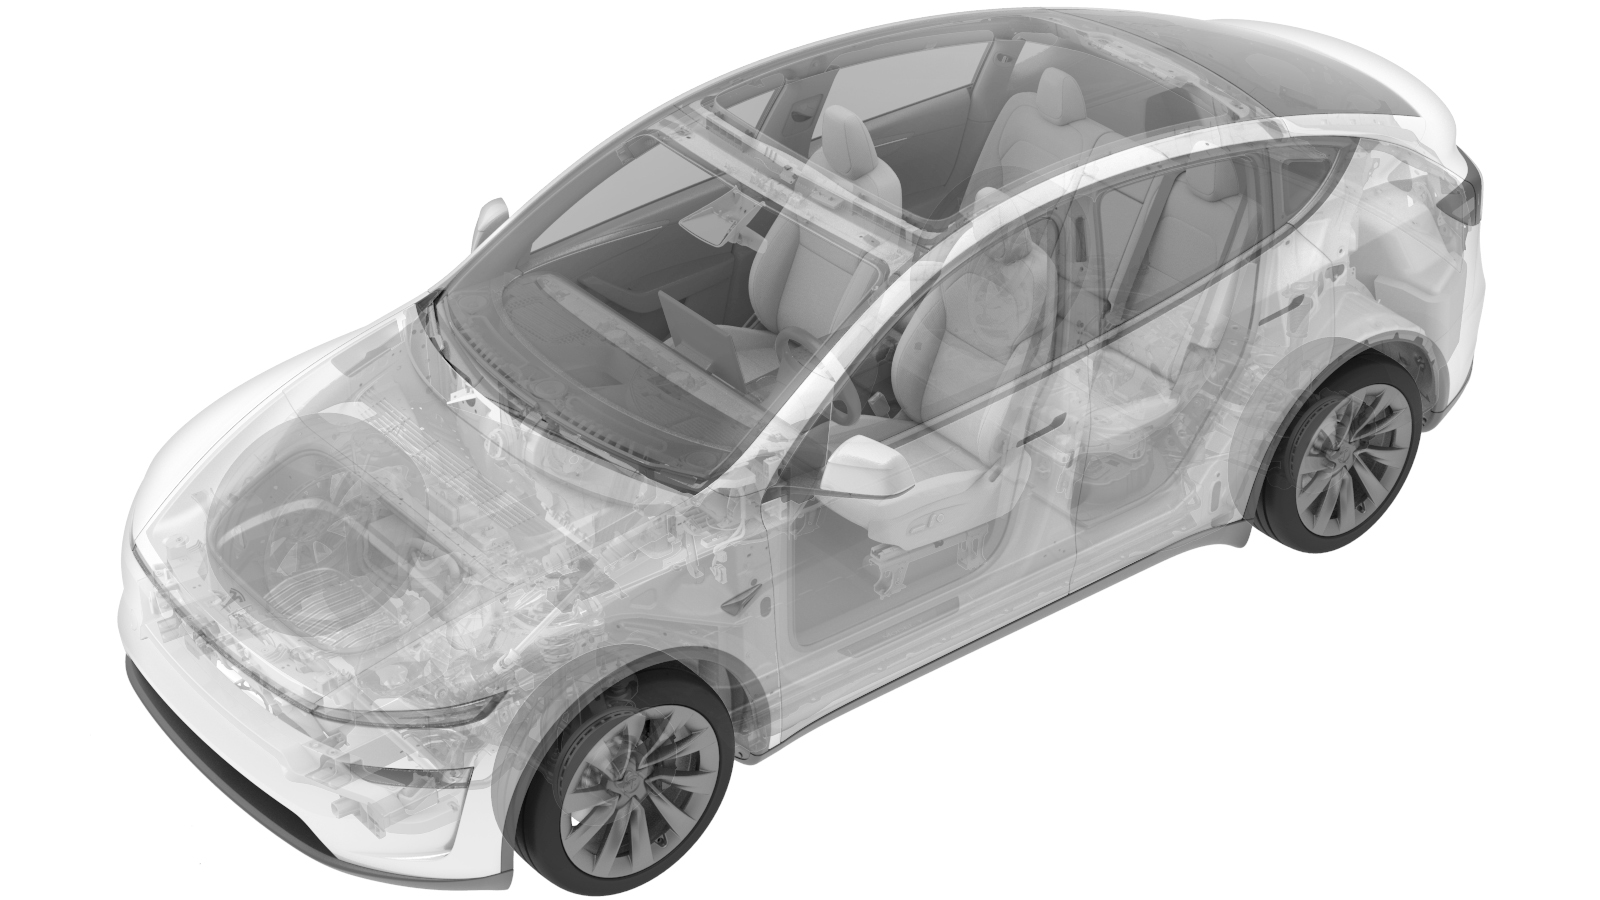 Correction code
1520010072
FRT
0.42
NOTE: Unless
otherwise explicitly stated in the procedure, the correction code and its
associated FRT reflect all of the work required to perform this procedure,
including the linked procedures. Do not stack correction
codes unless explicitly told to do so.
NOTE: See Flat Rate Times to
learn more about FRTs and how they are created.
NOTE: See Personal Protection to make
sure you are wearing proper PPE when performing the procedure below.
NOTE: See Ergonomic Precautions for safe and healthy
working practices.
Correction code
1520010072
FRT
0.42
NOTE: Unless
otherwise explicitly stated in the procedure, the correction code and its
associated FRT reflect all of the work required to perform this procedure,
including the linked procedures. Do not stack correction
codes unless explicitly told to do so.
NOTE: See Flat Rate Times to
learn more about FRTs and how they are created.
NOTE: See Personal Protection to make
sure you are wearing proper PPE when performing the procedure below.
NOTE: See Ergonomic Precautions for safe and healthy
working practices.
- 2026-09-17: Added steps to disconnect and connect the LV power.
- 2026-01-22: Added note not to overtorque screws during installation.
Torque Specifications
| Description | Torque Value | Recommended Tools | Reuse/Replace | Notes |
|---|---|---|---|---|
| Screws (x2) that secure the LH telephony audio microphone |
 0.65 Nm (6 lbs-in) |
|
Reuse |
Remove
- Remove the LH upper A-pillar trim. See Trim - A-Pillar - Upper - LH (Remove and Replace).
- Remove the LH sun visor. See Sun Visor - LH (Remove and Replace).
- Disconnect the LV power. See LV Power (Disconnect and Connect) (Modify).
- Remove the LH upper B-pillar trim. See Trim - B-Pillar - Upper - LH (Remove and Replace).
-
Slightly pull the headliner down, and
then disconnect the connector and remove the screws (x2) that secure the LH telephony
audio microphone.
NoteRelease the locking tab to disconnect the connector.TipUse of the following tool(s) is recommended:
- Torx T10 bit
- Digital Torque Screwdriver 0.10Nm - 2.0Nm
Install
-
Install the screws (x2) that secure
the LH telephony audio microphone, and then connect the connector and restore the
headliner.0.65 Nm (6 lbs-in)CAUTIONRepeated fastenings of the microphone to the headliner might cause wear on the headliner screw boss. Carefully torque these joints to specification—DO NOT overtorque. If the torque specification cannot be achieved, the headliner assembly must be replaced.NoteEngage the locking tab after connecting the connector.TipUse of the following tool(s) is recommended:
- Torx T10 bit
- Digital Torque Screwdriver 0.10Nm - 2.0Nm
- Install the LH upper B-pillar trim. See Trim - B-Pillar - Upper - LH (Remove and Replace).
- Install the LH sun visor. See Sun Visor - LH (Remove and Replace).
- Install the LH upper A-pillar trim. See Trim - A-Pillar - Upper - LH (Remove and Replace).
- Connect the LV power. See LV Power (Disconnect and Connect) (Modify).