Recline Motor - 2nd Row Seat - LH (Model YL) (Remove and Replace)
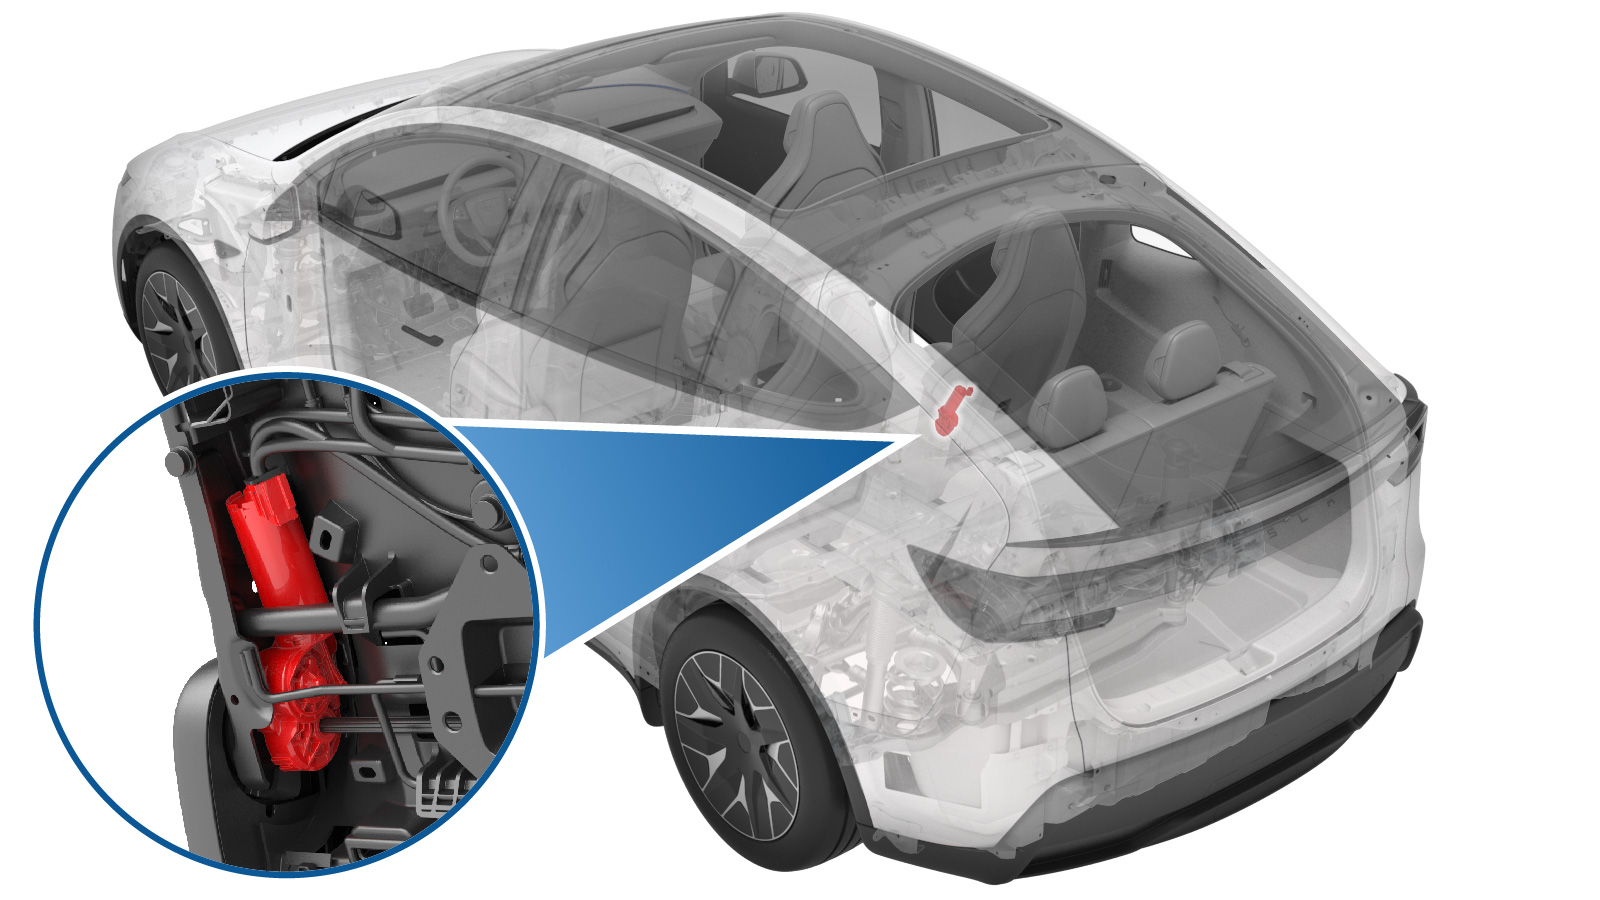 Correction code
13020200502
FRT
0.66
NOTE: Unless
otherwise explicitly stated in the procedure, the correction code and its
associated FRT reflect all of the work required to perform this procedure,
including the linked procedures. Do not stack correction
codes unless explicitly told to do so.
NOTE: See Flat Rate Times to
learn more about FRTs and how they are created.
NOTE: See Personal Protection to make
sure you are wearing proper PPE when performing the procedure below.
NOTE: See Ergonomic Precautions for safe and healthy
working practices.
Correction code
13020200502
FRT
0.66
NOTE: Unless
otherwise explicitly stated in the procedure, the correction code and its
associated FRT reflect all of the work required to perform this procedure,
including the linked procedures. Do not stack correction
codes unless explicitly told to do so.
NOTE: See Flat Rate Times to
learn more about FRTs and how they are created.
NOTE: See Personal Protection to make
sure you are wearing proper PPE when performing the procedure below.
NOTE: See Ergonomic Precautions for safe and healthy
working practices.
Torque Specifications
| Description | Torque Value | Recommended Tools | Reuse/Replace | Notes |
|---|---|---|---|---|
| Screw that attaches the recline motor to the seat back assembly |
 5 Nm (3.7 lbs-ft) |
|
Reuse |
Remove
- Remove the LH 2nd row seat from the vehicle. See Seat Assembly - 2nd Row - LH (Model YL) (Remove and Install).
- Remove the LH 2nd row seat side shield assembly. See Side Shield Assembly - 2nd Row Seat - LH (Model Y L) (Remove and Replace).
- Remove the LH 2nd row seat back panel assembly. See Panel - Seat Back - 2nd Row Seat - LH (Model YL) (Remove and Replace).
-
Remove and discard the inboard push nut from the recliner shaft.
-
Slide the recliner shaft out of the seat back assembly, noting the alignment holes
(x3).
-
Disconnect the LH 2nd row seat back recline motor connector.
-
Remove the screw that attaches the recline motor to the seat back assembly.
TipUse of the following tool(s) is recommended:
- Torx T30 socket
-
Remove the LH 2nd row seat recline motor by moving it downward from the lower seat
back frame.
Install
-
Install the LH 2nd row seat recline
motor by moving it upward into the lower seat back frame.
-
Loosely install the screw that attaches the recline motor to the seat back
assembly.
NoteTorque at later step.
-
Connect the LH 2nd row seat back recline motor connector.
-
Install the recliner shaft to the seat back assembly.
NoteEnsure the seat back and recliner motor are aligned at the 3 holes, and slightly turn the shaft to adjust if necessary until the recliner shaft is fully seated.
-
Torque the screw that attaches the recline motor to the seat back assembly.5 Nm (3.7 lbs-ft)TipUse of the following tool(s) is recommended:
- Torx T30 socket
-
With assistance, push against the
outboard side of the recliner shaft, then install a new push nut (1948907-00-A)
horizontally on the inboard side of the shaft using a 12mm socket and hammer, ensuring
the distance from the push nut to both the shaft end and inboard side is approximately
5.9mm.
- Install the LH 2nd row seat back panel assembly. See Panel - Seat Back - 2nd Row Seat - LH (Model YL) (Remove and Replace).
- Install the LH 2nd row seat side shield assembly. See Side Shield Assembly - 2nd Row Seat - LH (Model Y L) (Remove and Replace).
- Install the LH 2nd row seat to the vehicle. See Seat Assembly - 2nd Row - LH (Model YL) (Remove and Install).