Rear Left Bluetooth Low Energy (Remove and Install)
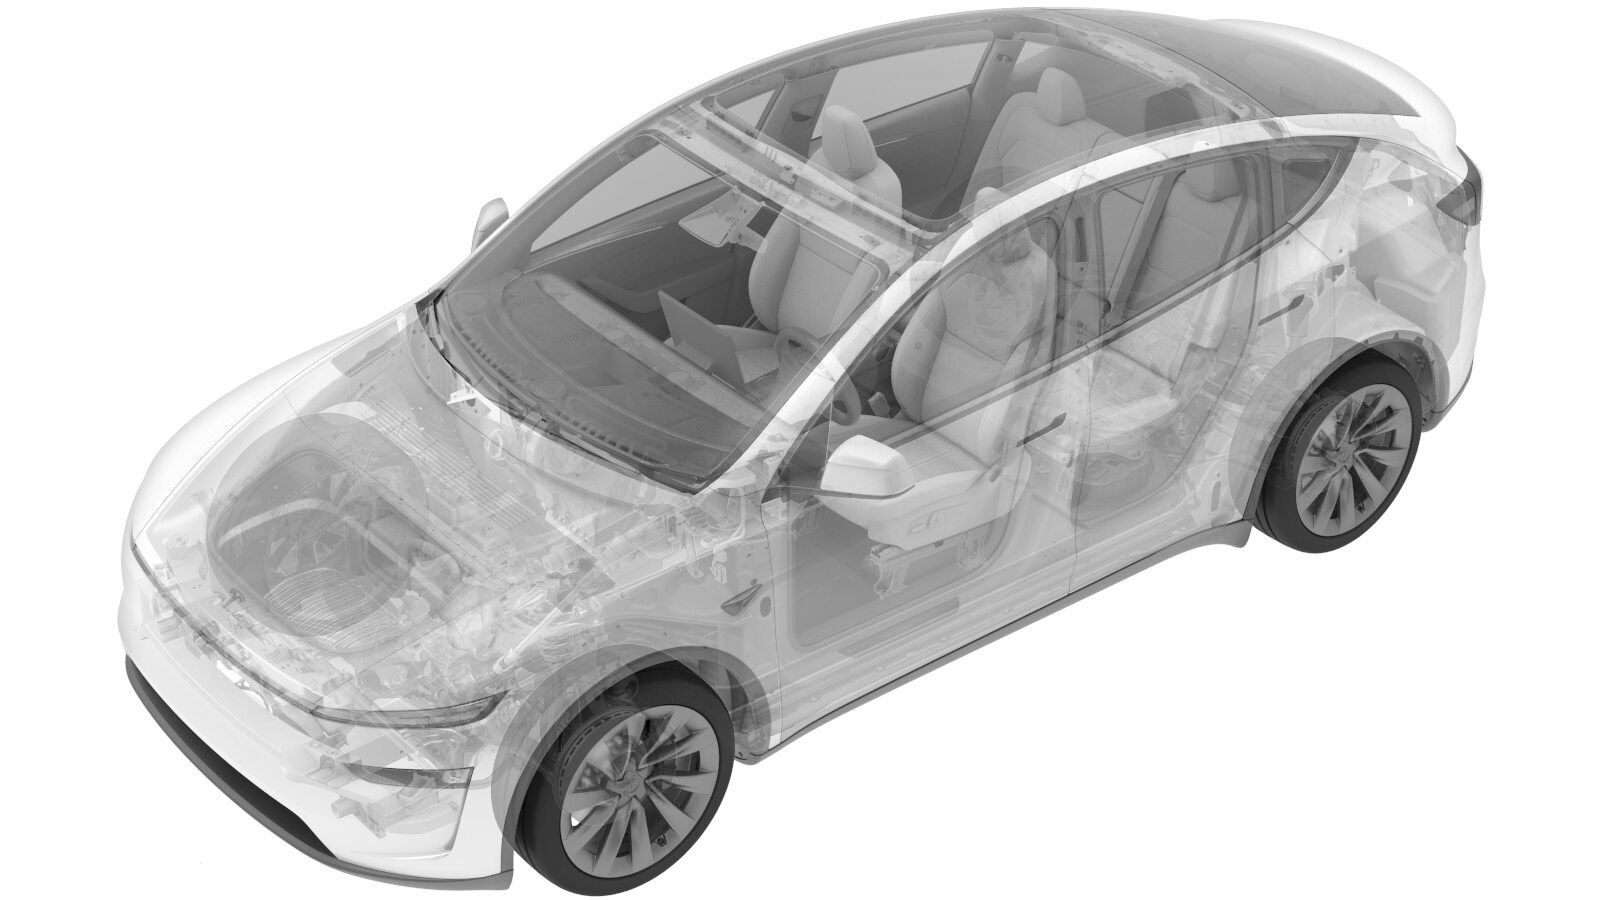 Correction code
1715010501
FRT
0.18
NOTE: Unless
otherwise explicitly stated in the procedure, the correction code and its
associated FRT reflect all of the work required to perform this procedure,
including the linked procedures. Do not stack correction
codes unless explicitly told to do so.
NOTE: See Flat Rate Times to
learn more about FRTs and how they are created.
NOTE: See Personal Protection to make
sure you are wearing proper PPE when performing the procedure below.
NOTE: See Ergonomic Precautions for safe and healthy
working practices.
Correction code
1715010501
FRT
0.18
NOTE: Unless
otherwise explicitly stated in the procedure, the correction code and its
associated FRT reflect all of the work required to perform this procedure,
including the linked procedures. Do not stack correction
codes unless explicitly told to do so.
NOTE: See Flat Rate Times to
learn more about FRTs and how they are created.
NOTE: See Personal Protection to make
sure you are wearing proper PPE when performing the procedure below.
NOTE: See Ergonomic Precautions for safe and healthy
working practices.
| Description | Torque Value | Recommended Tools | Reuse/Replace | Notes |
|---|---|---|---|---|
| Bolt that attaches the LH corner of the rear fascia assembly to the body |
 3.5 Nm (2.6 lbs-ft) |
|
Reuse | |
| Bolt that attaches the LH side of the rear fascia assembly to the body |
2 Nm (1.5 lbs-ft) |
|
Reuse | |
| Bolt that attaches LH corner of the rear fascia diffuser to the body |
5 Nm (3.7 lbs-ft) |
|
Reuse |
Remove
- Open the liftgate.
-
Apply masking tape around the LH
corner of the rear fascia to protect the paint on the vehicle.
-
Use a plastic trim tool to release the
clips (x3) that attach the LH rear trough trim to the rear fascia, and then partially
release the lower section of the trough trim from the fascia.
-
Remove the bolt that attaches the LH
corner of the rear fascia assembly to the body.
TipUse of the following tool(s) is recommended:
- 10 mm socket
- Remove the LH rear fender garnish. See Fender Garnish - Rear - LH (Remove and Replace).
-
Remove the bolt that attaches the LH
side of the rear fascia assembly to the body.
TipUse of the following tool(s) is recommended:
- 8 mm socket
-
Remove the bolt that attaches the LH corner of the rear fascia diffuser to the
body.
TipUse of the following tool(s) is recommended:
- Socket 1/4in Dr. 6pt. Deep x 10mm
-
Partially loosen the LH rear fascia.
CAUTIONBe careful not to use excessive force, as there are still bolts and clips on the rear fascia that have not been removed.CAUTIONTake care of not damaging the tabs.
-
Carefully insert inflatable air bag between the rear fascia and the body to gain
access to the BLE assembly.
-
Disconnect the LH rear BLE
connector.
-
Release the tabs (x2) that attach the LH rear BLE assembly to the rear fascia, and
then remove the BLE assembly from the vehicle.
Install
-
Install the lower part of the LH rear BLE assembly to the bracket, and then secure
that tabs (x2) that attach the BLE assembly to the rear fascia.
-
Connect the LH rear BLE
connector.
-
Deflate and remove the inflatable air bag,and then install the rear fascia back to
the vehicle.
NoteMake sure that all tabs are engaged.
-
Install the bolt that attaches LH corner of the rear fascia diffuser to the
body.5 Nm (3.7 lbs-ft)TipUse of the following tool(s) is recommended:
- Socket 1/4in Dr. 6pt. Deep x 10mm
-
Install the bolt that attaches the LH
side of the rear fascia assembly to the body.2 Nm (1.5 lbs-ft)TipUse of the following tool(s) is recommended:
- 8 mm socket
- Install the LH rear fender garnish. See Fender Garnish - Rear - LH (Remove and Replace).
-
Install the bolt that attaches the LH
corner of the rear fascia assembly to the body.3.5 Nm (2.6 lbs-ft)TipUse of the following tool(s) is recommended:
- 10 mm socket
-
Install the clips (x3) that attach the
LH rear trough trim to the rear fascia.
- Remove the masking tapes from around the LH corner of the rear fascia.
- Close the liftgate.