Side Repeater Assembly- LH (Remove and Replace)
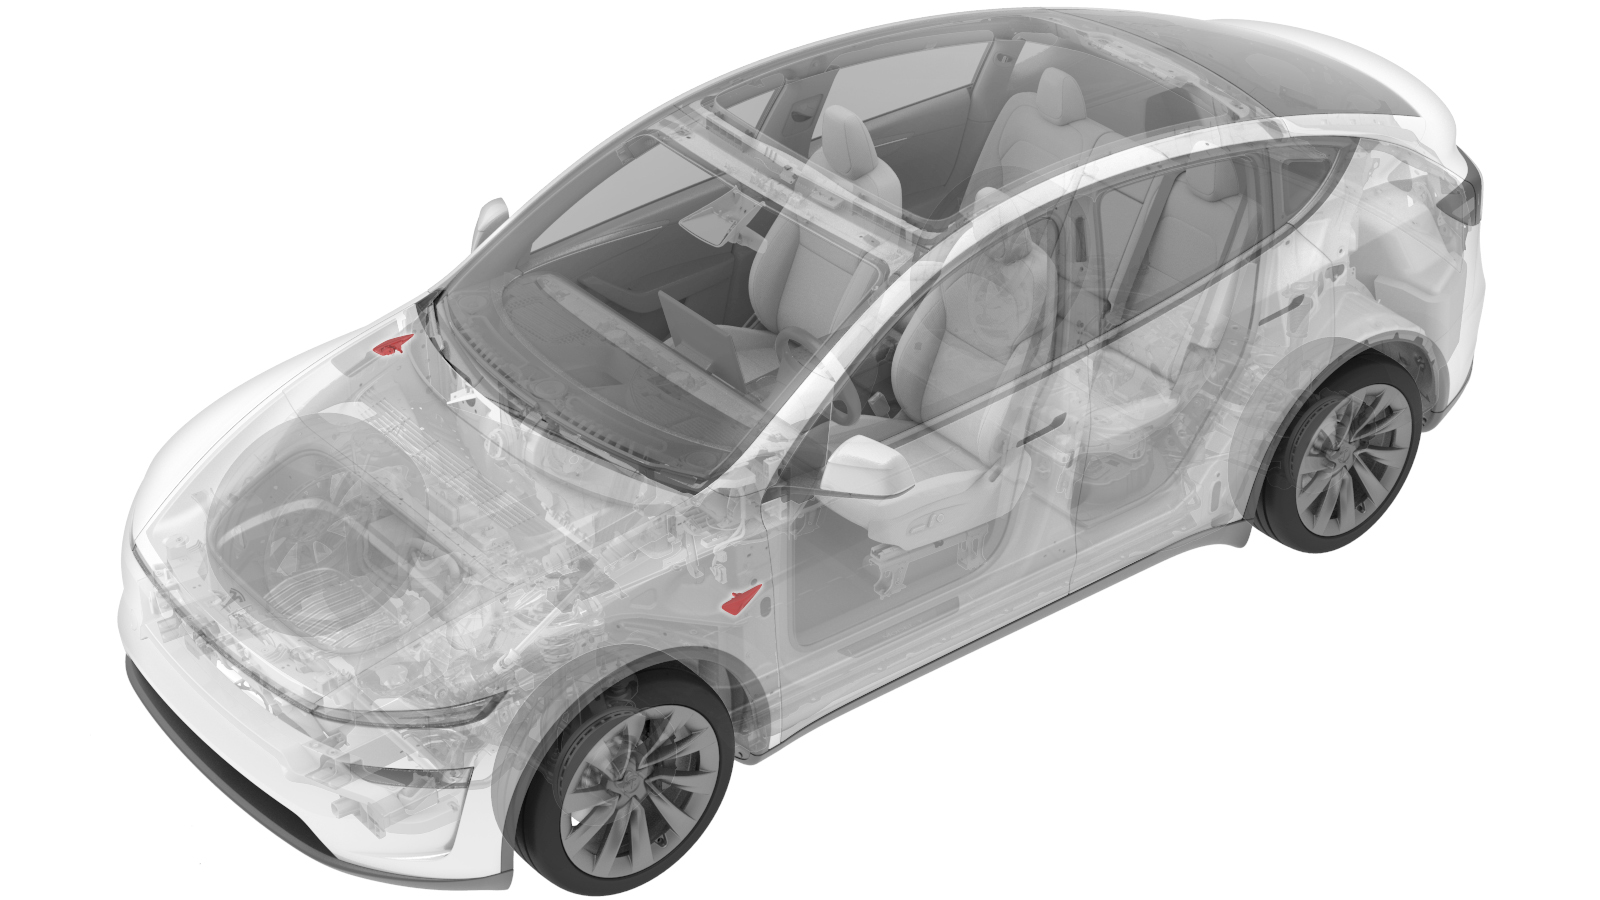 Correction code
1740010302
FRT
0.30
NOTE: Unless
otherwise explicitly stated in the procedure, the correction code and its
associated FRT reflect all of the work required to perform this procedure,
including the linked procedures. Do not stack correction
codes unless explicitly told to do so.
NOTE: See Flat Rate Times to
learn more about FRTs and how they are created.
NOTE: See Personal Protection to make
sure you are wearing proper PPE when performing the procedure below.
NOTE: See Ergonomic Precautions for safe and healthy
working practices.
Correction code
1740010302
FRT
0.30
NOTE: Unless
otherwise explicitly stated in the procedure, the correction code and its
associated FRT reflect all of the work required to perform this procedure,
including the linked procedures. Do not stack correction
codes unless explicitly told to do so.
NOTE: See Flat Rate Times to
learn more about FRTs and how they are created.
NOTE: See Personal Protection to make
sure you are wearing proper PPE when performing the procedure below.
NOTE: See Ergonomic Precautions for safe and healthy
working practices.
- 2026-04-20: Added a note about making sure that both sides have the same type of side repeater installed.
- 2025-10-17: Added a step requiring that if one side of the front side repeater trim is replaced, the rework procedure must also be applied to the opposite side to align with the new trim styling.
Remove
-
Remove the LH front side repeater. See Side Repeater Assembly - LH (Remove and Install).
NoteEnsure that the opposing side has the same part installed. If not, replace the opposing side as well.
Install
-
Install the LH front side repeater. See Side Repeater Assembly - LH (Remove and Install).
NoteBack to current procedure before performing the routines.
- Per new styling with the front side repeater trim, when replacing the LH front side repeater, the RH side repeater trim must also be replaced to ensure consistent appearance. See Trim - Side Repeater - LH (Remove and Replace).
- Connect a laptop with Toolbox to the vehicle. See Toolbox (Connect and Disconnect).
- On the touchscreen, tap , select Repeaters from the Camera Selection drop-down menu, and click Run.
- In Toolbox, click the Actions tab, type "DAS" into the search field, click PROC_DAS_X_ENTER-CALIBRATION-MODEvia Toolbox:(link), click Run, and allow the routine to complete.
-
Type "Side Repeater" into the search
field, click PING-HTTP_DAS_L_REPEATER-CAMERA-SCRIPTvia Toolbox:(link), change the
timeout to
100
, click Run, and allow the routine to complete. - Type "DAS" into the search field, click PROC_DAS_X_EXIT-CALIBRATION-MODEvia Service Mode Plus:Driver Assist ➜ Cameras ➜ Exit Factory Calibration Modevia Toolbox:(link), click Run, and allow the routine to complete.
- Disconnect the laptop with Toolbox from the vehicle. See Toolbox (Connect and Disconnect).
- On the touchscreen, press and hold the Exit Service Mode button to exit Service Mode Plus.
- Raise the LH front window and close the LH front door.
-
Inform the customer that manual
driving is now required to self-calibrate the camera.
NoteSelf-calibration can take up to 100 miles (160 km) of manual driving, depending upon the road type and condition. Until self-calibration is complete, the message "Autopilot Features Currently Unavailable: Manual Driving Required While Camera Is Calibrating" is displayed if an attempt is made to engage an Autopilot feature.