2026-03-06
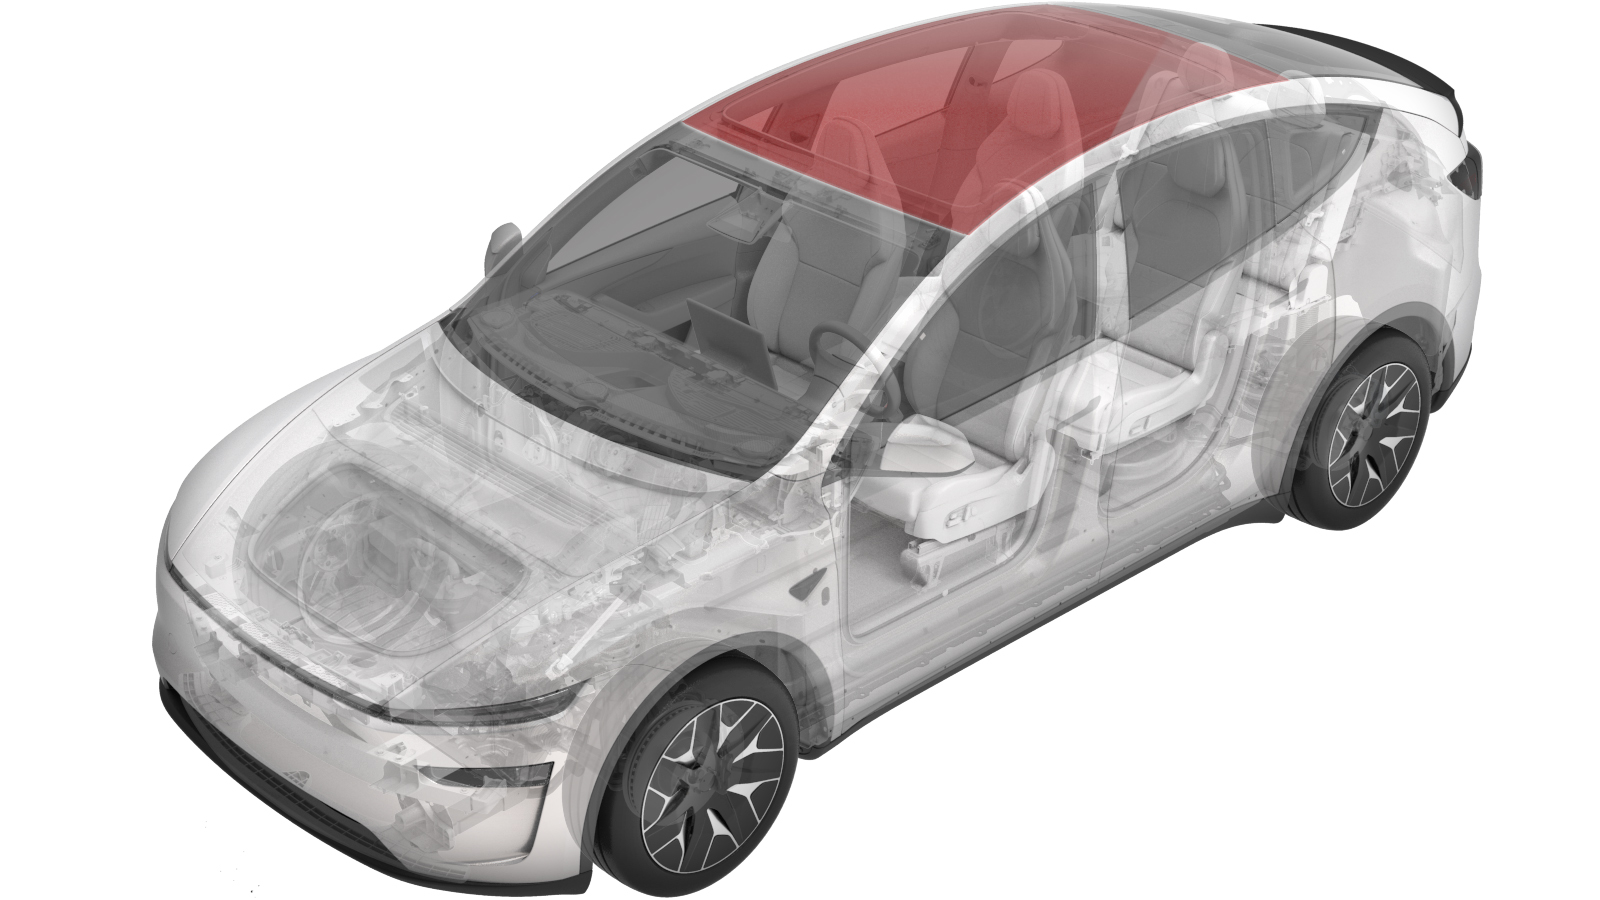
固定车顶玻璃(Model Y L) ((拆卸和更换))
 校正代码
10200300102
FRT
2.70
注意: 除非本程序中另有明确规定,否则上文所列校正代码和 FRT 反映的是执行本程序(包括关联程序)所需的所有工作。 除非明确要求,否则请勿堆叠校正代码。
注意: 请参阅平均维修工时深入了解 FRT 及其创建方式。
注意: 请参阅人员保护确保在执行以下程序时穿戴适当的个人防护装备 (PPE)。
注意: 请参阅人体工程学注意事项查看安全健康的作业规程。
校正代码
10200300102
FRT
2.70
注意: 除非本程序中另有明确规定,否则上文所列校正代码和 FRT 反映的是执行本程序(包括关联程序)所需的所有工作。 除非明确要求,否则请勿堆叠校正代码。
注意: 请参阅平均维修工时深入了解 FRT 及其创建方式。
注意: 请参阅人员保护确保在执行以下程序时穿戴适当的个人防护装备 (PPE)。
注意: 请参阅人体工程学注意事项查看安全健康的作业规程。
警告
本程序为“草案”。虽已通过验证,但可能仍有“警告”和“注意”事项缺失。请遵守安全要求,处理或靠近高压系统和部件时,请谨慎操作。
拆卸
- Open all four doors and lower all four windows.
- Open the liftgate.
- Remove the rear headliner assembly from the vehicle. See 后车顶篷(Model Y L) ((拆卸和更换)).
-
Prepare WRD Spider 3 glass removal kit (1571168-00-A).
-
Apply tape to the body surrounding the roof glass.
-
Locate the datum at the left rear of the roof glass, slide the equalizer up against the datum, carefully cut through the adhesive around the roof glass, then separate the datum from the roof glass to assist in the cutting process.
注You may not see the datum clearly, but you can feel it with the blade.
-
Thread the nylon string through the wire starter to prepare for insertion.
-
Insert the tool through the urethane seal at the rear corner of the roof glass.
注Use a protective shield to avoid damaging the painted surfaces.
-
Pull the nylon string through the seal. Ensure enough length of the nylon string to wrap around the entire perimeter of the glass. Keep both ends of the string inside the vehicle; they do not need to be fully pulled out.
-
Route the nylon string around the glass perimeter, placing it under the seals.
注Take care not to damage the seals of the front windshield or liftgate.
-
Attach the anchor to the inside of the roof glass and secure the line to it for stability during the process.
-
Follow the spider tool instructions to feed the nylon string through the tool’s opening and tie a knot to secure it.
注Ensure the spindle is turned in the correct direction to avoid damaging the tool.
-
Attach the spider cutting tool to the inside of the roof glass. Check the orientation of the cutting line, ensuring it wraps over the large pulley and maintains a 90-degree angle for proper operation.
-
Secure the angle driver to the electric drill.
-
Use the electric drill to cut the urethane around the roof glass.
注During the operation, note the following:
- Keep the cutting line positioned above the datum and roof brackets (x4) to prevent it from getting caught or damaged.
- Suggest using a guard or trim tool to apply upward pressure on the line during cutting to ensure smooth operation.
- If the line is caught, try pulling it backward to release it from beneath the metal roof bracket. If the line stays stuck, adjust by swapping the positions of the anchor and cutting tool.
-
Detach and remove all tools, discard the used nylon string properly, and place all tools back into the kit.
-
Attach the suction cups (x4) firmly to each corner of the roof glass, carefully lift and remove the roof glass from the vehicle, then detach the suction cups from the glass after placing it safely.
注Recommend assistance to ensure safety and ease.
-
Clean off the leftover glass adhesive from the body, ensuring the remaining urethane is no thicker than 1 mm.
注Be cautious to avoid damaging the paint of the vehicle during cleaning.
-
Remove and discard the rear location pin from the body.
更换
-
Pace the new roof glass on a support stand and prepare for installation by removing all protective films or adhesive covers from the glass, and checking all related accessories to confirm undamaged and complete.
注Recommend assistance to ensure safety and ease.
-
Wipe the urethane path on the body and roof glass with IPA and allow one minute for drying.
-
Remove the tape from the body surrounding the roof glass.
-
Apply the urethane primer along the urethane path on the body and roof glass and allow the primer to dry for two minutes before applying urethane.
注If using Sika 258 sealant, ensure to use Sika Special Activator Pro, as shown in the orange item in the picture.
-
Prepare the caulking gun with urethane.
注The nozzle opening must be 12.5mm wide and 20mm tall.
-
Apply urethane to the roof glass along the primer path, strictly following the specific dotted line route on the roof glass.
-
Attach the suction cup (x4) to the roof glass and position it onto the vehicle, ensuring front and rear datums align with the body.
注Recommend assistance to ensure safety and ease.
-
Check and adjust the gap and flush of the roof glass according to current CVIS specifications, ensuring both left and right sides have identical parameters.
-
Press the roof glass firmly onto the body once in position, using sandbags if needed.
-
Apply tape to secure the roof glass in place.
-
Remove the suction cups (x4) from the roof glass.
- Install the rear headliner assembly to the vehicle. See 后车顶篷(Model Y L) ((拆卸和更换)).
- Close the liftgate.
- Raise all four windows and close all four doors.
-
Reposition the windshield seal, spraying glass cleaner for lubrication if needed.
-
Remove the tape securing the roof glass to the vehicle after the urethane has cured.
注During the operation, note the following:
- Follow the minimum curing time per adhesive manufacturer: Dow Betaseal Express requires at least 1 hour (temperature -18℃ or higher); Henkel and Sika require at least 8 hours (ideal conditions: 23℃, 50% relative humidity).
- Park the vehicle indoors during curing.
- If needed, apply tape to the glass, press to secure, and instruct the customer to remove it after 24 hours.
- Advise the customer to avoid high-speed driving and speed bumps for the next 24 hours.