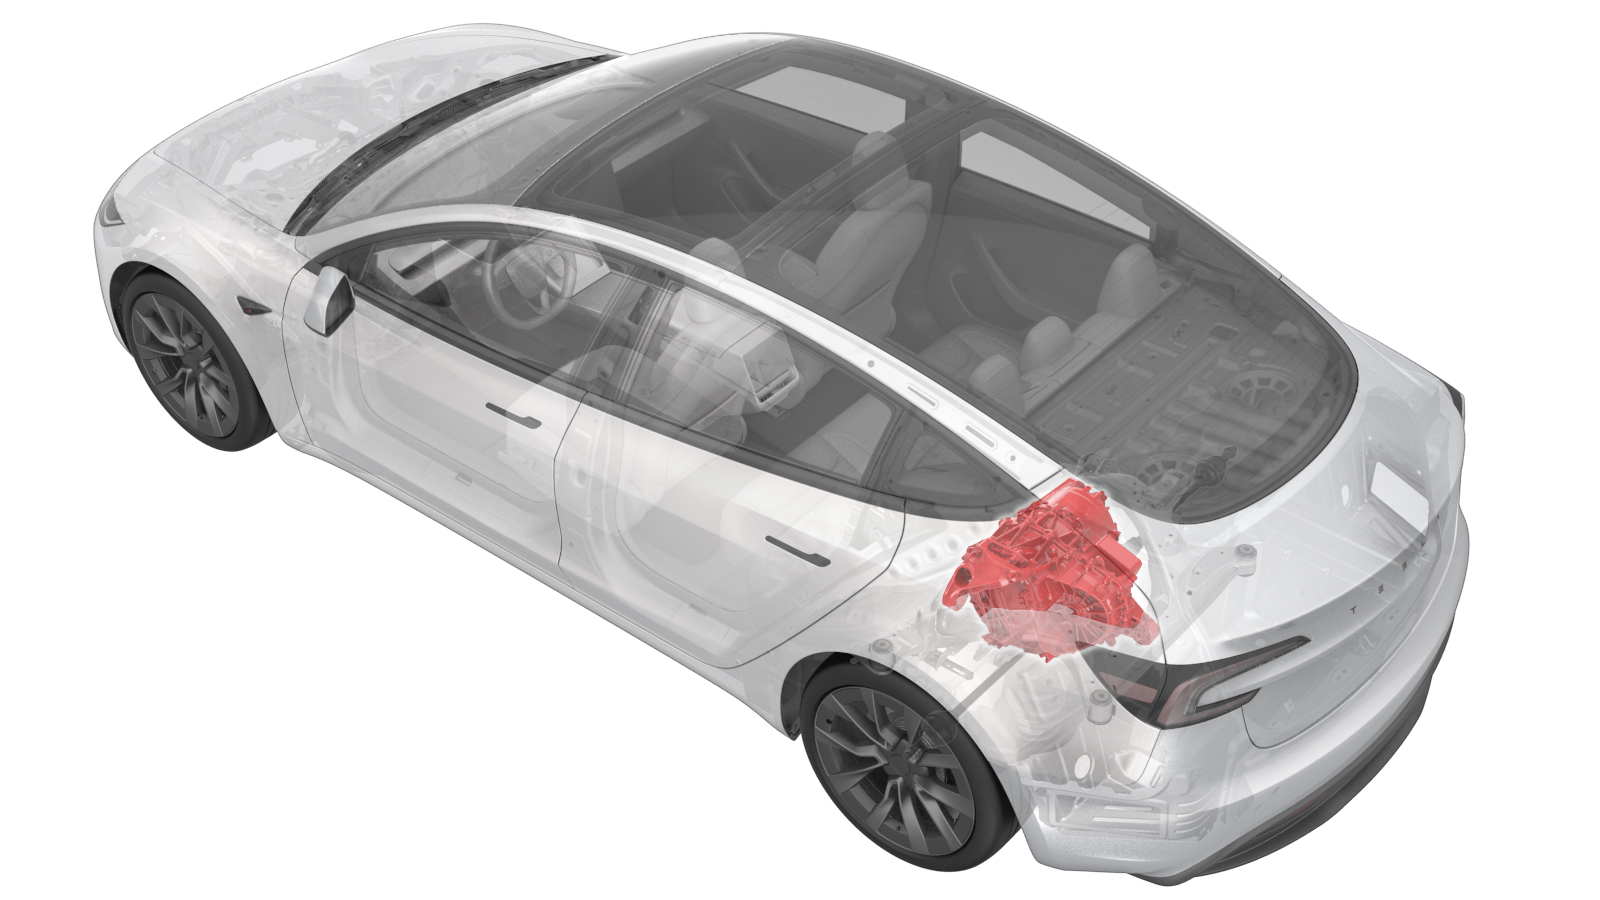
Oil Pump - Electric - Rear Drive Unit (4DU) (Remove and Replace)
 Correction code
4001010032
FRT
0.60
NOTE: Unless
otherwise explicitly stated in the procedure, the correction code and its
associated FRT reflect all of the work required to perform this procedure,
including the linked procedures. Do not stack correction
codes unless explicitly told to do so.
NOTE: See Flat Rate Times to
learn more about FRTs and how they are created.
NOTE: See Personal Protection to make
sure you are wearing proper PPE when performing the procedure below.
NOTE: See Ergonomic Precautions for safe and healthy
working practices.
Correction code
4001010032
FRT
0.60
NOTE: Unless
otherwise explicitly stated in the procedure, the correction code and its
associated FRT reflect all of the work required to perform this procedure,
including the linked procedures. Do not stack correction
codes unless explicitly told to do so.
NOTE: See Flat Rate Times to
learn more about FRTs and how they are created.
NOTE: See Personal Protection to make
sure you are wearing proper PPE when performing the procedure below.
NOTE: See Ergonomic Precautions for safe and healthy
working practices.
- 2026-09-10: Updated the method of draining the gearbox fluid.
- 2024-04-05: Removed caution to not mix fluids as unnecessary.
| Description | Torque Value | Recommended Tools | Reuse/Replace | Notes |
|---|---|---|---|---|
| The fill plug on the oil plug |
 15 Nm (11.1 lbs-ft) |
|
Reuse | |
| The drain plug on the oil plug |
15 Nm (11.1 lbs-ft) |
|
Reuse | |
| bolts (x2) that attach the rear drive unit oil pump to the rear drive unit |
5 Nm (3.7 lbs-ft) + 20 deg |
|
Remove
- Raise and support the vehicle. See Raise Vehicle - 2 Post Lift.
- Remove the rear aero shield panel. See Panel - Aero Shield - Rear (Remove and Replace).
- Position an oil drain collector under the rear drive unit oil pump.
-
Remove the fill plug from the oil
pump.
TipUse of the following tool(s) is recommended:
- 8 mm socket
- 6 in extension
- Flex head ratchet/flex head torque wrench
-
Remove the drain plug from the oil
pump.
TipUse of the following tool(s) is recommended:
- 8 mm socket
- 4 in extension
- Flex head ratchet/flex head torque wrench
-
Disconnect the oil pump connector.
-
Connect the jump pack 12V power supply
to the oil pump switchbox harness.
-
Connect the oil pump switchbox harness
to the rear drive unit oil pump connector, and then push in the connector locking
tab.
-
Run the oil pump for 1 minute to drain
the remaining gearbox fluid from the rear drive unit.
CAUTIONThe pump speed increases when it runs dry, do not run the pump for more than 10 seconds when it is dry.
-
Pull the connector locking tab, and
then disconnect the oil pump switchbox harness from the rear drive unit oil pump
connector.
-
Install the drain plug to the oil
pump.15 Nm (11.1 lbs-ft)NoteInspect the O-ring for damage, and if the O-ring is damaged, replace the O-ring.TipUse of the following tool(s) is recommended:
- 8 mm socket
- 6 in extension
- Flex head ratchet/flex head torque wrench
-
Release the clip that attaches the hose to the resolver cover, and then rotate the
clip 90 degrees counterclockwise.
NoteThis is to allow the hose to move upward and provide clearance for removing the oil pump bolts.
-
Remove the bolts (x2) that attach the
rear drive unit oil pump to the rear drive unit.
TipUse of the following tool(s) is recommended:
- EPL10 Socket
- 4 in extension
- Torque wrench with angle measurement
-
Use a plastic pry tool to separate the rear drive unit oil pump from the rear drive
unit, remove the oil pump, and allow the fluid to drain.
Note
Use the rear drive unit casting as leverage to loosen the oil pump and then pull the oil pump away.
Drain the oil until only slow drips exit the oil pump housing.
Install
-
Apply a light coat of KAF1 to the
O-rings of the rear drive unit oil pump, and then wipe away any excess oil.
-
Position the oil pump to the rear
drive unit.
NoteInspect the O-rings for damage; if damaged, replace the O-rings.
-
Install the bolts (x2) that attach the
rear drive unit oil pump to the rear drive unit.5 Nm (3.7 lbs-ft) + 20 degTipUse of the following tool(s) is recommended:
- EPL10 Socket
- 4 in extension
- Torque wrench with angle measurement
-
Rotate the clip 90 degrees clockwise, and then install the clip that attaches the
hose to the resolver cover.
-
Fill a 3000mL measuring container with
2.5L/2500mL of KAF1 gearbox fluid.
NoteThe rear drive unit requires 2.3L/2300mL of fluid, however the excess fluid will prevent underfill and air entrapment.
- If not already the correct length, trim the fluid transfer pump hoses to 26 in (660mm) each.
- Install the hoses onto the fluid transfer pump.
- Place the measuring container and the fluid transfer pump into the oil drain basket.
-
Insert the output hose of the fluid
transfer pump into the fill hole of the rear drive unit until fully seated, then pull
back 5 mm.
-
Fully submerge the input hose of the
fluid transfer pump into the measuring container.
-
Pump 2.3L/2300mL of KAF1 gearbox fluid
into the rear drive unit.
NoteMake sure the input hose end remains submerged, so that air is not pumped into the gearbox.NoteWhen properly filled, there should be 200mL or less of gearbox fluid left in the measuring container.
- Remove the output hose from the rear drive unit.
-
Install the fill plug to the oil
pump.15 Nm (11.1 lbs-ft)NoteInspect the O-ring for damage, and if the O-ring is damaged, replace the O-ring.TipUse of the following tool(s) is recommended:
- 8 mm socket
- 6 in extension
- Flex head ratchet/flex head torque wrench
-
Connect the oil pump connector.
- Put on face shielding PPE.
- Spray the working area of the rear drive unit with brake cleaner, and then wipe off residual fluid with a clean shop towel.
- Remove the oil drain collector out from under the rear drive unit.
- Install the rear aero shield panel. See Panel - Aero Shield - Rear (Remove and Replace).
- Locally connect a laptop with Toolbox 3 to the vehicle. See Toolbox (Connect and Disconnect).
- Reinstall the software. See Software Reinstall - Touchscreen.
- Run TEST-SELF_DIR_X_OIL-PUMP-PRESSUREvia Toolbox:(link)
- Disconnect the laptop.
- Exit Service Mode Plus. See Service Mode Plus.
- Raise the LH front window and close the LH front door.
- Remove the vehicle from the 2 post lift.