2026-02-09
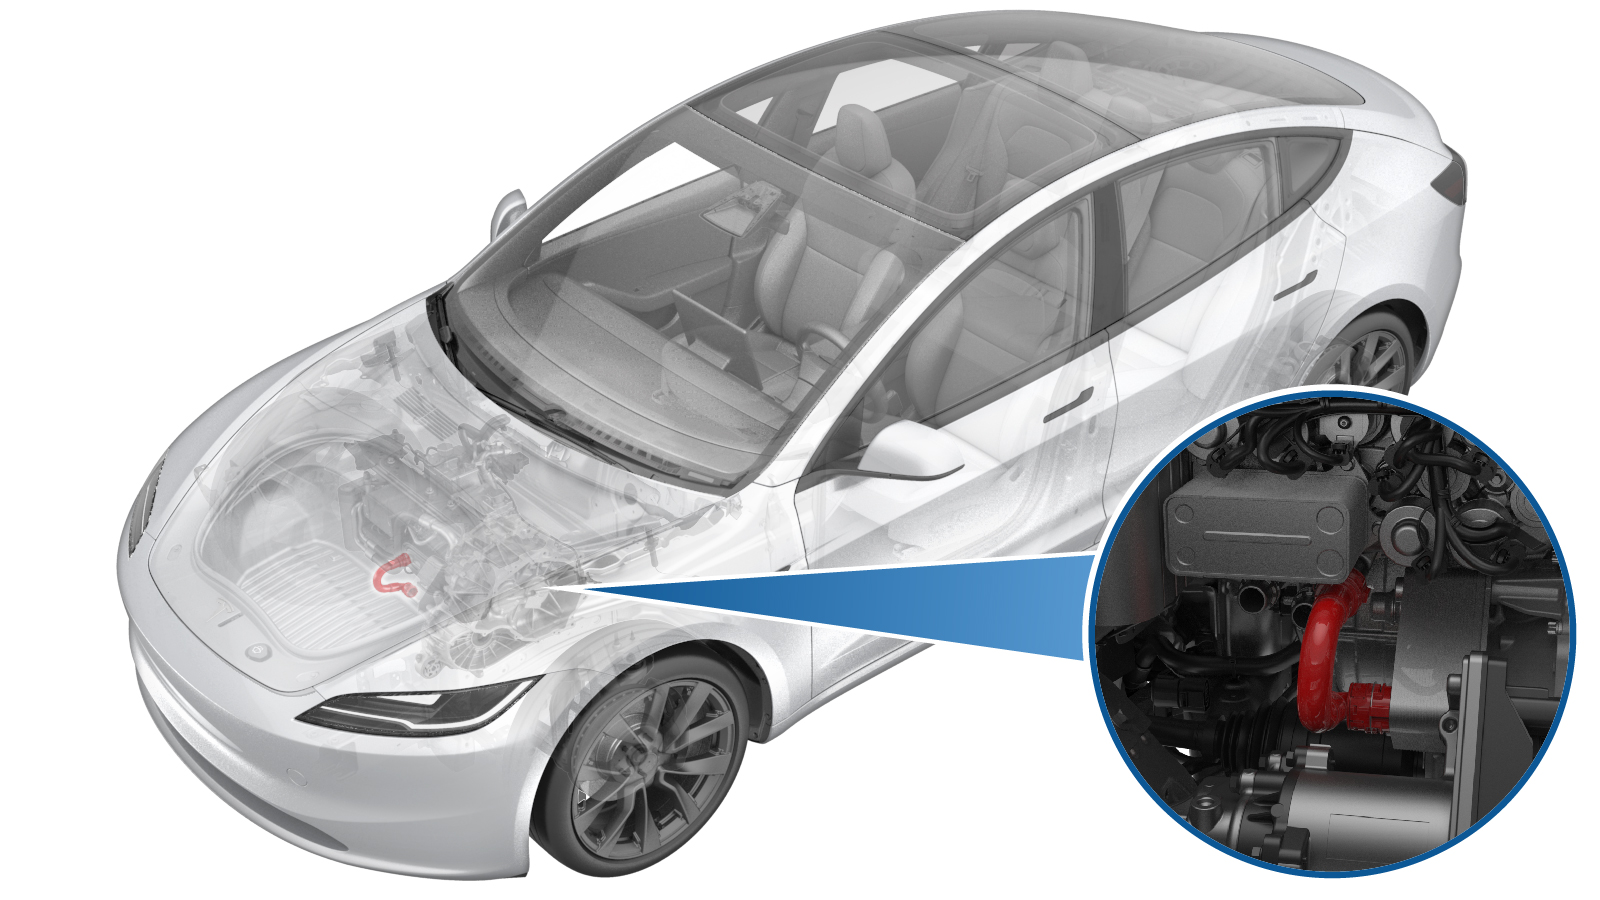
Hose - Chiller to HV Battery (LHD) (Remove and Replace)
 Correction code
1830020052
FRT
2.70
NOTE: Unless otherwise explicitly stated in the procedure, the correction code and FRT listed above reflect all of the work required to perform this procedure, including the linked procedures. Do not stack correction codes unless explicitly told to do so.
NOTE: See Flat Rate Times to learn more about FRTs and how they are created.
NOTE: See Personal Protection to make sure you
are wearing proper PPE when performing the procedure below.
NOTE: See Ergonomic Precautions for safe and healthy working practices.
Correction code
1830020052
FRT
2.70
NOTE: Unless otherwise explicitly stated in the procedure, the correction code and FRT listed above reflect all of the work required to perform this procedure, including the linked procedures. Do not stack correction codes unless explicitly told to do so.
NOTE: See Flat Rate Times to learn more about FRTs and how they are created.
NOTE: See Personal Protection to make sure you
are wearing proper PPE when performing the procedure below.
NOTE: See Ergonomic Precautions for safe and healthy working practices.
- 2026-02-09: Added missing installation steps. Added links to AWD subframe procedures.
Remove
- Raise and support the vehicle. See Raise Vehicle - 2 Post Lift.
- Open all doors and lower all windows.
- Unlock the vehicle gateway. See Gateway Unlock.
-
On the touchscreen, tap the Service
Mode "wrench" (at the bottom of the touchscreen UI), and then tap , and then allow the routine to complete.
TIpThe routine has a 5-hour time limit.
- Remove the underhood storage unit. See Underhood Storage Unit (Remove and Replace).
- Disconnect the LV power. See LV Power (Disconnect and Connect).
- Perform the Vehicle HV Disablement Procedure. See Vehicle HV Disablement Procedure (Test/Adjust).
-
Lower the front subframe assembly from
the vehicle. See Subframe Assembly -Front (Remove and Replace) or Subframe Assembly - Front (Dual Motor) (Remove and Replace).
NoteThe drive unit (if present), stablizer bar, steering gear, and crush can do not need to be removed from the subframe once the subframe assembly is lowered.
-
Release the clips (x5) to remove the
chiller to battery hose from the vehicle.
Install
-
Secure the clips (x5) to install the
chiller to battery hose to the vehicle.
- Install the front subframe assembly. See Subframe Assembly -Front (Remove and Replace) or Subframe Assembly - Front (Dual Motor) (Remove and Replace).
- Reconnect LV power. See LV Power (Disconnect and Connect)
- Perform a coolant vacuum refill. See Cooling System - Vacuum Refill (Test/Adjust).
- Reinstall the seat cushion. See Seat Cushion - 2nd Row (Remove and Replace).