LV Power (Disconnect and Connect) (Modify)
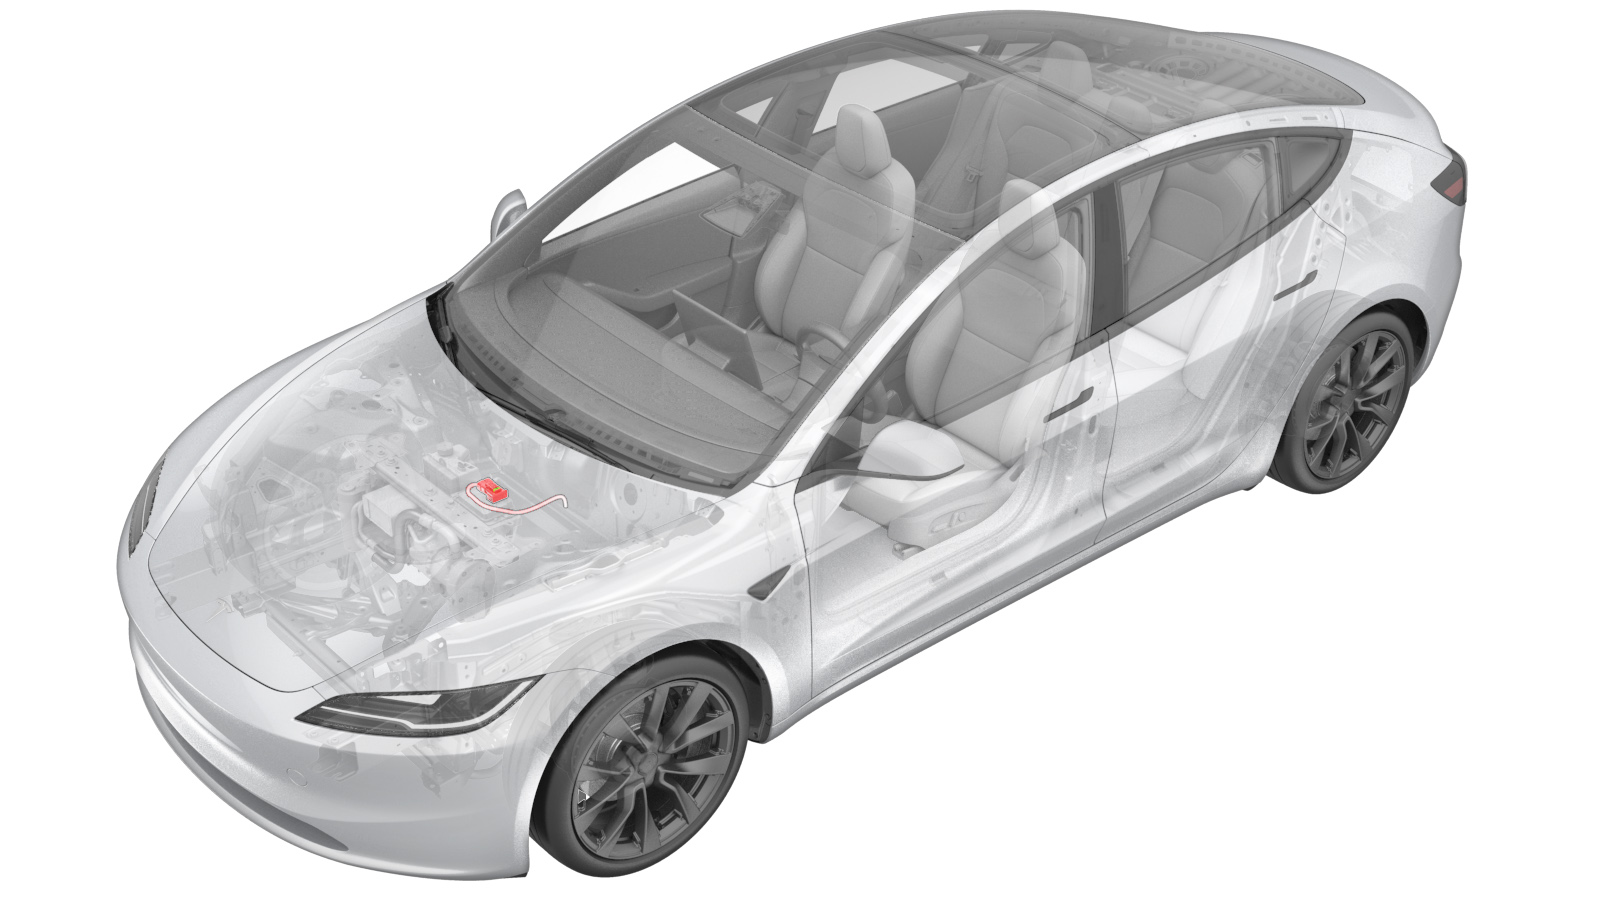 Correction code
17010410
0.06
NOTE: Unless
otherwise explicitly stated in the procedure, the correction code and its
associated FRT reflect all of the work required to perform this procedure,
including the linked procedures. Do not stack correction
codes unless explicitly told to do so.
NOTE: See Flat Rate Times to
learn more about FRTs and how they are created.
NOTE: See Personal Protection to make
sure you are wearing proper PPE when performing the procedure below.
NOTE: See Ergonomic Precautions for safe and healthy
working practices.
Correction code
17010410
0.06
NOTE: Unless
otherwise explicitly stated in the procedure, the correction code and its
associated FRT reflect all of the work required to perform this procedure,
including the linked procedures. Do not stack correction
codes unless explicitly told to do so.
NOTE: See Flat Rate Times to
learn more about FRTs and how they are created.
NOTE: See Personal Protection to make
sure you are wearing proper PPE when performing the procedure below.
NOTE: See Ergonomic Precautions for safe and healthy
working practices.
- 2025-10-30: Added a caution to make sure windows are not moved for at least 1 minute before disconnecting the 12V/LV power.
- 2025-10-16: Updated steps to connect/disconnect LV battery connector.
- 2024-05-15: Added steps to disconnect charging cable and shut down HVAC.
Disconnect
- Disconnect any charging cable from the vehicle.
- On the touchscreen, power off the climate control system and wait at least 30 seconds for the climate control system to completely shut down.
- Open all doors and lower the windows.
- Open the LH and RH rear doors, and then pass a shop towel halfway through each door striker to prevent the latch from securing.
- Remove the rear apron. See Underhood Apron - Rear (Remove and Replace).
-
Power off the vehicle from
the center display.
NoteOn the touchscreen, touch .
-
Disconnect the LV battery connector from the LV battery.
-
Disconnect the first
responder loop.
NoteBefore proceeding to service the vehicle, allow 2 minutes for all electrical circuits to discharge.
- If LV power was disconnected to service a high voltage component, verify that high voltage power is no longer available to that component. See Vehicle HV Disablement Procedure (Test/Adjust).
Connect
-
Connect the first responder
loop.
CAUTIONConnect the first responder loop BEFORE connecting the LV battery connector.
-
Connect the LV battery connector to the LV battery.
- Install the rear apron. See Underhood Apron - Rear (Remove and Replace).
- Return the windows, seats, climate control, audio, and charging to the state before service.
- Close all doors.