Motor - Seat Track - Passenger Seat (Remove and Replace)
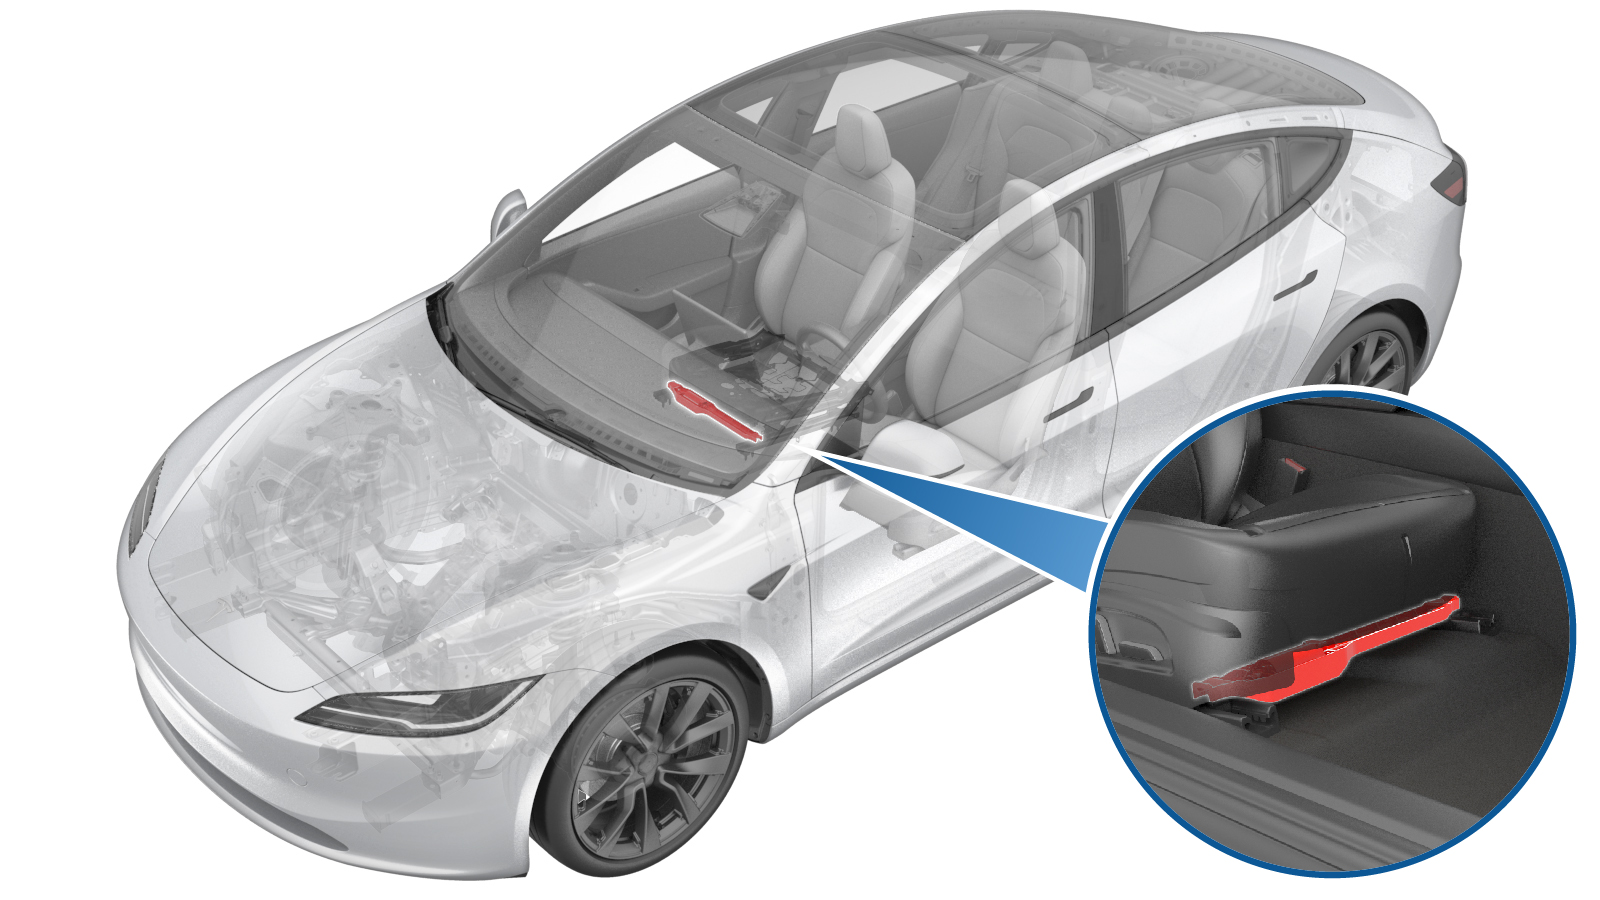 Correction code
1301020202
FRT
0.30
NOTE: Unless
otherwise explicitly stated in the procedure, the correction code and its
associated FRT reflect all of the work required to perform this procedure,
including the linked procedures. Do not stack correction
codes unless explicitly told to do so.
NOTE: See Flat Rate Times to
learn more about FRTs and how they are created.
NOTE: See Personal Protection to make
sure you are wearing proper PPE when performing the procedure below.
NOTE: See Ergonomic Precautions for safe and healthy
working practices.
Correction code
1301020202
FRT
0.30
NOTE: Unless
otherwise explicitly stated in the procedure, the correction code and its
associated FRT reflect all of the work required to perform this procedure,
including the linked procedures. Do not stack correction
codes unless explicitly told to do so.
NOTE: See Flat Rate Times to
learn more about FRTs and how they are created.
NOTE: See Personal Protection to make
sure you are wearing proper PPE when performing the procedure below.
NOTE: See Ergonomic Precautions for safe and healthy
working practices.
Remove
- Remove the RH seat assembly. See Seat Assembly - 1st Row - No Lumbar - RH (Remove and Replace).
-
Pull the RH front seat harness from
under the RH front cabin carpet.
-
Remove and discard the bolts (x2) that
attach the RH seat track motor to the seat cushion frame.
-
Disconnect the electrical harness from
the RH seat track motor connector.
-
With assistance, release the harness
clips from seat track motor bridge assembly.
-
With assistance, release the inboard
track from the track motor bridge.
NotePry up on the track motor bridge tab and slide the outboard track away to release.
-
Release the track motor bridge from
the outboard track.
NotePry up on the track motor bridge tab and slide the track motor bridge away from the inboard track.
Install
-
With assistance, install the RH front
seat outer track onto the track bridge assembly.
NoteThe track motor cable is keyed square and must be aligned with the inner track. Turn the cable by hand to align as needed. Slide the track motor bridge into the inboard track till it is fully and securely seated.
-
With assistance, install the track
motor bridge to the inner track.
NoteThe track motor cable is keyed square and must be aligned with the inboard track. Turn the cable by hand to align as needed. Slide the track motor bridge into the inboard track till it is fully and securely seated.
-
With assistance, connect the track
motor electrical connector.
-
With assistance, install the harness
clips (x3) to the RH front seat track motor.
-
With assistance, install new bolts
(x2) that attach the RH side track assembly to the RH front seat cushion assembly.
 23 Nm (17.0 lbs-ft)TipUse of the following tool(s) is recommended:
- Torx T50 Bit Stubby
-
Reposition the RH front seat onto the
RH front seat risers.
NoteTake care when moving the seat. Ensure the carpet is not damaged.
-
Secure the RH front seat harness under
the RH front cabin carpet.
- Remove the RH seat assembly. See Seat Assembly - 1st Row - No Lumbar - RH (Remove and Replace).
- Connect a laptop with Toolbox 3 to the vehicle. See Toolbox (Connect and Disconnect).
-
Perform the following
routine using Service Mode or Toolbox (see 0005 - Service Modes):
PROC_VCRIGHT_SEAT-CALIBRATEvia Service Mode:Low Voltage ➜ Seats ➜ Calibrate Seatvia Toolbox:(link)
CAUTIONThe seat will move automatically during this routine. Prior to execution, make sure there is nothing (including objects and aftermarket accessories) behind or underneath the related seat to prevent component damage.
- Disconnect the laptop from the vehicle.
- Raise all windows and close all doors.