2026-03-30
Rear Fascia Assembly (Model Y Standard) ((拆卸和安装))
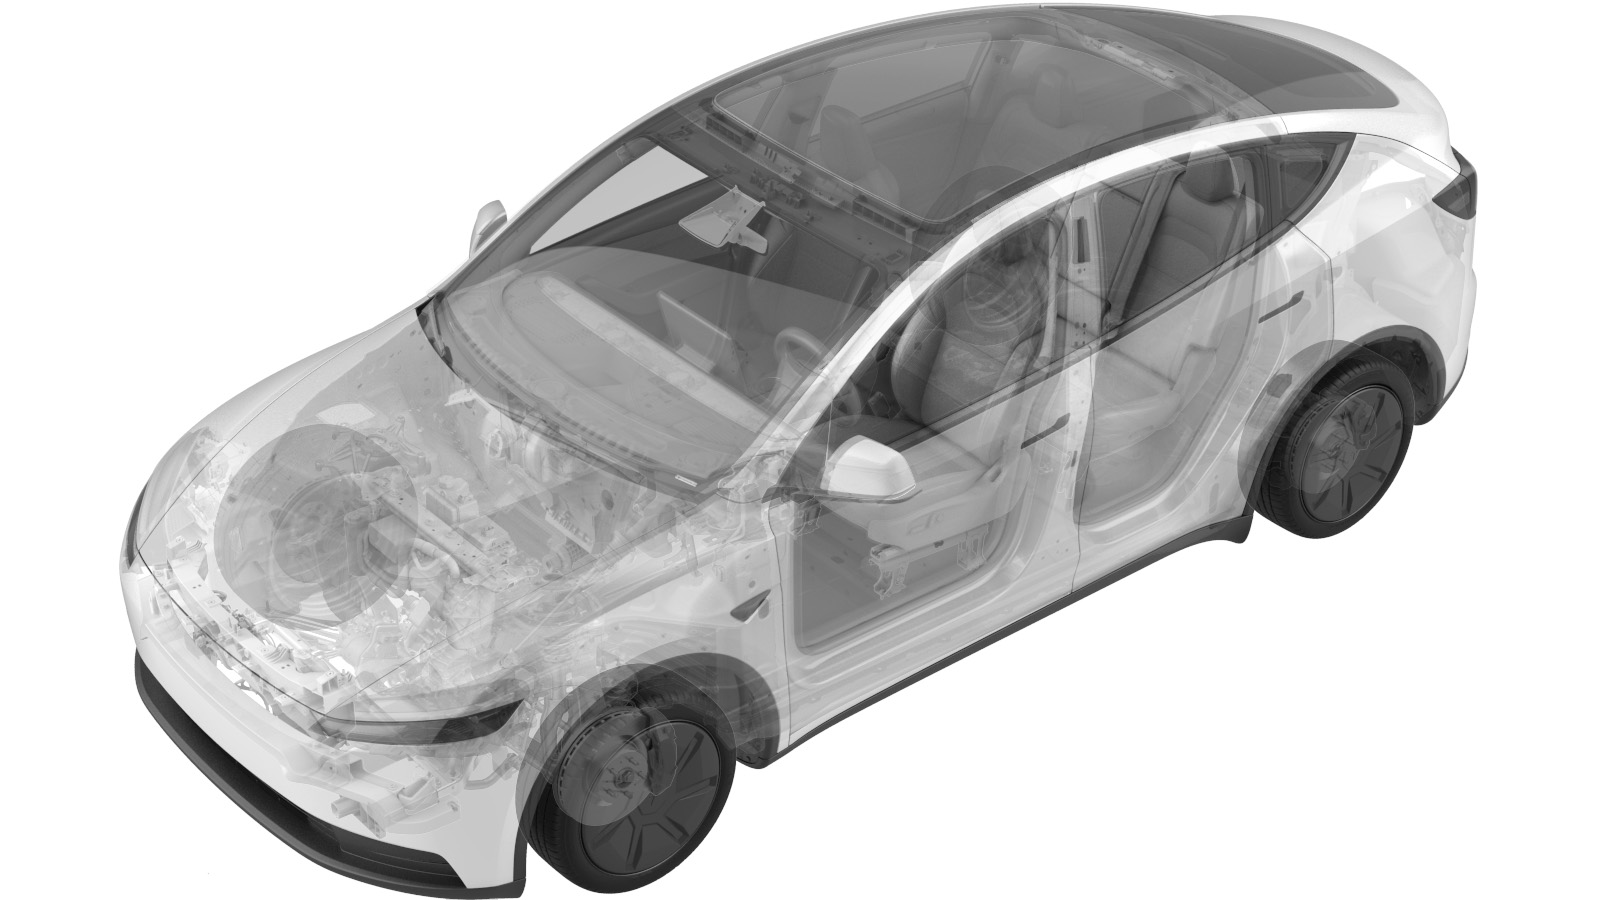 校正代码
10011400501
0.48
注意:除非本程序中另有明确规定,否则上文所列校正代码和 FRT 反映的是执行本程序(包括关联程序)所需的所有工作。除非明确要求,否则请勿堆叠校正代码。
注意:请参阅平均维修工时深入了解 FRT 及其创建方式。
注意:请参阅人员保护确保在执行以下程序时穿戴适当的个人防护装备 (PPE)。
注意:请参阅人体工程学注意事项查看安全健康的作业规程。
校正代码
10011400501
0.48
注意:除非本程序中另有明确规定,否则上文所列校正代码和 FRT 反映的是执行本程序(包括关联程序)所需的所有工作。除非明确要求,否则请勿堆叠校正代码。
注意:请参阅平均维修工时深入了解 FRT 及其创建方式。
注意:请参阅人员保护确保在执行以下程序时穿戴适当的个人防护装备 (PPE)。
注意:请参阅人体工程学注意事项查看安全健康的作业规程。
警告
本程序为“草案”。虽已通过验证,但可能仍有“警告”和“注意”事项缺失。请遵守安全要求,处理或靠近高压系统和部件时,请谨慎操作。
- 2026-03-16: Released new procedure.
拆卸
-
Open the LH rear door.
-
Lower the LH rear window.
-
Remove the LH rear fender garnish from the vehicle.
注11x clips, 2x tabs, Release from center of garnish and work your way outward towards both ends, Using clip prytool release clips at rear of fascia to avoid damage to garnish
-
Remove the screw that secure the LH rear fascia to the body.
注1x screw, 8mm, 2 Nm
- Remove the LH tail lamp. See GUID-809F5D76-3278-4882-A1DA-DE4DD433696A.html.
-
Remove the bolt that secures the LH corner of the rear fascia to the body.
注1x bolt, 10mm, 3.5 Nm
-
Open the RH rear door.
-
Lower the RH rear window.
-
Remove the RH rear fender garnish from the vehicle.
注11x clips, 2x tabs Release from center of garnish and work your way outward towards both ends, Using clip prytool release clips at rear of fascia to avoid damage to garnish
-
Remove the screw securing the RH rear fascia to the body.
注1x screw, 8mm, 2 Nm
- Remove the RH tail lamp. See GUID-809F5D76-3278-4882-A1DA-DE4DD433696A.html.
-
Remove the bolt that secures the RH corner of the rear fascia to the body,
注1x bolt, 10mm, 3.5 Nm
-
Remove the rear fascia diffuser front bolts (x2)
注10mm, 5 Nm
-
Release the rear fascia diffuser.
注7x bolts, 10mm, The five center bolts 5 Nm, both outside bolts 4 Nm, 6x push clips, 2x fastener covers
-
Release the rear fascia assembly from the body.
注1x connector, Disengage locking tab, Recommend assistance, Place rear fascia on padded surface to avoid damage
安装
-
Secure the rear fascia assembly onto the body.
注1x connector, Engage locking tab, Recommend assistance
-
Secure the rear fascia diffuser.
注7x bolts, 10mm, The five center bolts 5 Nm, both outside bolts 4 Nm, 6x push clips, 2x fastener covers, Apply Loctite 222 onto bolts
-
Install the rear fascia diffuser front bolts.
注2x bolts, 10mm, 5 Nm, Apply Loctite 222 onto rear aero shield bolts
-
Install the bolt that secures the RH corner of the rear fascia to the body.
注1x bolt, 10mm, 3.5 Nm
- Install the RH tail lamp. See GUID-809F5D76-3278-4882-A1DA-DE4DD433696A.html.
-
Install the screw that secures the RH corner of the rear fascia to the body.
注1x screw, 10mm, 2 Nm
-
Install the RH rear fender garnish.
注11x clips, 2x tabs, Install ends of garnish into rocker panel and rear diffuser then work your way from rear towards front of garnish
-
Raise the RH rear window.
-
Close the RH rear door.
-
Install the bolt that secures the LH corner of the rear fascia to the body.
注1x bolt, 10mm, 3.5 Nm
- Install the LH tail lamp. See GUID-809F5D76-3278-4882-A1DA-DE4DD433696A.html.
-
Install the screw that secures the LH rear fascia to the body.
注1x screw, 8mm, 2 Nm
-
Install the LH rear fender garnish to the vehicle.
注11x clips, 2x tabs, Install ends of garnish into rocker panel and rear diffuser then work your way from rear towards front of garnish
-
Return the 2nd row 60 seatback to vertical position.
注Via trunk seat switch, Remove seatback protection if necessary
-
Close the liftgate.
-
Raise the LH rear window.
-
Close the LH rear door.