2024-08-13
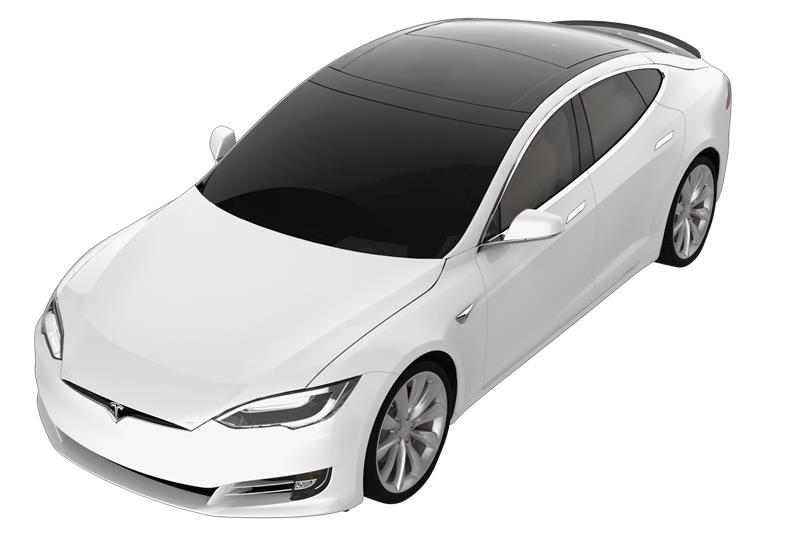
Link - Panoramic Roof - 1st Generation - Rear - LH (Remove and Replace)
 Correction code
24106902
Remove
- Remove the sliding glass. See Sliding Glass - Panoramic Roof Assembly (Remove and Replace).
-
Remove LH floor mat.
- Remove the LH IP side cover. See Assembly - Instrument Panel Side Cover - LH (Remove and Replace).
- Remove the LH middle A pillar panel. See Panel - A Pillar Trim - Middle - LH (Remove and Replace).
- Remove LH sill panel trim. See Trim - Sill Panel - LH (Remove and Replace).
- Remove the driver's side lower trim dash. SeeTrim - Dash - Driver's Side - Lower (Remove and Replace).
- Remove driver's footwell cover assembly. See Assembly - Cover - Footwell - Driver's (Remove and Replace).
-
Disconnect premium amplifier if
equipped.
NoteApplies only to vehicle equipped with premium audio.
-
Remove OBD II connector from tuner
bracket.
-
Disconnect the connectors(x3) and
release the edge clip tuner and move harness for clearance.
-
Remove bolts (x3) securing tuner
bracket to IP.
-
Remove the amp/tuner bracket assembly
out through the bottom of IP carrier.
NoteThere's a tab on the bracket that requires sliding assembly forward slightly to release.
- Remove the 1st generation panoramic roof side applique. See Side Applique - Panoramic Roof - 1st Generation - LH (Remove and Replace).
-
Remove LH sunroof motor fasteners (x3)
and discard.
-
Use plastic trim tool to separate LH
sunroof motor from motor block.
-
Disconnect LH sunroof motor connector.
-
Remove the screws (x2) that attach the
left rear camera block to vehicle and then removethe rear camera block.
-
Use a long bit to move panoramic roof
rear left link forward to camera block opening.
-
Lift up rear left link and remove
guide shoe.
-
Slide panoramic roof rear left link
back past frame channel.
-
Remove the LH rear stop screw.
-
Remove the LH rear 1st generation panoramic roof link from the vehicle.
NotePull the link rearward.NoteYou may need to use a big hook to pull it out.
- Clean the rail and remove old urethane.
- Vacuum any debris from the roof and headliner.
Install
-
Insert the rear left link into the
drive cable.
NoteDo not damage the fixed glass seal or side rail. Apply lubrication to ease.
-
Gently tap the rear left link to move
assembly into frame channels.
-
Use a long bit to move panoramic roof
rear left link forward to cam block opening.
-
Lift up rear left link and install
guide shoe.
NoteClean guide shoe before installation and install some grease.
-
Slide panoramic roof rear left link
back towards rear opening.
NoteLine up paint marks at link and panoramic frame.
-
Install the screws (x2) that attach
the left rear camera block to the vehicle.
NoteT25, 5 Nm.
-
Install the LH rear stop screw.
-
Slide panoramic roof front left link
back
NoteLine up paint marks at link and panoramic frame.
-
Connect LH sunroof motor connector.
-
Position the LH sunroof motor onto the
motor block, and then install new bolts (x3) for LH sunroof motor to motor block.
NoteT25, 5 Nm.
-
Install amp/tuner bracket assembly
back into IP.
NoteMake sure tab is above the IP otherwise there will be a large gap near bulkhead.
-
Install bolts (x3) securing tuner
bracket.
Note10mm, 6 Nm.
-
Reconnect tuner connectors (x2) and
secure edge clip (x1).
-
Install the screws (x2) that attache
the OBD II male side to bracket.
NoteT20, 2.3 Nm.
-
Connect the premium amplifier if
equipped.
NoteFully seat connector, then engage locking tab.
- Install driver's footwell cover assembly. See Assembly - Cover - Footwell - Driver's (Remove and Replace) .
- Install the driver's side lower trim dash. SeeTrim - Dash - Driver's Side - Lower (Remove and Replace) .
- Install LH sill panel trim. See Trim - Sill Panel - LH (Remove and Replace) .
-
Install LH floor mat.
- Install the LH middle A pillar panel. See Panel - A Pillar Trim - Middle - LH (Remove and Replace).
- Install the LH IP side cover. See Assembly - Instrument Panel Side Cover - LH (Remove and Replace).
- Install the sliding glass. See Sliding Glass - Panoramic Roof Assembly (Remove and Replace).
- Install the 1st generation panoramic roof side applique. See Side Applique - Panoramic Roof - 1st Generation - LH (Remove and Replace).