2026-08-09
加速器(拆卸和更换)
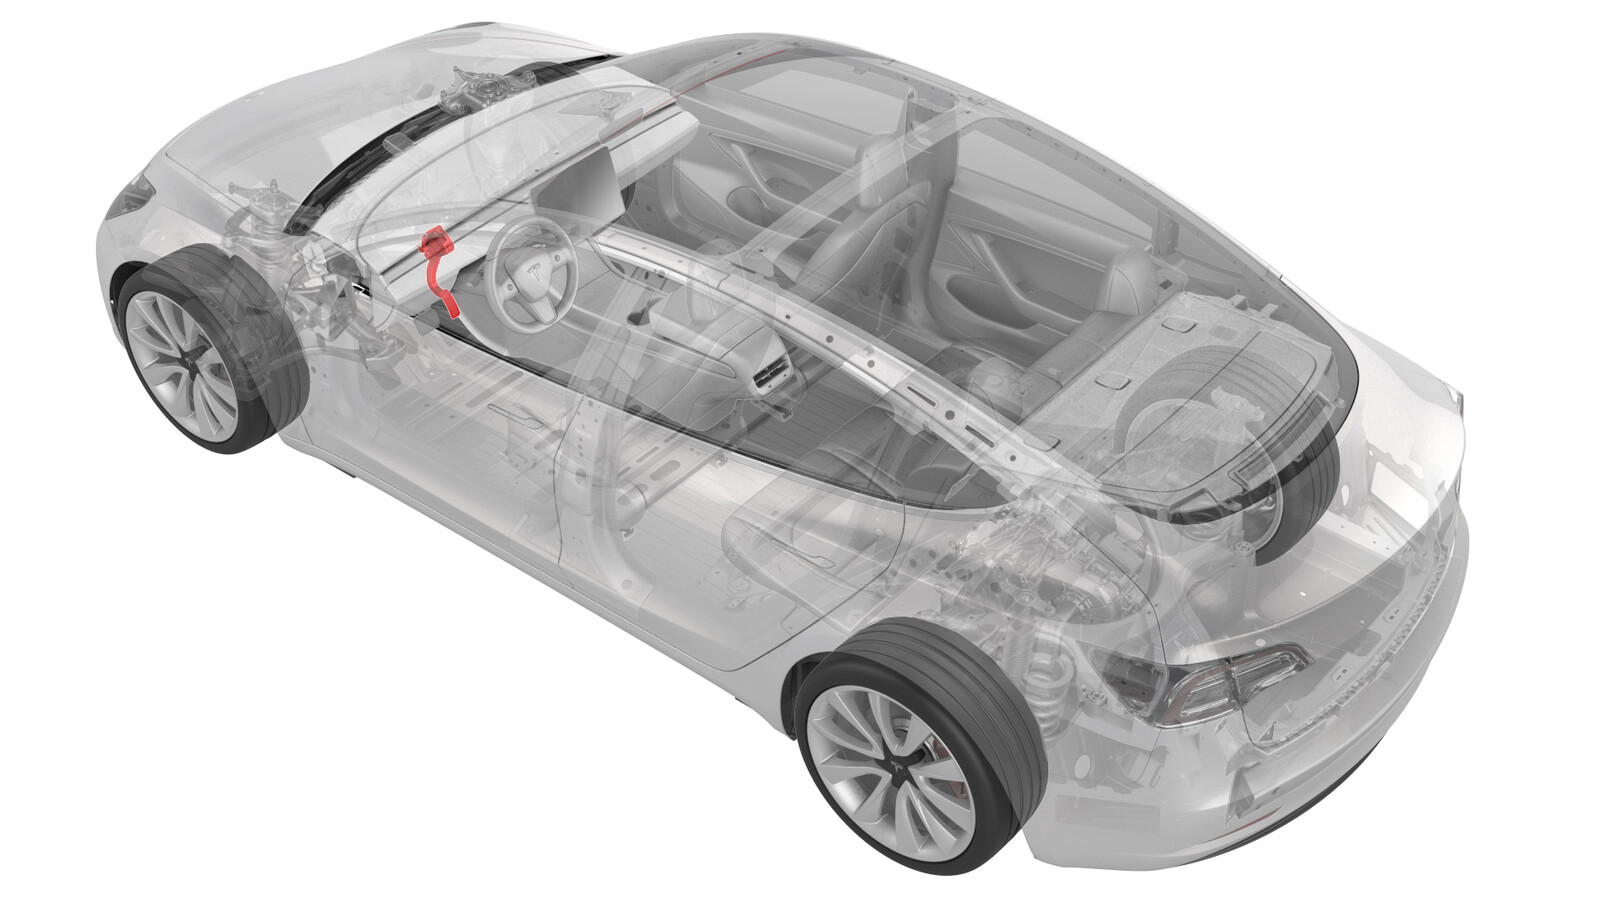 校正代码
17551002 0.48
NOTE: Unless otherwise explicitly
stated in the procedure, the correction code and its associated FRT reflect all of the
work required to perform this procedure, including the linked procedures. Do not stack correction codes unless
explicitly told to do so.
NOTE: See Flat Rate
Times to learn more about FRTs and how they are created.
NOTE: See 人员保护 to make sure wearing proper PPE when
performing the below procedure. NOTE: See for safe and healthy working
practices.
拆卸
- Remove the 2nd row lower seat cushion. See 座椅座垫 - 下部 - 第二排(拆卸和更换).
- Remove the rear underhood apron. See 前备箱挡板 - 后部(拆卸和更换).
- Disconnect 12V/LV power. See 12V/低压电源(断开和连接).
- Remove the driver knee airbag. See .
- Remove the LH footwell duct. See #GUID-4B963839-927B-422B-B1BC-81666CE43923.
-
Disconnect the electrical connector from the accelerator.
CAUTIONIf the connector locking tab is red, pull the red locking tab away from the pedal housing.
-
Remove the bolt that attaches the accelerator to the body.
- Slide the accelerator downwards, and then remove the accelerator from the vehicle.
安装
- Slide the accelerator up, and then install the accelerator into the bracket.
-
Install the bolt that attaches the accelerator to the body.
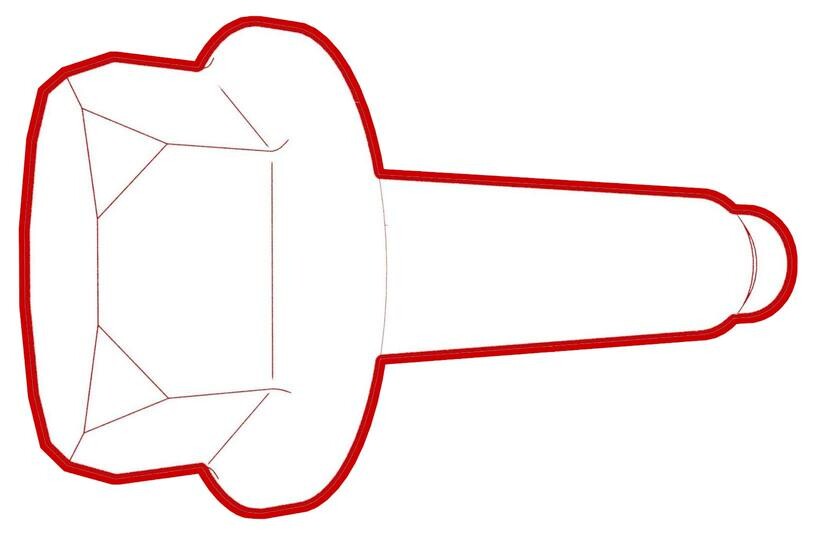 7 Nm (5.2 lbs-ft)
-
Connect the accelerator electrical connector.
NoteIf the connector locking tab is red: push the red locking tab towards the pedal housing.
- Install the LH footwell duct. See #GUID-4B963839-927B-422B-B1BC-81666CE43923.
- Install the driver knee airbag. See .
- Reconnect 12V/LV power. See 12V/低压电源(断开和连接).
- 将装有 Toolbox 3 的笔记本电脑与车辆相连。
-
Run the following Toolbox
routines to confirm pedal operation:
- TEST-SELF_PMR_X_CAN-COMMSvia Toolbox:(link)
- Install the rear underhood apron. See 前备箱挡板 - 后部(拆卸和更换).
- Install the 2nd row lower seat cushion. See 座椅座垫 - 下部 - 第二排(拆卸和更换).