Actuator - Bleed - LH (Remove and Replace)
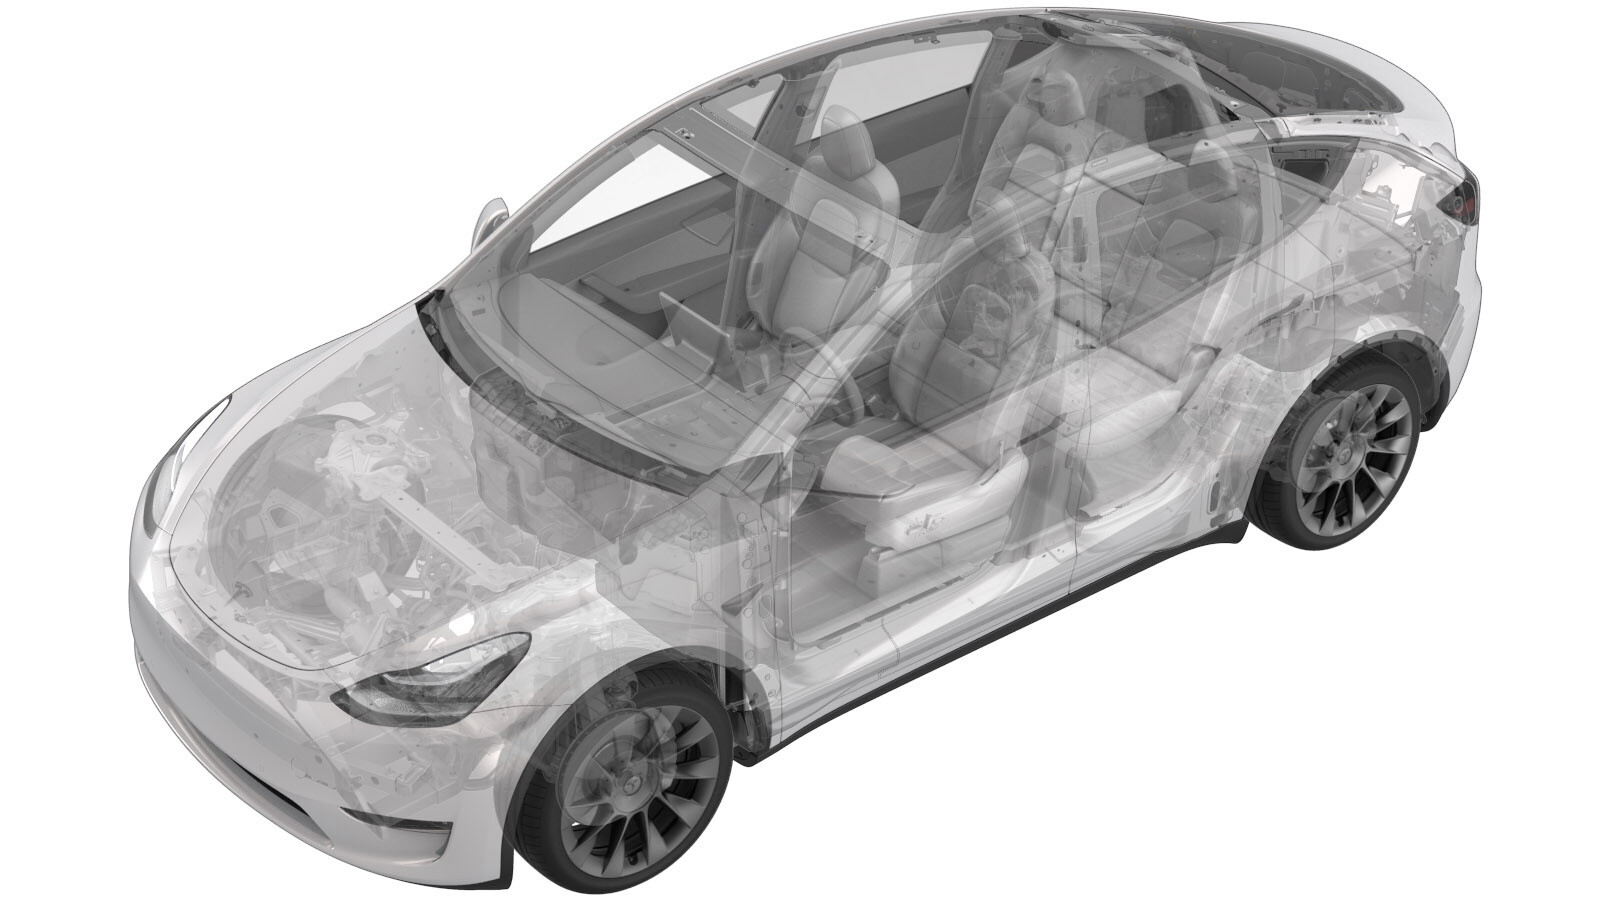 Correction code
18102212
2.25
NOTE: Unless otherwise explicitly
stated in the procedure, the correction code and its associated FRT reflect all of the
work required to perform this procedure, including the linked procedures. Do not stack correction codes unless
explicitly told to do so.
NOTE: See Flat Rate
Times to learn more about FRTs and how they are created.
NOTE: See Personal Protection to make sure wearing proper PPE when
performing the below procedure. NOTE: See Ergonomic Precautions for safe and healthy working
practices.
- 2026-10-26: Added the HVAC Case Test routine.
Remove
- Remove the underhood storage unit. See Underhood Apron - Rear (Remove and Replace)
- Remove the cowl screen panel. See Panel - Cowl Screen (Remove and Replace).
- Disconnect 12V power. See 12V/LV Power (Disconnect and Connect)
- Remove the instrument panel carrier from the cross car beam. See IP Carrier (Remove and Install)
-
Remove screws securing the drivers air duct to cross car beam
Note2x screws, T20, 2.3 Nm
-
Remove drivers air duct from the HVAC assembly
-
Release the IP harness clip from the body of the vehicle by RH cross car beam
bracket
Note1x harness clip
-
Release the IP harness clip from the cross car beam
Note1x harness clip
-
Release clip from RH side of cross car beam
Note1x harness clip
-
Release clip from body of vehicle on RH lower A-pillar
Note1x harness clip
-
Release headliner harness clip from body of vehicle located on LH upper
A-pillar
Note1x harness clip
-
Release headliner harness clips located on LH lower A-pillar
Note2x clips
-
Remove LH touchscreen bracket
Note2x bolts, T30, 12 Nm
-
Remove RH touchscreen bracket
Note2x bolts, T30, 12 Nm
-
Remove bleeder duct adapter from HVAC assembly
Note4x clips
-
Remove nuts securing upper steering column to cross car beam
Note2x nuts, 13mm, 15 Nm
-
Remove nuts securing lower steering column to cross car beam and carefully lower
steering column
Note2x nuts, 13mm, 15 Nm
-
Remove bolts securing cross car beam to LH side of bulkhead
Note2x bolts, 13mm, 25 Nm
-
Remove clip securing the carpet to LH cross car beam bracket
Note1x clip
-
Remove the bolt that secures the LH cross car beam bracket to the cross car
beam
Note1x bolts, 13mm, 25 Nm
-
Remove nut securing the LH cross car beam bracket to the body and remove LH cross car
beam bracket
Note1x nut, 13mm, 25 Nm, Slightly pull LH carpet towards LH side of vehicle, Take note of direction of cross car beam bracket during removal
-
Remove clip securing the carpet to RH cross car beam bracket
Note1x clip
-
Remove bolt securing RH cross car beam bracket to cross car beam
Note1x bolts, 13mm, 25 Nm
-
Remove nut securing the RH cross car beam bracket to body and remove the RH cross car
beam bracket
Note1x nut, 13mm, 25 Nm, Slightly pull the RH carpet towards RH side of vehicle, Take note of direction of cross car beam bracket during removal
-
Remove bolts securing cross car beam to the HVAC assembly
Note4x bolts, 10mm, 5.5 Nm
-
Remove bolt securing the cross car beam to HVAC assembly on upper LH side of HVAC
assembly
Note1x bolt. 10mm, 5.5 Nm
-
Remove bolt that secures the cross car beam to the upper cowl
Note1x bolt, 13mm, 25 Nm
-
Remove bolts securing cross car beam to LH side of body
Note2x bolts, 15mm, 29 Nm
-
Remove bolts securing cross car beam to RH side of body
Note2x bolts, 15mm, 29 Nm
-
Pull out and lift up left side of the cross car beam exposing left bleed
actuator
-
Disconnect LH bleed actuator connector
Note1x connector
-
Remove bolts securing LH bleed actuator and remove bleed actuator from HVAC
assembly
Note2x bolts, 6mm, 2.3 Nm
Install
-
Position LH bleed actuator to HVAC assembly
NoteMake sure it's in the right place
-
Install bolts securing LH bleed actuator to HVAC assembly
Note2x bolts, 6mm, 2.3 Nm
-
Connect LH bleed actuator connector
Note1x connector
-
Position the cross car beam into the vehicle
NoteEnsure accurate location
-
Loosely install bolts securing cross car beam to RH side of body
Note2x bolts, 15mm, 29 Nm, Torque at later step
-
Loosely install bolts securing cross car beam to LH side of body
Note2x bolts, 15mm, 29 Nm, Torque at later step
-
Loosely install bolt securing cross car beam to upper cowl
Note1x bolt, 13mm, 25 Nm
-
Loosely install bolt securing cross car beam to the HVAC assembly on upper LH side of
HVAC assembly
Note1x bolt, 10mm, 5.5 Nm
-
Loosely install bolts securing the cross car beam to HVAC assembly in front of the
HVAC assembly
Note4x bolts, 10mm, 5.5 Nm
-
Install RH cross car beam bracket and loosely install nut that secures the RH cross
car beam bracket to body
Note1x nut, 13mm, 25 Nm
-
Loosely install bolt securing RH cross car beam bracket to the cross car beam
Note1x bolts, 13mm, 25 Nm
-
Install LH cross car beam bracket and loosely install nut that secures LH cross beam
bracket to body
Note1x nut, 13mm, 25 Nm
-
Loosely install bolt to secure LH cross car beam bracket to cross car beam
Note1x bolts, 13mm, 25 Nm
-
Install bolts securing cross car beam to LH side of bulkhead
Note2x bolts, 13mm, 25 Nm
-
Torque the bolt that secures the LH cross car beam bracket to the cross car
beam
Note1x bolts, 13mm, 25 Nm
-
Torque nut securing LH cross car beam bracket to body
Note1x nut, 13mm, 25 Nm,Slightly pull LH carpet towards LH side of vehicle
-
Install clip that secures the carpet to LH cross car beam bracket
Note1x clip
-
Torque bolt securing the RH cross car beam bracket to cross car beam
Note1x bolt, 13mm, 25 Nm
-
Torque nut securing RH cross car beam bracket to body
Note1x nut, 13mm, 25 Nm
-
Install clip securing the carpet to RH cross car beam bracket
Note1x clip
-
Torque the bolts securing the cross car beam to the HVAC assembly
Note4x bolts, 10mm, 5.5 Nm
-
Torque the bolt that secures the cross car beam to the HVAC assembly
Note1x bolt, 10mm, 5.5 Nm
-
Torque the bolt that secures the cross car beam to the upper cowl
Note1x bolt, 13mm, 25 Nm
-
Torque bolts securing cross car beam to LH side of body
Note2x bolts, 15mm, 29 Nm
-
Torque bolts securing cross car beam to RH side of body
Note2x bolts, 15mm, 29 Nm
-
Install the nuts securing the lower steering column to the cross car beam
Note2x nuts, 13mm, 15 Nm
-
Install nuts securing upper steering column to cross car beam
Note2x nuts, 13mm, 15 Nm
-
Install the bleeder duct adapter to the HVAC assembly
Note4x clips
-
Install RH touchscreen bracket
Note2x bolts, T30, 12 Nm
-
Install LH touchscreen bracket
Note2x bolts, T30, 12 Nm
-
Install the headliner harness clip located on the LH upper A pillar
Note1x clip
-
Install headliner harness clips to LH lower A-Pillar
Note2x clips
-
Install clip located on the RH lower A-pillar
Note1x clip
-
Install the clip located on the RH side of cross car beam
Note1x clip
-
Install the IP harness clip to the cross car beam
Note1x clip
-
Install IP harness clip to the body of the vehicle next to RH cross car beam
bracket
Note1x clip
-
Install the drivers air duct to the HVAC assembly
-
Install the screws securing the drivers air duct to the cross car beam
Note2x screws, T20, 2.3 Nm
- Install the instrument panel carrier onto the cross car beam. See IP Carrier (Remove and Install)
- Connect 12V power. See 12V/LV Power (Disconnect and Connect)
- Install the cowl screen panel. See Panel - Cowl Screen (Remove and Replace).
- Connect to vehicle using Toolbox 3.0.
- Select ‘Actions/Autodiag’ and search for ‘Actuator'.
- Run the routine: TEST-SELF_VCRIGHT_X_HVAC-CASE-ACTUATORSvia Toolbox:(link)
- Remove HSD cable from Ethernet port to disconnect Toolbox 3.0 from vehicle
- Install the underhood storage unit. See Underhood Apron - Rear (Remove and Replace)