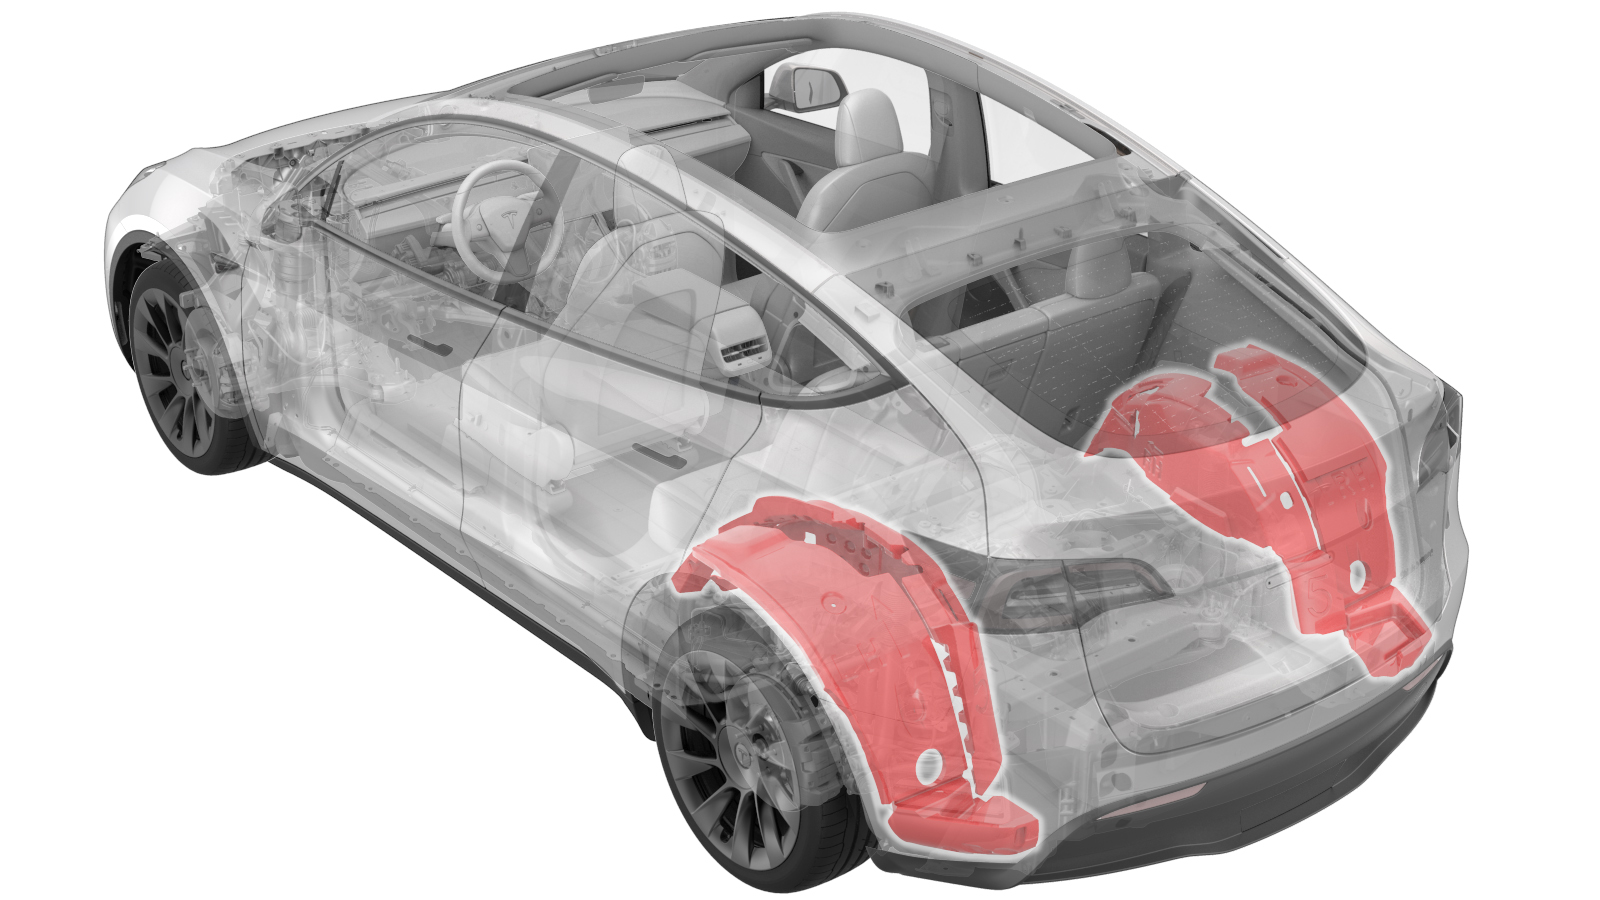
Insulator - Wheelhouse - Set (Remove & Replace)
 Correction code
15307402
1.1
NOTE: Unless otherwise explicitly
stated in the procedure, the correction code and its associated FRT reflect all of the
work required to perform this procedure, including the linked procedures. Do not stack correction codes unless
explicitly told to do so.
NOTE: See Flat Rate
Times to learn more about FRTs and how they are created.
NOTE: See Personal Protection to make sure wearing proper PPE when
performing the below procedure. NOTE: See Ergonomic Precautions for safe and healthy working
practices.
- 2026-10-20: Updated the steps of removing the insulator by cutting it open.
- 2023-10-09: Updated the reference for removing/installing the rear fascia assembly.
- 2023-10-10: Added a caution to not manually close the charge port door.
Equipment:
- 1076927-00-A Hioki Tester
- 1054720-00-A Portable Bench
- 1060071-00-A Torque Wrench 1/4in Dr Hexagon
- 1076928-00-A Test Probes - Hioki 9461
Remove
- Remove the RH wheelhouse insulator. See Wheelhouse Insulator - Rear - RH (Remove and Replace).
- Remove the LH rear wheelhouse insulator. See Insulator - Wheelhouse - LH (Remove and Replace).
Install
- Install the RH wheelhouse insulator. See Wheelhouse Insulator - Rear - RH (Remove and Replace).
- Install the LH rear wheelhouse insulator. See Insulator - Wheelhouse - LH (Remove and Replace).