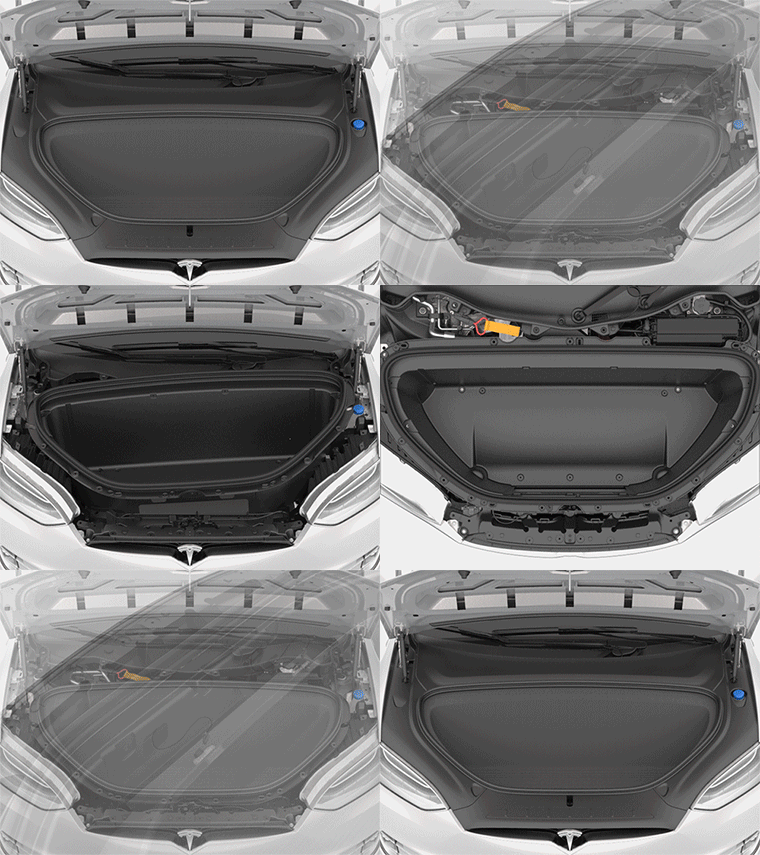
Replacing the HEPA Filter
If equipped, Tesla recommends replacing the HEPA filter every 3 years (every year in China). To replace the HEPA filter:

-
Open the hood.
-
Remove the rear underhood apron.
-
Remove both the left and right underhood aprons.
-
Remove the front underhood apron.
-
Carefully fold back the trunk seals to release the front of the carpet from the underhood storage unit, then disconnect the electrical connector from both underhood storage unit lights.
-
Remove the carpet from the underhood storage unit.
-
Remove the fasteners (x20) that secure the underhood storage unit to the vehicle.
-
Remove the underhood storage unit from the vehicle.
-
Release the old HEPA filter from the duct.
-
Insert the new HEPA filter in place so that it is secured by the duct.
-
Place the underhood storage unit in place and then tighten the fasteners (x2) that secure it:
- 6 fasteners (7 Nm)
- 4 fasteners (7 Nm)
- 10 fasteners (4 Nm)
-
Place the carpet back into the underhood storage unit.
-
Connect the electrical connectors to the underhood storage unit lights and readjust the seal to prevent ingress.
-
Reinstall the front, left, right, and rear underhood aprons then close the hood.